 Save
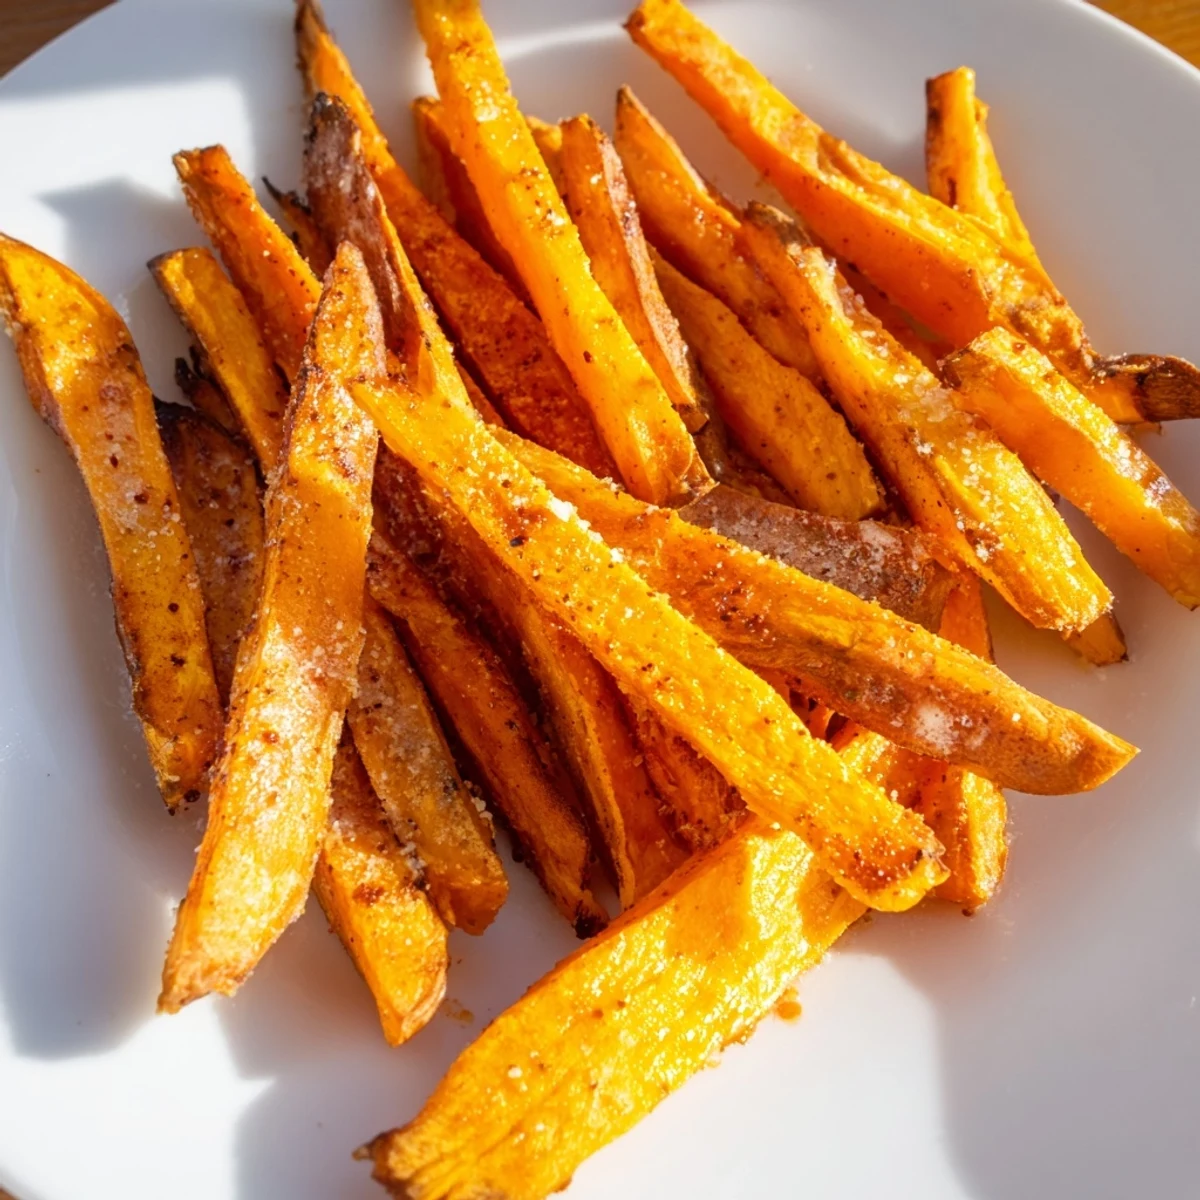
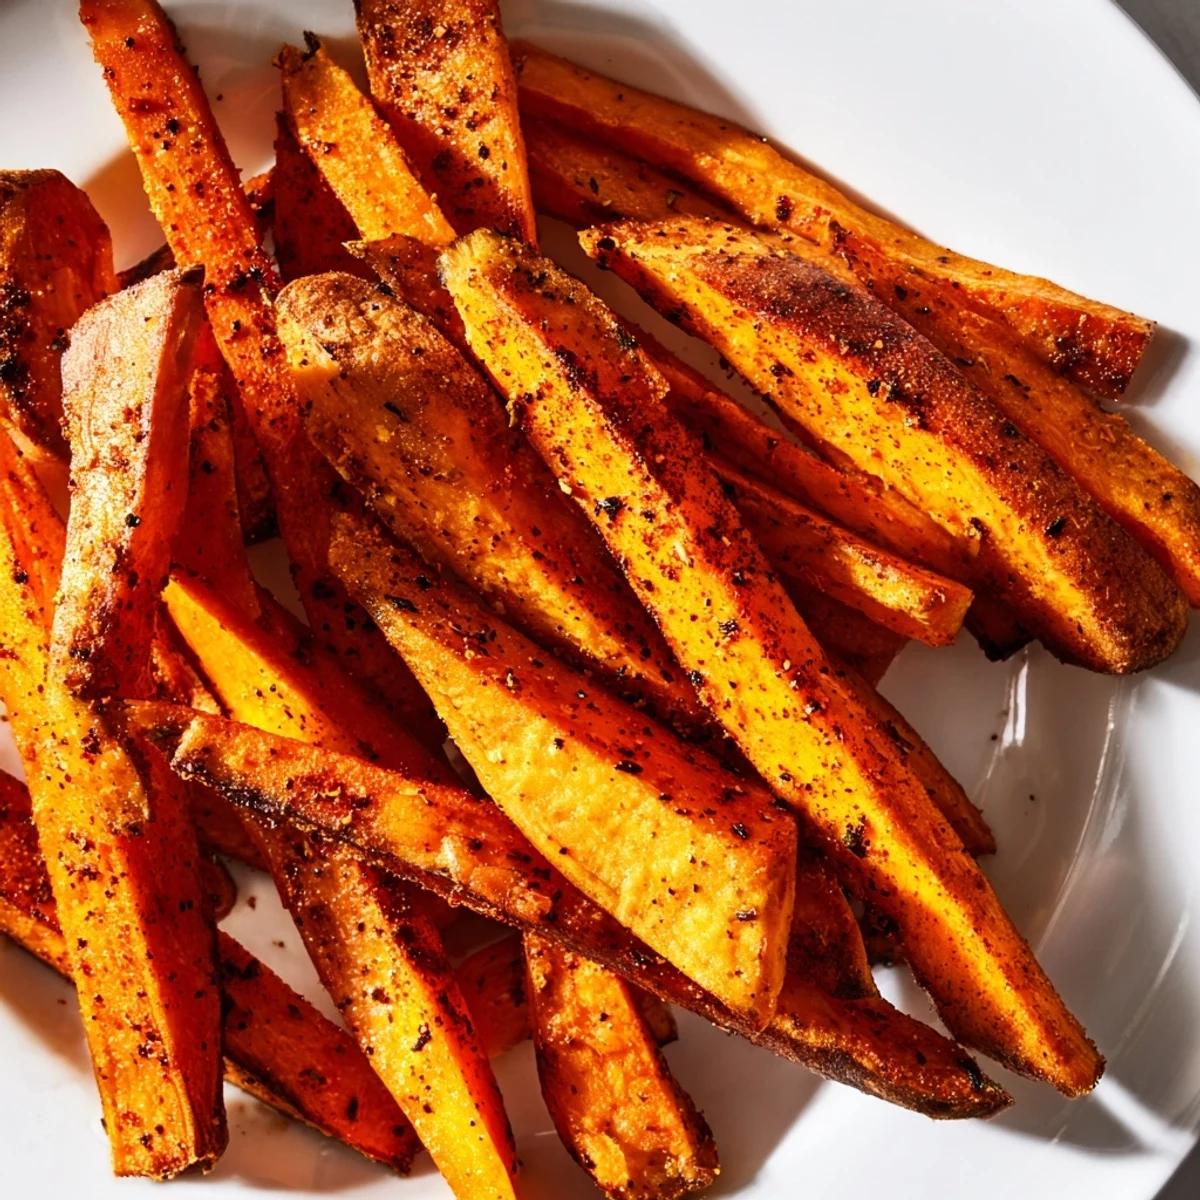
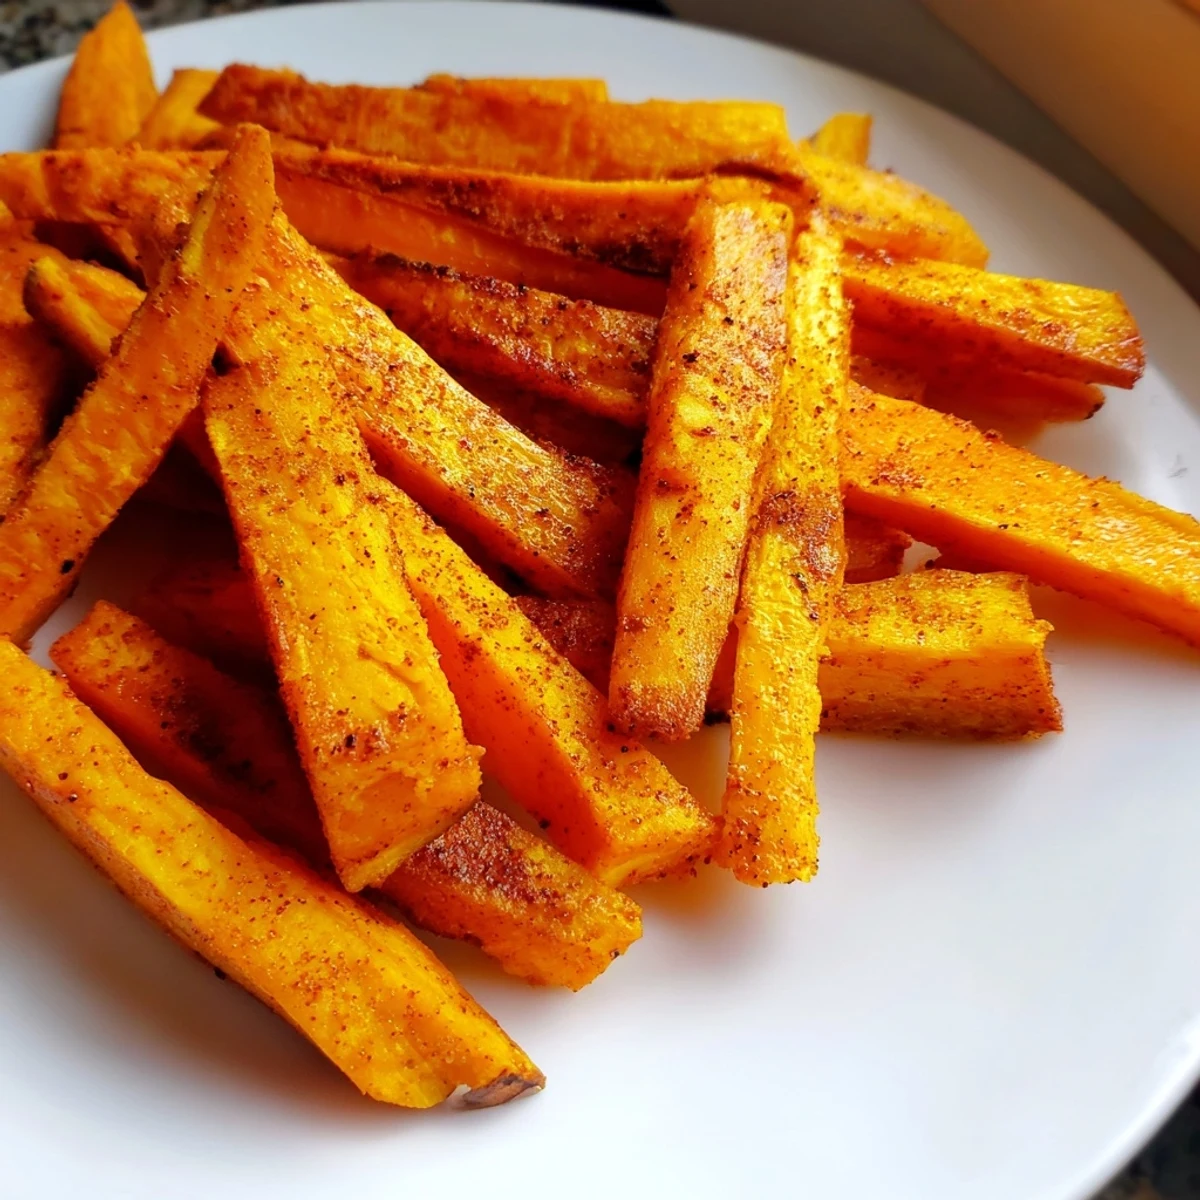
Save These roasted sweet potatoes are perfectly crispy on the outside and tender inside, thanks to a coating of olive oil and smoked paprika. Baked at a high temperature for 30 minutes with a flip halfway through, they develop a rich, smoky flavor with just the right amount of spice including garlic powder and optional cayenne. Ideal as a wholesome side or snack, they’re vegan, gluten-free, and simple to prepare. For extra crispiness, soaking cut pieces in cold water before baking is recommended, and garnishing with fresh herbs or grated cheese adds an extra burst of flavor.
There's something about the smell of sweet potatoes caramelizing in a hot oven that stops me mid-afternoon task, every single time. My roommate came home one day to find me standing in front of the oven like I'd discovered something profound, and honestly, I kind of had—crispy edges, creamy centers, and none of the guilt that comes with traditional fries. It became our default snack within a week, and now I make them so often the baking sheet practically finds itself on the counter.
I made these for a potluck where I wasn't sure what else to bring, and they disappeared faster than the store-bought chips. Someone asked for the recipe thinking it had to be complicated, and their surprise when I said "just throw them in the oven" was worth the whole evening right there.
Ingredients
- Sweet potatoes: Use the deep orange ones, not the paler varieties—they're sweeter and roast more evenly, and you'll want them roughly the same thickness so everything cooks at once.
- Olive oil: Don't skimp here; it's what creates those crispy edges and keeps everything from sticking.
- Smoked paprika: This gives that warm, slightly smoky depth that makes people ask what your secret ingredient is.
- Garlic powder: A small amount goes a long way, so don't overdo it or it turns harsh.
- Black pepper and sea salt: These aren't just background players—they bring out the natural sweetness of the potato.
- Cayenne pepper: Optional, but a pinch transforms these from "nice side" to "all I want to eat."
Instructions
- Get your oven ready:
- Preheat to 220°C (425°F) and line your baking sheet with parchment paper—this is non-negotiable if you want easy cleanup and zero sticking.
- Season like you mean it:
- Toss the cut fries with oil and all seasonings in a large bowl, making sure every single piece gets coated. Bare spots mean dry, bland fries, so be thorough and don't rush this step.
- Arrange with intention:
- Spread the fries in a single layer with space between each one—they need air circulation to crisp up, not to steam in a pile.
- Roast and flip:
- After 15 minutes, flip everything with a spatula so the other side gets that golden treatment. The second half of cooking is where the magic happens, so stay nearby and listen for the edges to start crackling.
- Finish strong:
- Bake another 12–15 minutes until the edges are golden and slightly darkened at the corners. Let them cool for just 3 minutes—they're actually crispier as they cool—then eat them while they're still warm.
 Save
Save My cousin, who's impossible to impress with food, asked for seconds and then thirds, which told me everything—these aren't just a side dish, they're the thing people come back for. Now whenever family gathers, someone inevitably requests them, and I've stopped pretending it's any effort.
Flavor Variations to Try
The base seasoning is perfect, but once you've made these a few times, you'll start experimenting naturally. I've swapped smoked paprika for regular paprika and added a pinch of cumin for something earthier, or skipped the cayenne and finished with a sprinkle of fresh lime zest right after they come out of the oven. Even the simplest adjustment—fresh chopped parsley or a tiny grating of Parmesan before serving—transforms the whole experience without any actual cooking changes.
Dipping Sauces That Actually Matter
These fries are genuinely good on their own, but a proper dipping sauce elevates them into something memorable. I keep aioli in my fridge constantly now, or sriracha mayo when I'm feeling bold—but honestly, the best discovery was mixing Greek yogurt with fresh herbs and garlic for something creamy and tangy that doesn't feel like a "healthy" choice. The sauce gives you something to reach for between bites, which is why these fries somehow disappear in minutes.
Storage and Make-Ahead Tips
These are absolute best eaten fresh and warm, which is why I usually cut and season them while the oven preheats rather than doing prep work hours ahead. That said, you can cut and refrigerate them for a few hours before cooking if you're organized enough, just pat them dry before tossing with oil. Leftover cooked fries reheat beautifully in a 180°C oven for about 5 minutes—they won't be quite as crispy as fresh, but they're still genuinely good.
- Cut them just before cooking for maximum crispiness and to prevent browning.
- If you prep ahead, store cut fries in cold water in the fridge, then drain and dry completely before seasoning.
- Leftovers stay good for 3 days in an airtight container, though realistically they'll be gone by day two.
 Save
Save Once you nail this recipe—and you will, because it's genuinely hard to mess up—you'll find yourself making them for everything from casual lunches to impressing people who think you spent way more effort than you actually did. That's the real magic here.
Common Questions
- → How do I make the fries extra crispy?
-
Soak the cut sweet potato pieces in cold water for 30 minutes, then pat them dry thoroughly before tossing with oil and spices.
- → Can I adjust the spice level?
-
Yes, cayenne pepper is optional. Add more or less depending on your preferred heat level.
- → What oils work best for roasting?
-
Olive oil is ideal due to its flavor and roasting qualities, but avocado or vegetable oils can also be used.
- → How long should I bake the fries?
-
Bake for about 30 minutes total, flipping halfway through to ensure even cooking and a crispy texture.
- → Can I prep the fries in advance?
-
Yes, cut and soak the sweet potatoes, then dry and season just before baking for best results.
