 Save
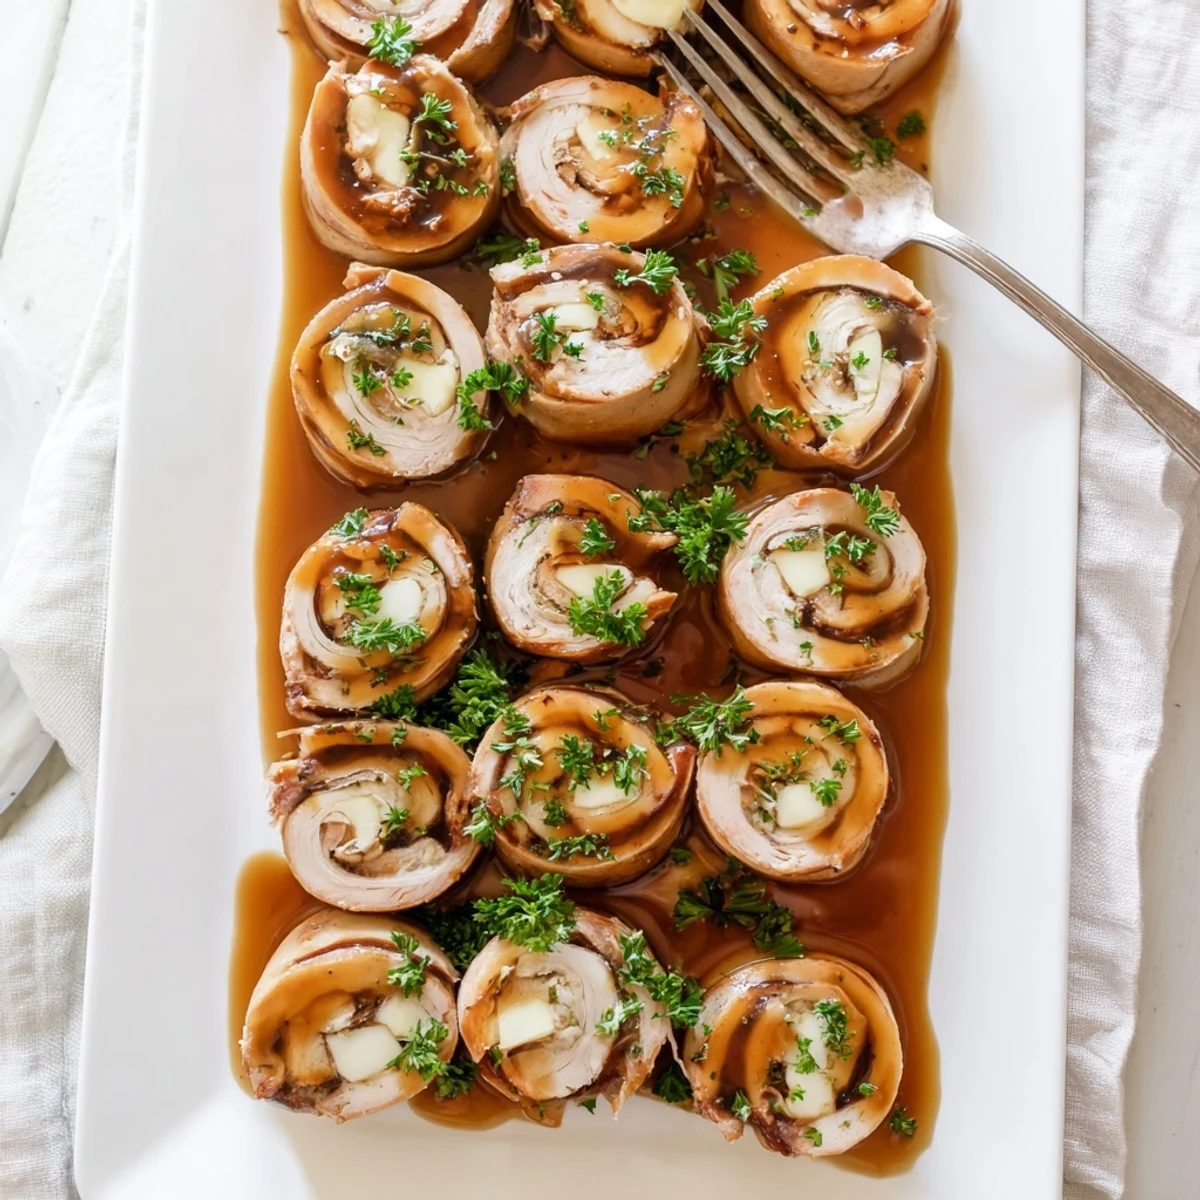
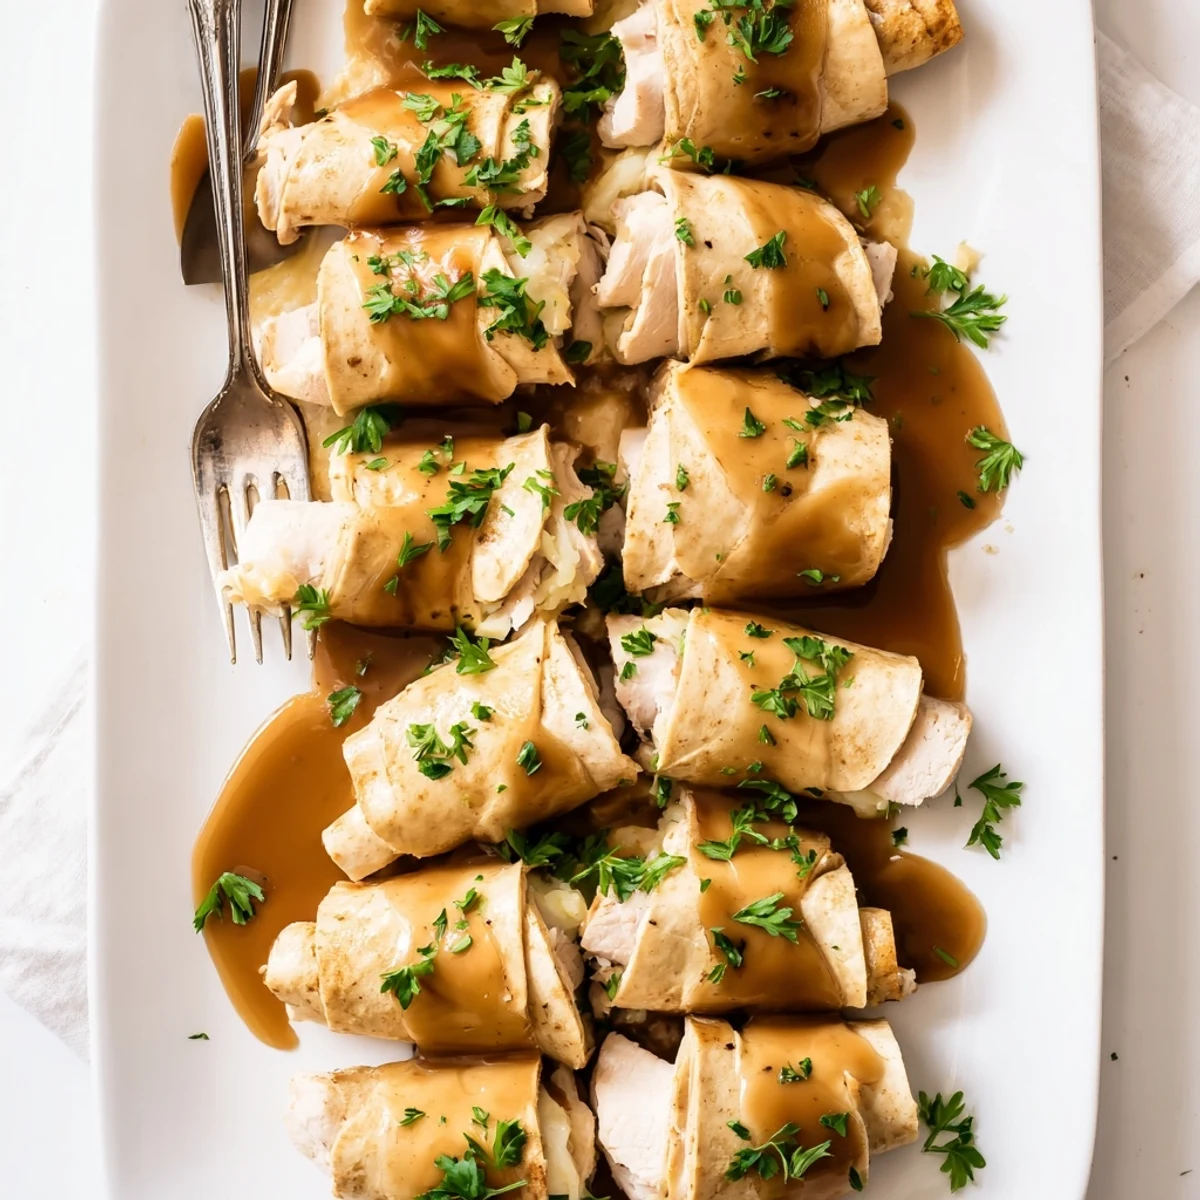
Save These turkey roll-ups combine tender breast slices with savory stuffing and melted cheese, all baked in a rich turkey gravy. The preparation is straightforward: lay the turkey flat, add stuffing and cheese, roll tightly, and bake until golden. The result is juicy, flavorful bundles perfect for weeknight dinners or special occasions. Ready in under an hour with minimal prep, this dish delivers maximum comfort food satisfaction with just five simple ingredients.
The first time I made these turkey roll-ups, I was rushing to get dinner on the table before my sister arrived with her kids. I had leftover stuffing from Thanksgiving and thin turkey slices I'd bought on impulse, and somehow this combination became the meal everyone kept asking about long after the plates were empty.
Last winter my neighbor smelled these baking through our shared wall and actually knocked on my door to ask what I was making. Now she makes them every Tuesday for her family, and we laugh about how something so effortless became such a regular tradition.
Ingredients
- 8 thin slices turkey breast: These cook quickly and stay tender, so avoid thick cuts that need longer baking time
- 2 cups prepared stuffing: Whether homemade or from a box, make sure its moist but not wet so it doesnt make the turkey soggy
- 4 slices provolone or mozzarella cheese: Halved, these create the perfect gooey center that holds everything together
- 1 cup turkey or chicken gravy: This keeps the roll-ups from drying out and creates a rich sauce for serving
- 2 tablespoons chopped fresh parsley: Adds a bright pop of color and freshness that cuts through the richness
Instructions
- Get your oven ready:
- Preheat to 375°F and grease a baking dish with butter or cooking spray
- Prep your work station:
- Lay turkey slices flat on a clean surface, patting them dry with paper towels
- Build each roll-up:
- Place 2 to 3 tablespoons of stuffing on each slice, then top with half a slice of cheese
- Roll them tight:
- Starting from one end, roll each slice around the filling and secure with toothpicks if they feel loose
- Arrange for baking:
- Place roll-ups seam side down in your prepared dish, leaving a little space between each one
- Add the gravy:
- Pour the cup of gravy evenly over all the roll-ups, making sure each one gets some coverage
- Bake covered first:
- Cover with foil and bake for 25 minutes to let everything steam together
- Finish uncovered:
- Remove foil and bake another 10 minutes until turkey reaches 165°F inside
- Serve it up:
- Sprinkle with fresh parsley and let rest 5 minutes before removing any toothpicks
 Save
Save My daughter now requests these for her birthday dinner every year, which still surprises me because she used to pick apart anything with stuffing. Watching her take that first bite and declare it better than restaurant food made me realize sometimes the simplest meals become the most meaningful ones.
Make Ahead Magic
You can assemble these roll-ups up to 24 hours ahead and store them covered in the fridge. When ready to bake, just pour the gravy over them and add a few extra minutes to the covered baking time since they'll be cold starting out.
Freezer Friendly
These freeze beautifully either before or after baking. If freezing unbaked, thaw overnight in the fridge before following the regular baking instructions. Already baked roll-ups reheat wonderfully in a 350°F oven for about 20 minutes until hot throughout.
Serving Suggestions
Mashed potatoes are the classic pairing because they soak up that flavorful gravy perfectly, but roasted green beans or buttered corn work just as well. For a lighter option, serve with a crisp arugula salad dressed with lemon vinaigrette to cut through the richness.
- Crusty bread is perfect for mopping up extra gravy
- A simple side of steamed broccoli adds color and nutrition
- Leftovers make amazing sandwiches the next day
 Save
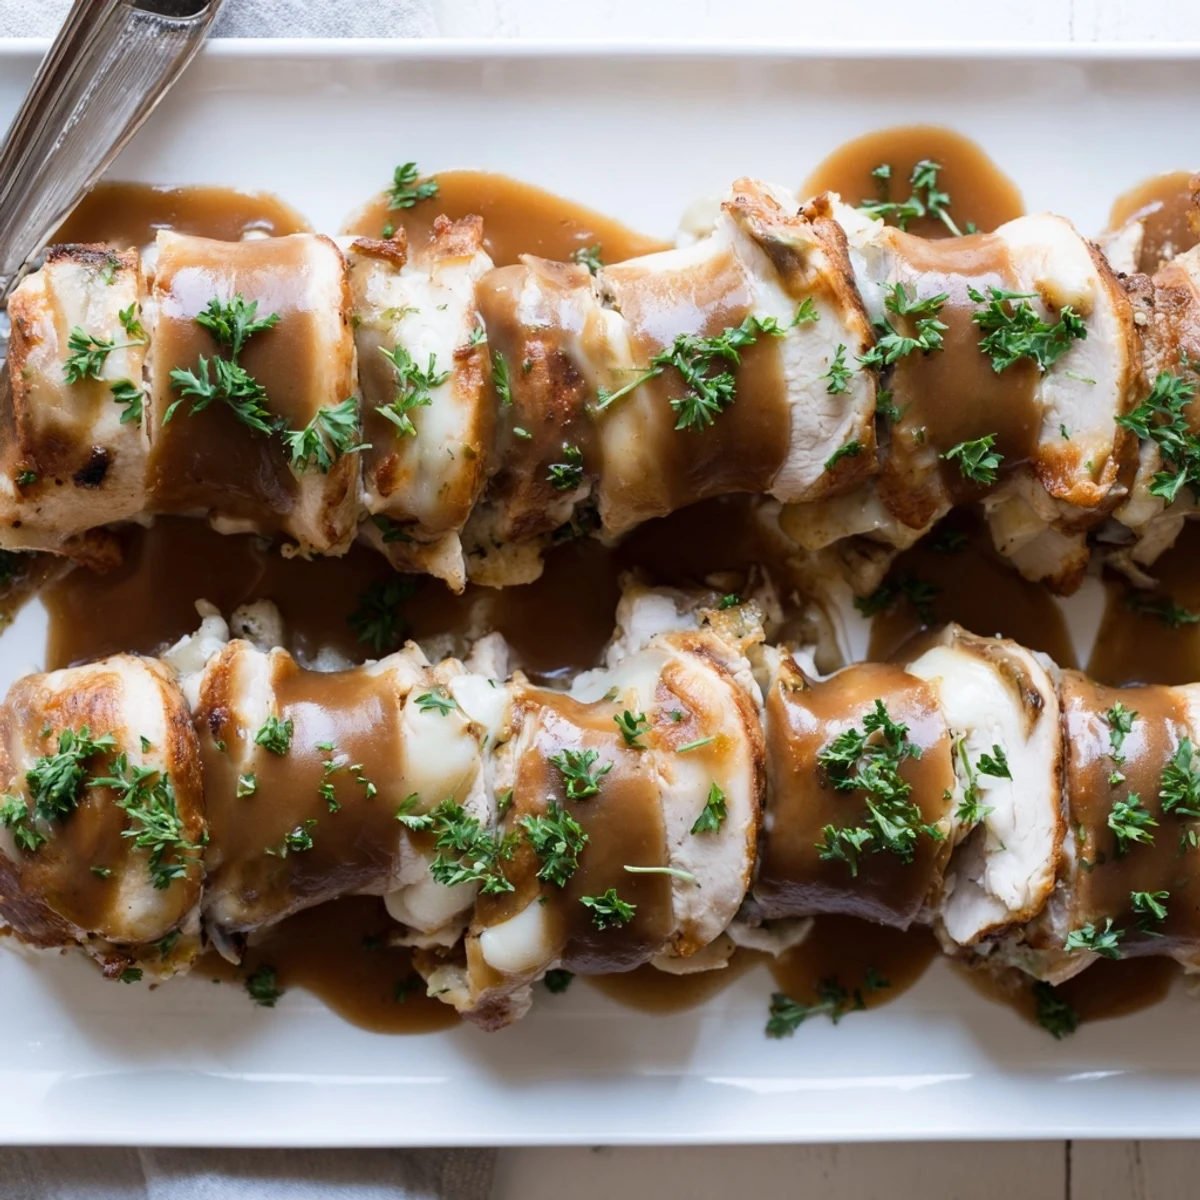
Save There's something deeply satisfying about a meal that comes together so quickly but tastes like it took all afternoon. These roll-ups have earned their permanent spot in my weeknight rotation, and I bet they'll find their way into yours too.
Common Questions
- → Can I make these turkey roll-ups ahead of time?
-
Yes, you can assemble the roll-ups up to 24 hours in advance and store them covered in the refrigerator. When ready to cook, bring them to room temperature for 15 minutes, then proceed with the baking instructions as directed.
- → What sides pair well with turkey roll-ups?
-
Mashed potatoes, roasted vegetables, or steamed green beans complement this dish beautifully. The gravy from the roll-ups creates a natural sauce that pairs wonderfully with starch and vegetable sides for a complete, satisfying meal.
- → Can I substitute the turkey with chicken?
-
Absolutely. Thin chicken cutlets work excellently as a substitute. The cooking time remains the same, though you may want to pound the chicken slightly thinner for easier rolling and more even cooking throughout.
- → How do I know when the roll-ups are fully cooked?
-
Use a meat thermometer to check the internal temperature reaches 165°F (74°C). The turkey should be opaque throughout and the cheese melted. If you don't have a thermometer, the meat should feel firm when pressed and no longer pink in the center.
- → Can I freeze these roll-ups?
-
You can freeze assembled, uncooked roll-ups for up to 2 months. Wrap tightly in plastic and foil. Thaw overnight in the refrigerator before baking. Note that freezing may slightly affect the texture of the stuffing, though the flavor remains excellent.
