 Save
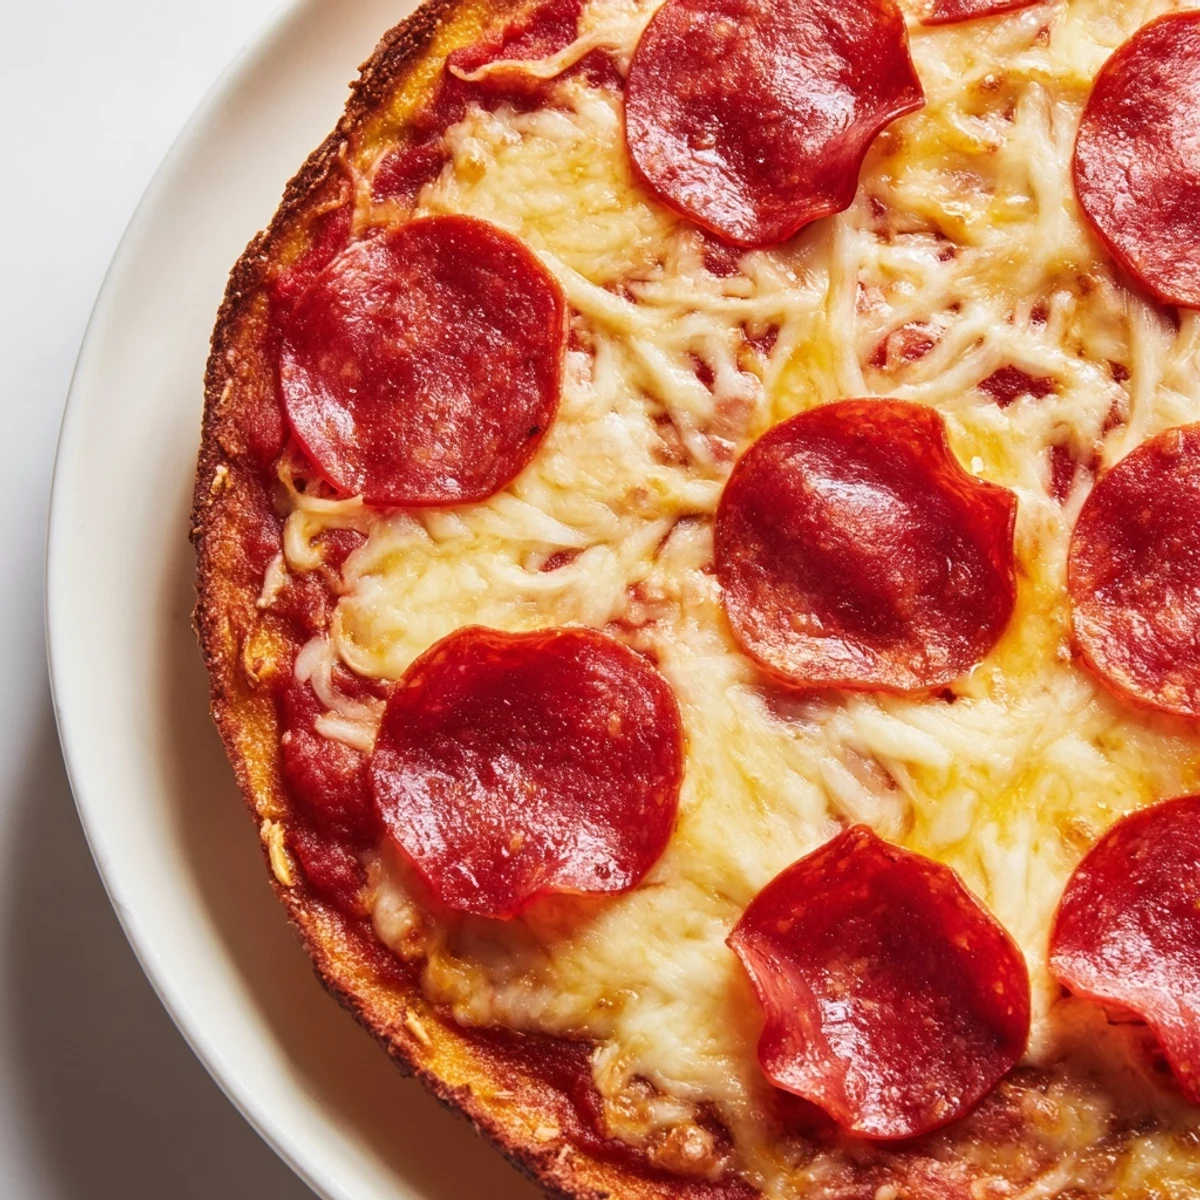
Save Master the art of pan pizza with this authentic method that delivers a golden, thick crust with irresistibly crispy edges and a soft, chewy interior. The dough rises for one hour to develop perfect texture, while the butter-greased pans create that signature crunch. Top with seasoned tomato sauce, mozzarella, and your favorite toppings for a homemade version of the beloved classic.
The smell of butter hitting hot cake pans takes me back to Friday nights when my dad would recreate Pizza Hut pan pizza in our tiny kitchen. He never used a pizza stone, only well-seasoned round pans that he treated like family heirlooms. That golden, fried crust edge was always his proudest achievement. Now whenever I make this recipe, I still pause to appreciate that sizzling butter sound.
Last winter during a snowstorm, my friends and I made six of these pizzas while watching bad movies. We ran out of mozzarella halfway through and had to improvise with whatever cheese was in the fridge. Honestly, the random cheese blend pizza turned out even better than the original. Sometimes desperation makes the best discoveries.
Ingredients
- All-purpose flour: Creates just the right structure without making the crust too dense or breadlike
- Active dry yeast: Needs that warm water bath to wake up and work its magic
- Sugar: Feeds the yeast and helps the crust achieve that beautiful golden color in the oven
- Salt: Do not skip this, it is what makes the crust taste like something you actually want to eat
- Warm water: Should feel like bath temperature, about 110°F, anything hotter will kill your yeast
- Olive oil: Keeps the dough tender and adds subtle flavor throughout
- Unsalted butter: The secret weapon for frying the bottom of that crust into crispy perfection
- Canned tomato sauce: Simple and reliable, the herbs and spices will transform it completely
- Dried oregano and basil: Classic Italian herbs that give the sauce that familiar pizza parlor taste
- Garlic and onion powder: Build layers of savory depth without fresh prep work
- Shredded mozzarella: Low moisture cheese melts better and prevents that soggy bottom situation
- Pepperoni or toppings: Go wild or keep it classic, this crust can handle whatever you throw at it
Instructions
- Wake up the yeast:
- Dissolve sugar and yeast in warm water and watch for that foamy layer to form, which tells you the yeast is alive and ready to work.
- Mix the dough:
- Combine flour and salt in a large bowl, then pour in your yeast mixture and olive oil until a rough dough comes together.
- Knead it out:
- Work the dough on a floured surface for 7 to 8 minutes until it feels smooth and springs back when you poke it.
- Let it rise:
- Place your dough in an oiled bowl, cover it, and leave it alone somewhere warm for an hour while it doubles in size.
- Prep the pans:
- Grease two 9-inch cake pans generously with softened butter, then brush the bottom with olive oil for extra crispiness.
- Shape the crusts:
- Press each dough portion into the prepared pans, pushing the dough slightly up the sides to create that classic pan pizza edge.
- Rest again:
- Cover the pans and let the dough relax for 10 to 15 minutes while you preheat your oven to 450°F.
- Make the sauce:
- Stir together the tomato sauce with oregano, basil, garlic powder, onion powder, sugar, salt and pepper.
- Assemble the pizzas:
- Spread sauce over each crust, sprinkle with cheese, add your toppings, and brush the exposed crust edges with olive oil.
- Bake to golden perfection:
- Bake for 20 to 25 minutes until the crust is deeply golden and the cheese is bubbling and starting to brown in spots.
 Save
Save This pizza became my go-to for new neighbors and housewarmings after one memorable summer potluck. An older Italian gentleman took one bite and asked for the recipe, which felt like the ultimate compliment. We spent the rest of the afternoon talking about crust techniques and regional pizza styles.
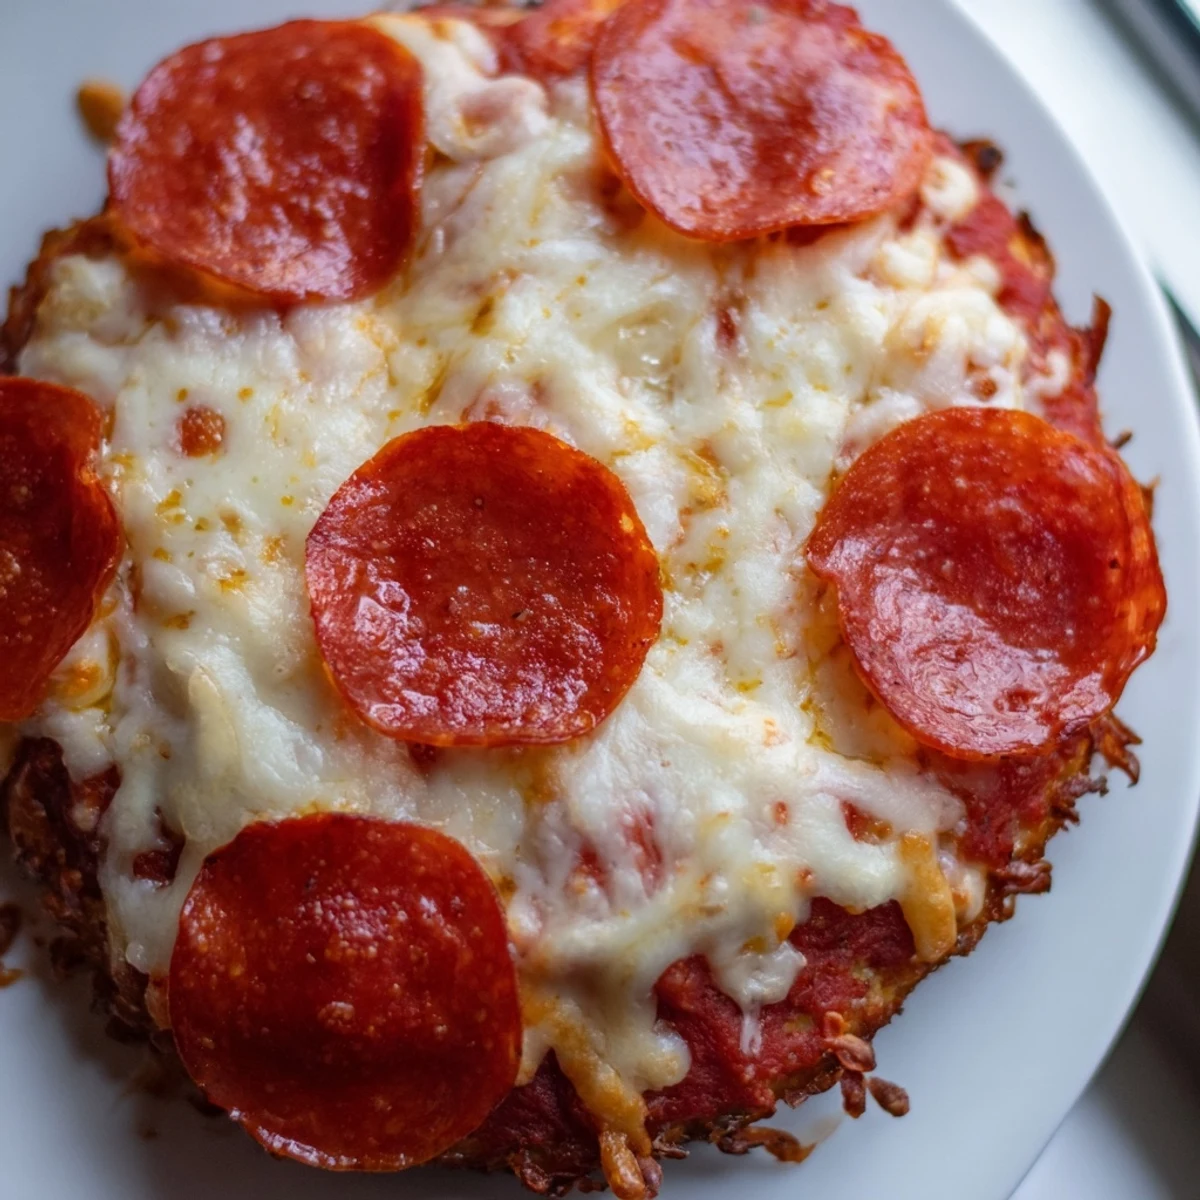
The Secret to the Crispy Edge
That butter in the pan does something magical to the bottom crust. As the pizza bakes, the butter fries the dough where it touches the metal, creating a texture that is simultaneously crispy and chewy. Brushing the exposed crust with olive oil before baking gives you that beautiful golden finish that looks like it came from a restaurant kitchen.
Sauce Simplicity
The canned tomato sauce might feel basic, but the dried herbs and spices transform it completely. I have tried making fancy sauce from fresh tomatoes, but honestly, this simple version is what people actually remember. It hits that nostalgic flavor profile that takes you back to childhood pizza parties and Friday night treats.
Topping Freedom
This crust is sturdy enough to handle whatever toppings you dream up. The thick, bready bottom will not get soggy even with vegetables or extra sauce. Load it up or keep it simple, the pan pizza structure can handle anything.
- Mushrooms release water, so sauté them first if you want to avoid a soggy situation
- Fresh herbs like basil should go on after baking so they keep their bright green color
- Leftover pizza reheats beautifully in a skillet, which actually crisps the bottom even more
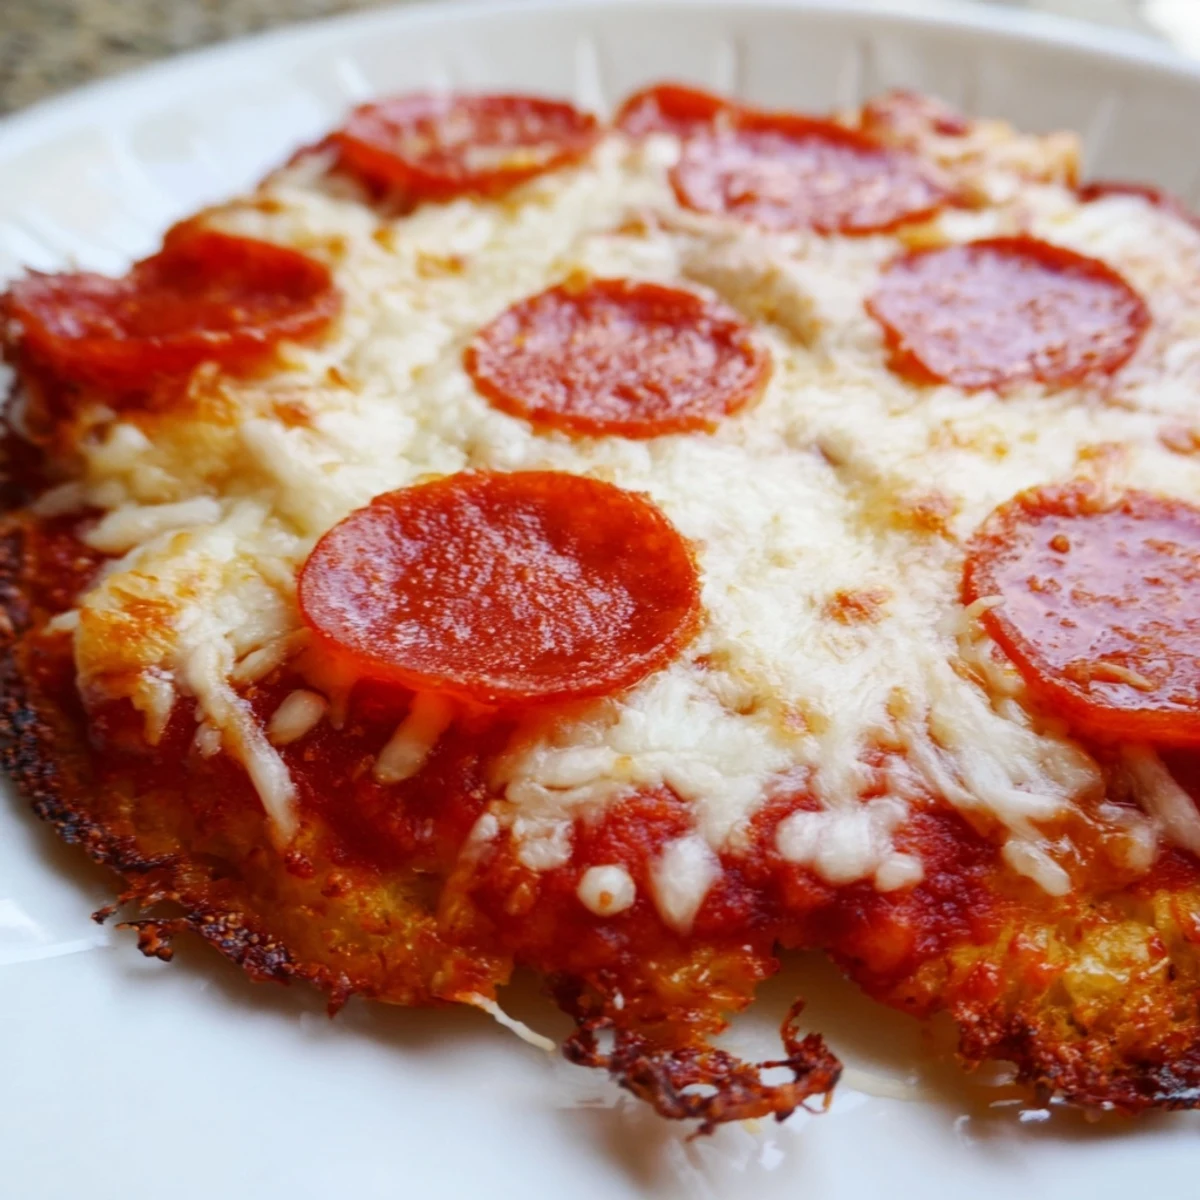 Save
Save There is something deeply satisfying about pulling a bubbling, golden pan pizza from the oven. The smell alone will gather everyone in the house to the kitchen, and that first crispy, cheesy bite is absolute perfection.
Common Questions
- → What makes the crust crispy?
-
The butter-greased pans combined with high heat baking create the signature crispy bottom and edges, while olive oil brushed on the crust adds golden color and extra crunch.
- → Can I let the dough rise overnight?
-
Yes, refrigerating the dough overnight develops deeper flavor. Let it come to room temperature for 30 minutes before shaping and baking.
- → Why use cake pans instead of pizza pans?
-
Cake pans have higher sides that help the dough rise thicker, creating the iconic pan pizza structure with a soft, bread-like interior.
- → What toppings work best?
-
Pepperoni, mushrooms, bell peppers, onions, and sausage all pair perfectly. Avoid watery vegetables that can make the crust soggy.
- → How do I know when it's done?
-
The crust should be deep golden brown and the cheese bubbling with slightly browned spots. The edges should lift easily from the pan.
- → Can I freeze the dough?
-
Yes, after the first rise, wrap the dough tightly in plastic and freeze for up to 3 months. Thaw overnight in the refrigerator before using.
