 Save
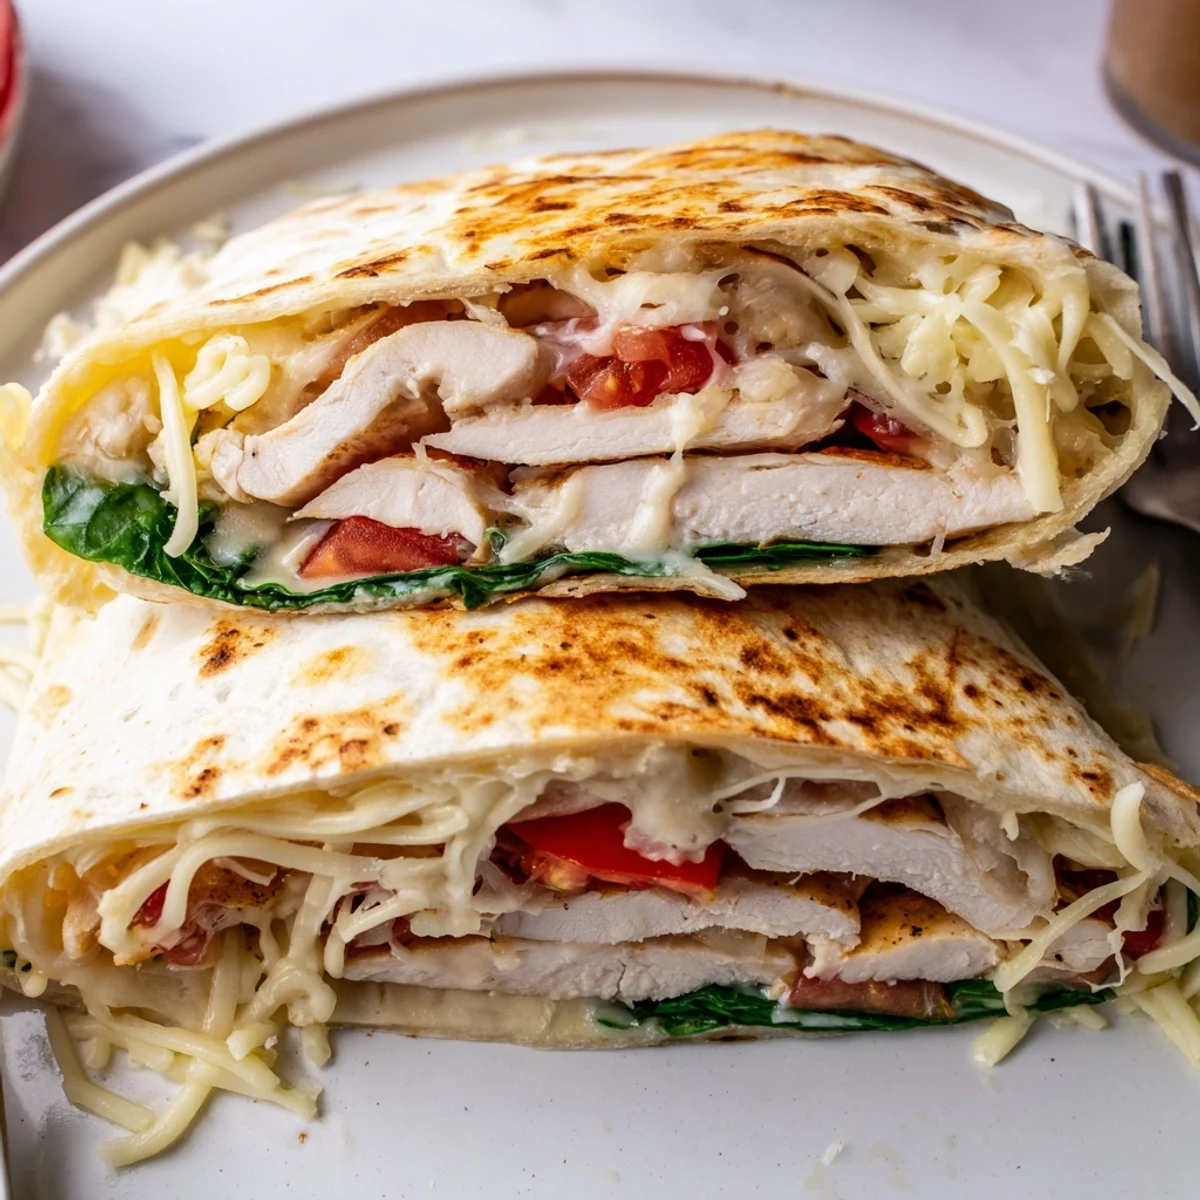
Save Season chicken with olive oil, garlic powder, smoked paprika, salt and pepper, then grill 6–7 minutes per side until cooked through. Stir together mozzarella, cheddar, Parmesan, minced garlic, mayo and parsley for a creamy, garlicky spread. Assemble with spinach and tomatoes, then grill 2–3 minutes per side to melt the cheese. Ready in about 35 minutes for 4 servings. Store leftovers chilled up to 3 days; reheat in a skillet to restore crispness.
The sizzle of chicken hitting a hot skillet always pulls me into the moment, but making these Cheesy Garlic Chicken Wraps, the aroma of garlic and bubbling cheese is what truly announces dinner. I accidentally startled my cat once flipping a wrap too enthusiastically, and ever since, I associate these with a little kitchen chaos and a lot of comforting flavor. The first time I assembled them was mostly guesswork, but somehow, the abundance of melty cheese and fresh greens had everyone convinced I was hiding a secret recipe. There’s just something satisfying about transforming those simple ingredients into a meal you want to eat straight from the pan.
I made these wraps for a late-night movie marathon with friends; sleep-deprived and hungry, we wrapped, grilled, and devoured them between laughs. That little crowd around my stove while the garlic hit the skillet is still one of my favorite kitchen scenes.
Ingredients
- Chicken breasts: Good chicken is the backbone here—slice thin for maximum flavor pickup from the spices.
- Olive oil: Rubbing this in helps get that gorgeous golden sear and keeps the meat juicy.
- Garlic powder, smoked paprika, salt, pepper: This combo lifts the chicken from basic to irresistible with just a few shakes.
- Mozzarella, cheddar, Parmesan cheese: Using a trio gives both stringy melt and big flavor; I like to shred my own for best results.
- Minced garlic: Raw garlic in the cheese mix is a revelation; don’t skip it unless you must.
- Mayonnaise: It’s what makes the cheese mix creamy enough to spread.
- Fresh parsley: Chopped in at the end, parsley gives a little lift that cuts the richness beautifully.
- Flour tortillas: Bigger is better so you can pack in the fillings and still wrap them up tight.
- Baby spinach or mixed greens: These add freshness and sneak in some green goodness.
- Sliced tomatoes and optional red onion: They brighten everything and add just the right amount of crunch.
Instructions
- Sizzle the chicken:
- Heat your grill pan or skillet until just smoking and lay on the chicken; the scent will tell you when it’s ready. Flip once for bold grill marks and cook until just done, then give it a rest before slicing it thinly against the grain.
- Mix the cheese magic:
- In a bowl, combine all the cheeses with the garlic, mayo, and parsley, stirring until it’s lush and spreadable—taste to see if you want more garlic or cheese.
- Layer and wrap:
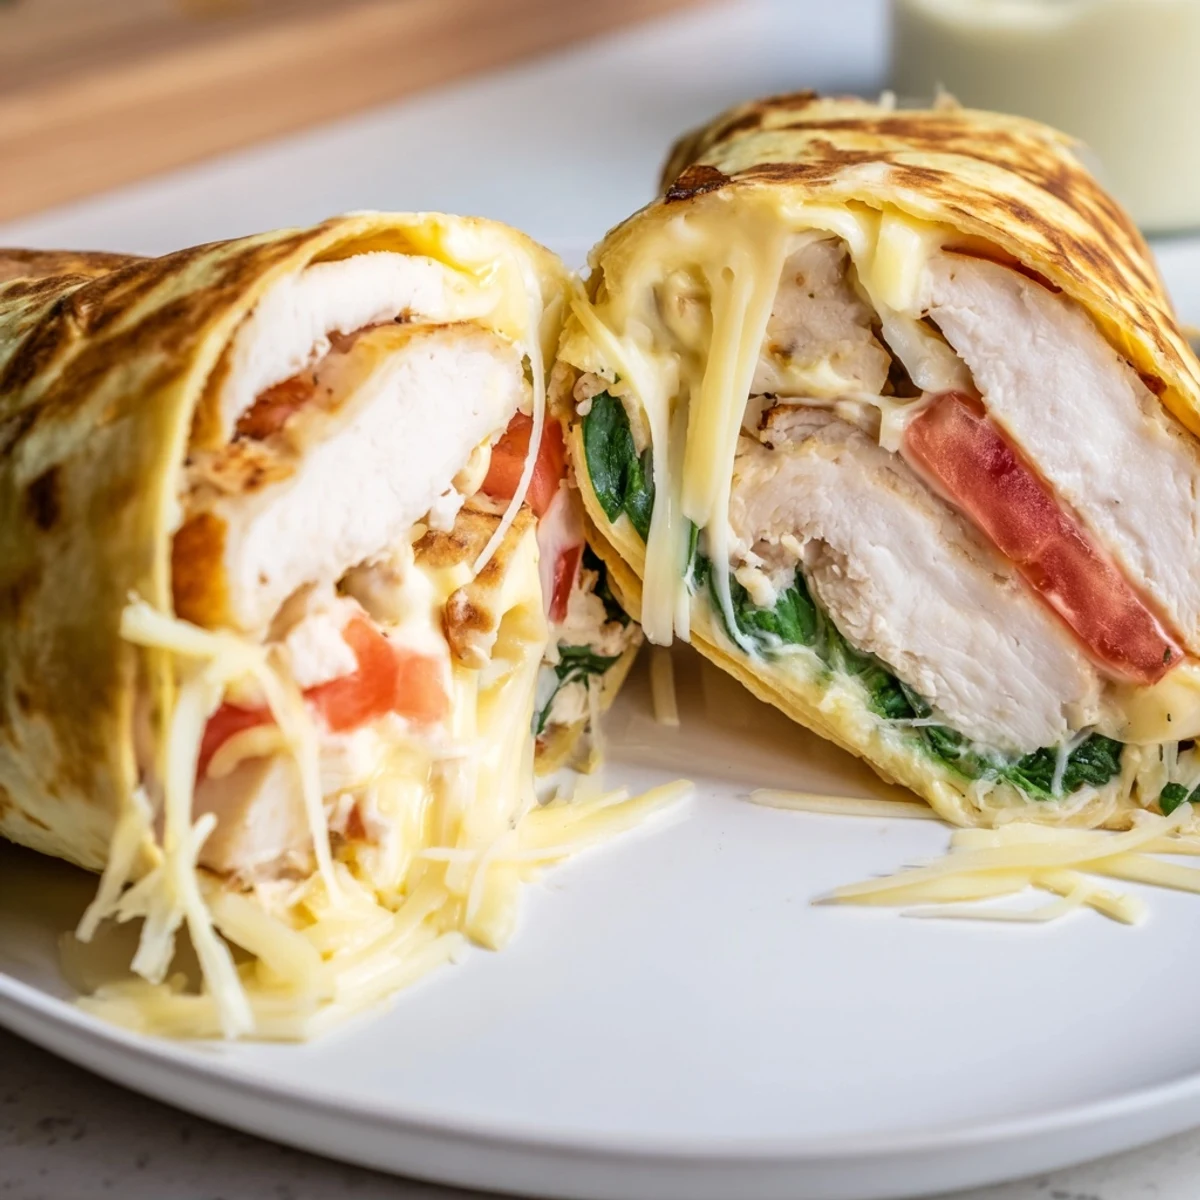
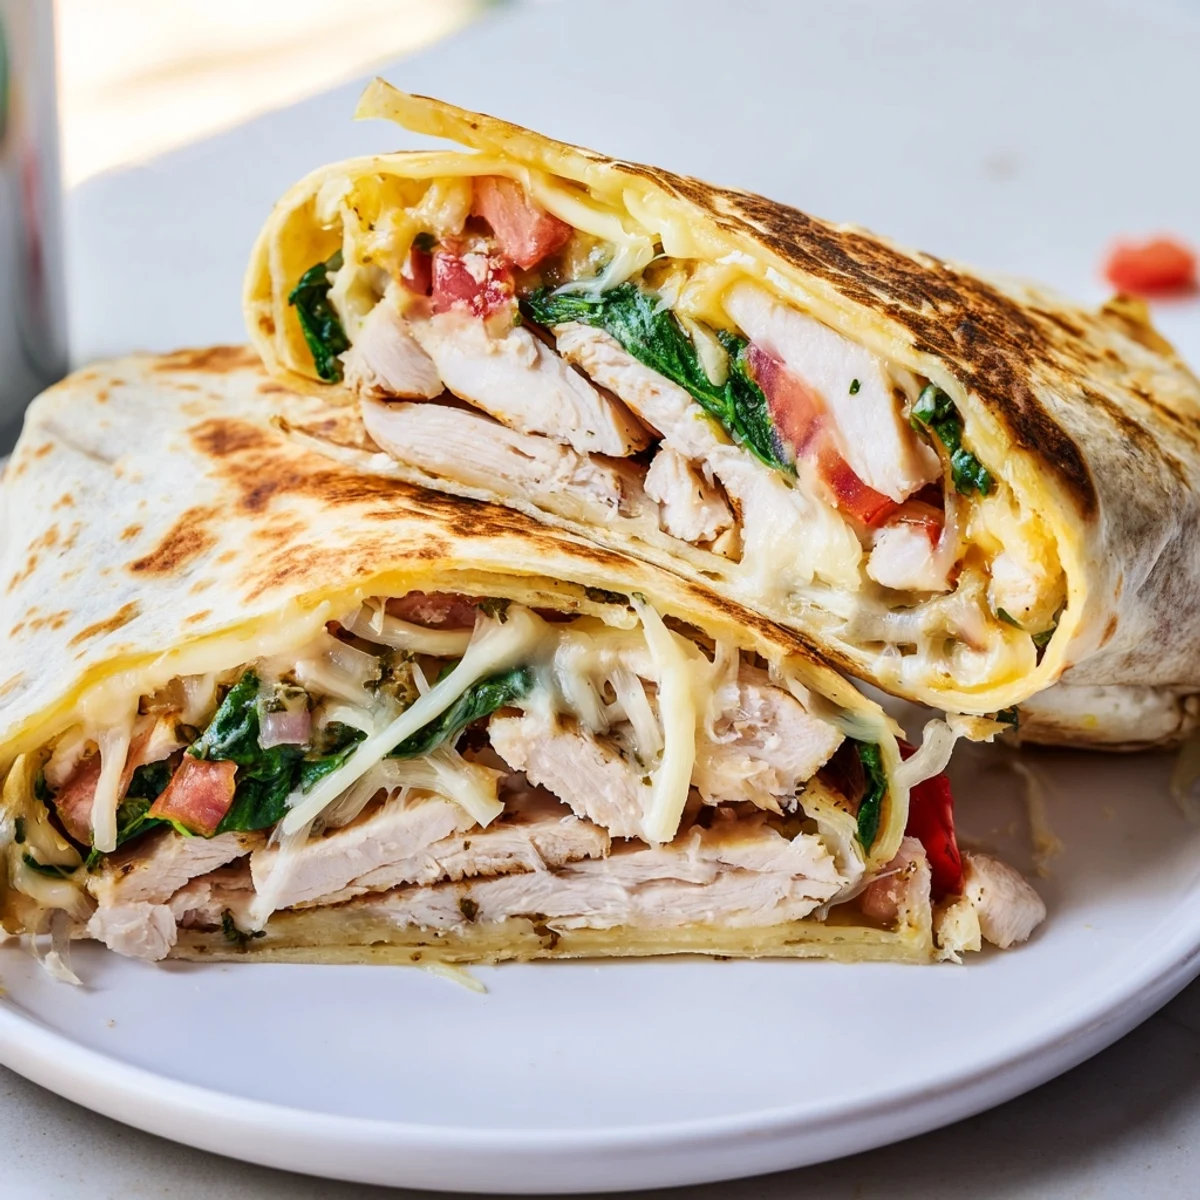
- With your tortillas laid out, spread a quarter of the cheese mixture on each. Top with greens, tomatoes, any onions, and those warm chicken slices; fold in the sides and roll tightly so nothing escapes.
- Grill to perfection:
- Put each wrap seam-side down in a preheated clean skillet, pressing gently with a spatula until the cheese inside goes gooey and the outside crisps, just a few minutes per side.
- Serve and enjoy:
- Transfer to a cutting board, slice in half if you like, and serve warm—there’s no shame in a cheese escape along the edges.
 Save
Save While eating these wraps on the porch during a sudden summer rain, I realized I’d made something that put everyone in a good mood—crunchy, cheesy hand-held happiness, no matter the weather.
Why Grilling the Wraps Matters
Finishing the wrap in a skillet isn’t just for looks—it fuses the cheese and seals the tortilla, holding in heat and locking in that glorious filling. That little bit of golden crisp sets these apart from any quick lunch wrap you’ve had.
Ingredient Swaps You’ll Love
I sometimes swap in cooked turkey or rotisserie chicken for ultimate speed, and mixing up the greens or adding sliced jalapeños gives endless combos. Using a spinach tortilla adds a new color and ensures your wraps never get boring.
Tricks for Meal Prep and Serving
Wraps can be prepped ahead—just assemble but don’t grill until ready to serve for the crispiest finish. These hold up well wrapped in foil for lunchboxes or picnics too; give them a quick skillet reheat for best texture.
- Chill leftovers and reheat in a skillet, never a microwave, to keep the crisp.
- Slice wraps on the diagonal for a touch of diner flair.
- Always peek inside to make sure the cheese melt is complete before serving.
 Save
Save However you riff on these wraps, they manage to bring ease and comfort to the table every time. Share them with the people you like best—or just treat yourself on a busy weeknight.
Common Questions
- → How do I ensure the chicken stays juicy?
-
Pat chicken dry, rub with olive oil and seasonings, and cook over medium-high heat 6–7 minutes per side. Let rest 5 minutes before slicing to retain juices.
- → What cheeses work best for the garlic spread?
-
A blend of mozzarella, cheddar and Parmesan gives melt, sharpness and savory depth. Use freshly grated Parmesan for the best flavor and texture.
- → Can I make these ahead for meal prep?
-
Prepare components ahead: grill and slice chicken, mix the cheese spread and store separately. Assemble and grill just before serving; fully assembled and chilled wraps keep up to 3 days.
- → How do I get the tortillas nicely crisp without burning?
-
Use a clean skillet over medium heat and grill seam-side down first to seal. Flip and press gently, cooking 2–3 minutes per side until golden and cheese is melted, adjusting heat as needed.
- → What are easy ingredient swaps for convenience?
-
Use rotisserie chicken or leftover cooked turkey to save time. Swap mayonnaise for Greek yogurt for a tangier spread, or try whole wheat tortillas for extra fiber.
- → How can I add heat or extra flavor?
-
Mix diced jalapeño or a dash of hot sauce into the cheese spread, or top with pickled onions to introduce acidity and a spicy kick.
