 Save
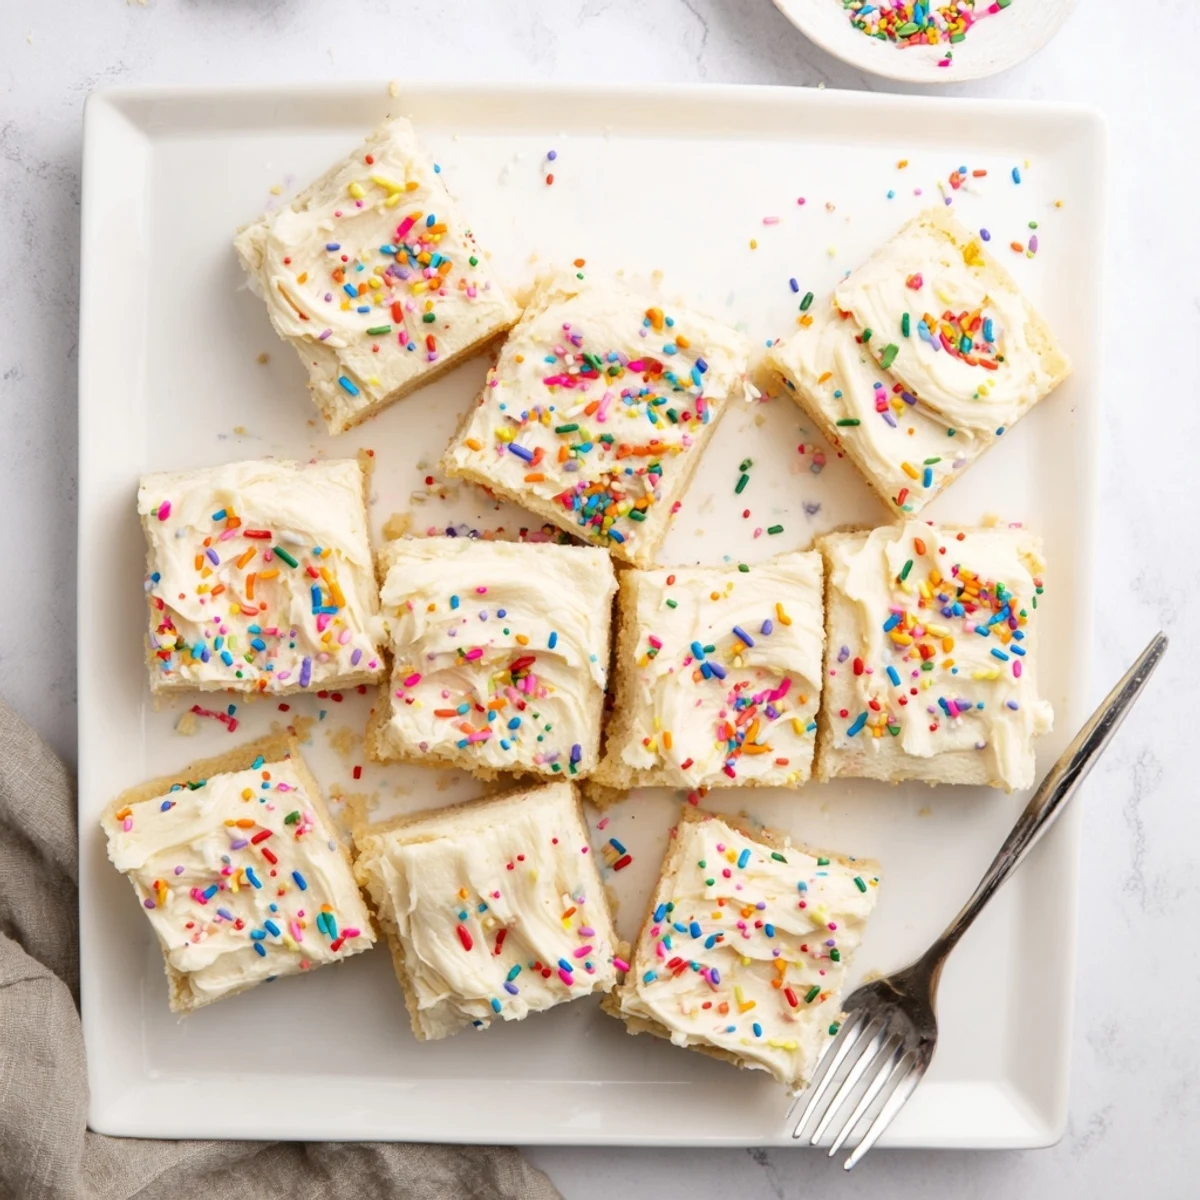
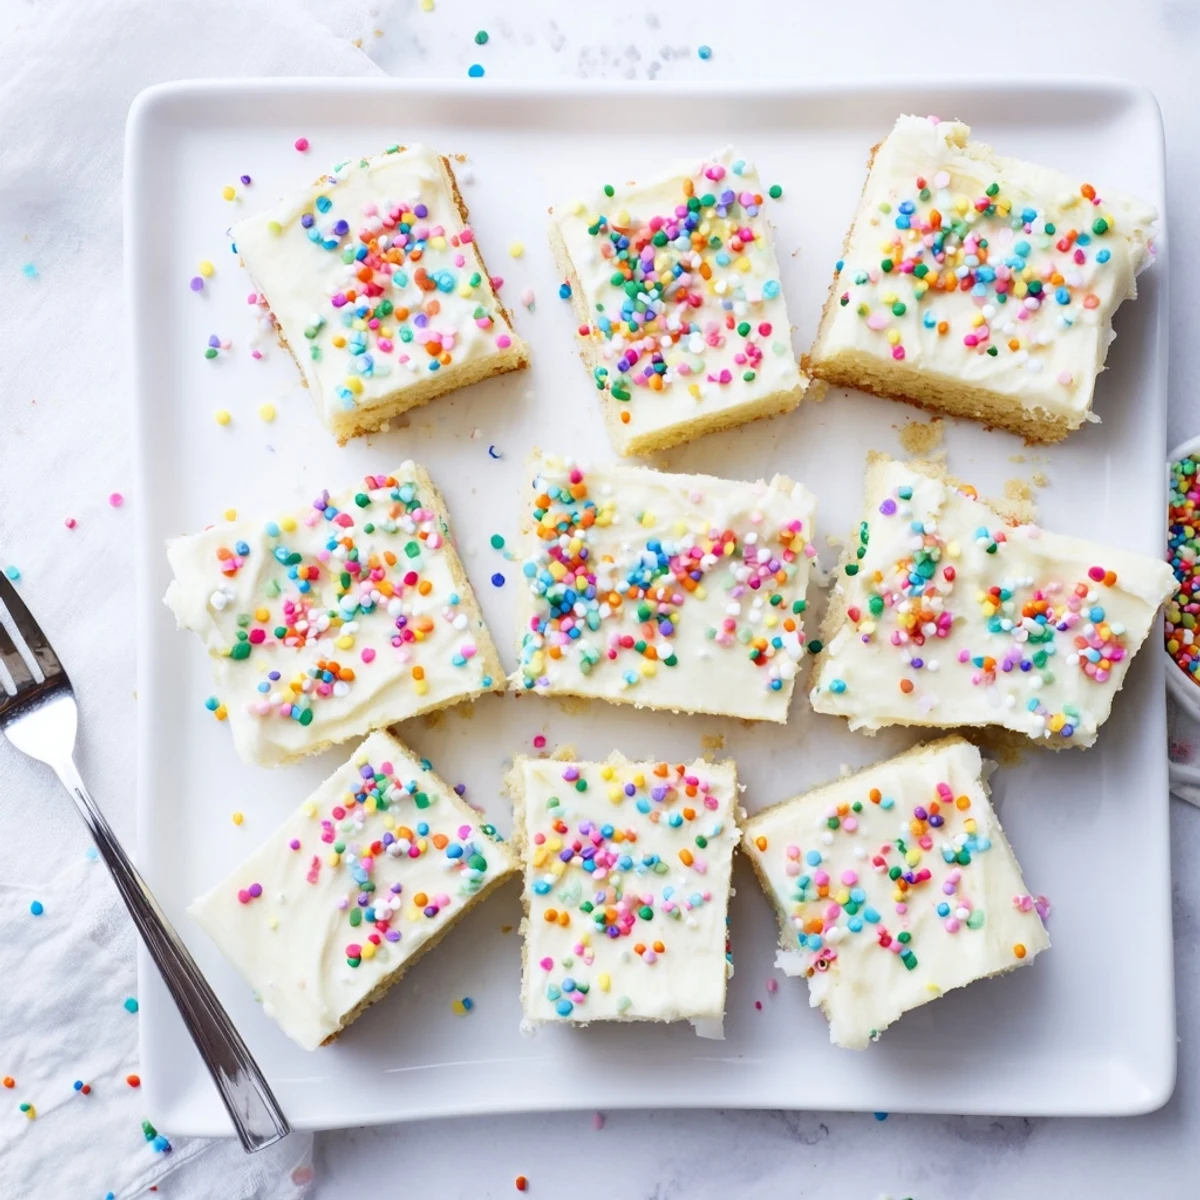
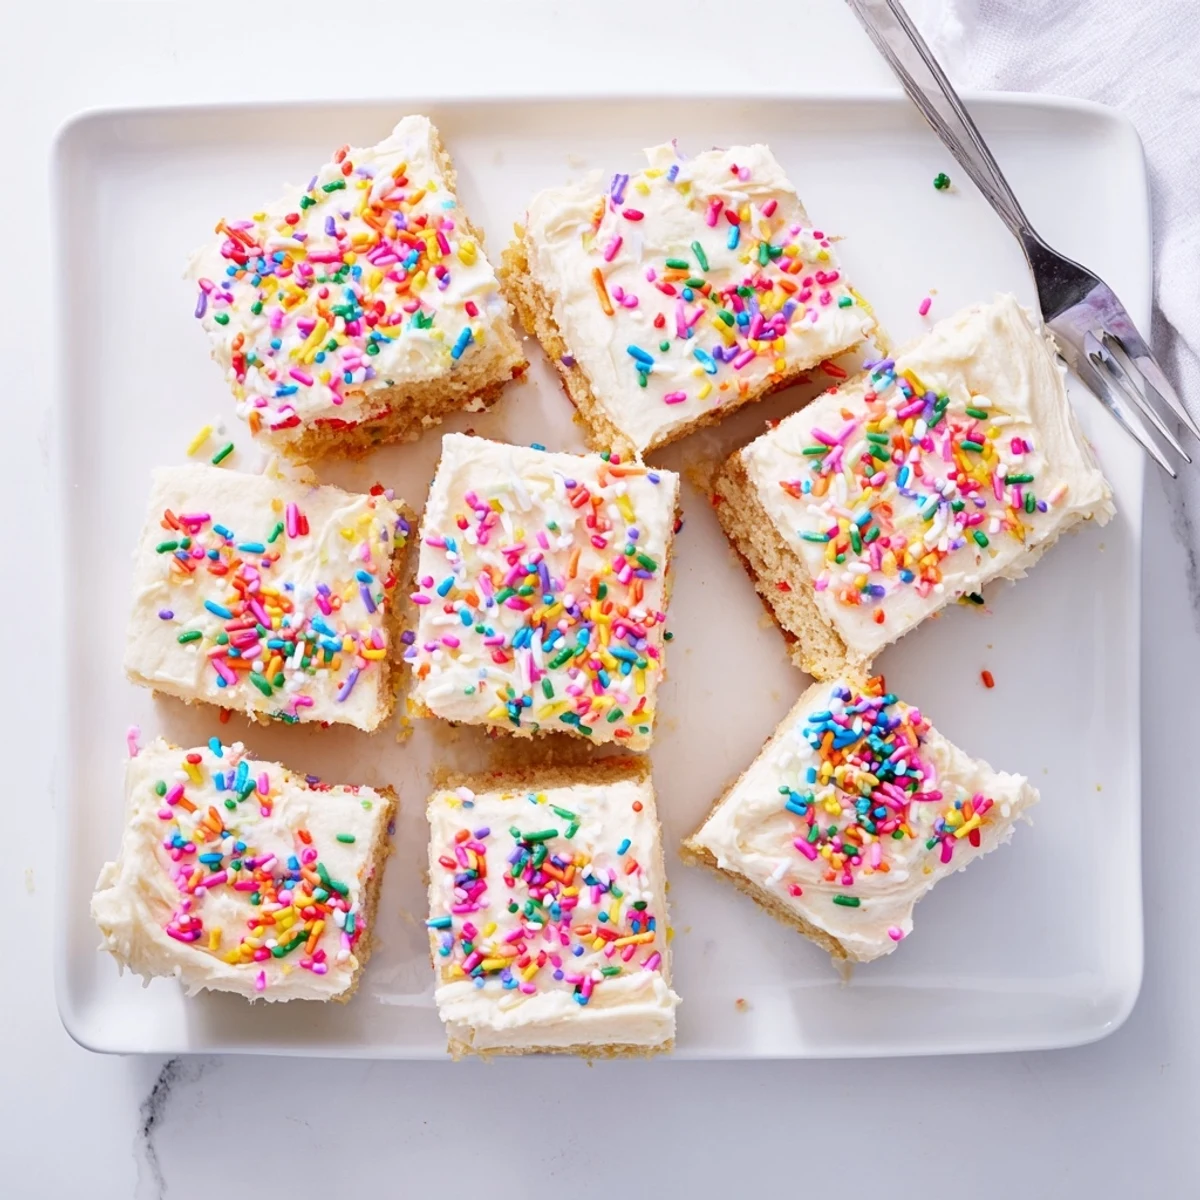
Save These soft and buttery sugar cookie bars feature a tender vanilla base topped with silky smooth frosting. The dough comes together quickly with basic pantry staples, then bakes into golden squares that hold their shape beautifully. A rich cream cheese-style butter frosting creates the perfect sweet finish, ideal for adding sprinkles or food coloring for any occasion.
The bars are ready in under an hour from start to finish—just 20 minutes prep and 20 minutes baking time. They slice neatly into 24 squares, making them perfect for parties, potlucks, or school events. The cookie base stays soft for days when stored properly, and the frosting sets beautifully while remaining creamy.
Customize these bars with citrus zest in the dough, swap almond extract for vanilla in the frosting, or add food coloring to match any party theme. The straightforward technique involves creaming butter and sugar, mixing in dry ingredients, pressing the dough into a pan, and frosting once completely cooled.
Last summer my youngest daughter requested pink cookie bars for her birthday instead of a traditional cake. I had never made bar cookies before, but something about the simplicity appealed to me. We stood in the kitchen together mixing the dough while she chattered about which sprinkles to use. Those soft, frosted squares disappeared faster than any birthday cake I have ever served.
I learned the hard way that pressing the dough into the pan with floured hands works better than trying to pat it down with a spatula. The first time I made these, the dough stuck to everything and I ended up with uneven bars. Now I keep a small bowl of flour beside me and gently press the dough into an even layer. My neighbor swears by using the bottom of a measuring cup to press it down perfectly flat.
Ingredients
- Unsalted butter: Softened butter creates the tender crumb that makes these bars so irresistible, and using unsalted lets you control the seasoning
- Granulated sugar: Creaming this with the butter creates tiny air pockets that give the bars their lift and delicate texture
- Large egg: One egg is all you need to bind everything together without making the dough too heavy or dense
- Pure vanilla extract: Do not skip this or use imitation, because the vanilla flavor is what makes these taste like a professional bakery treat
- All purpose flour: This provides the structure while still keeping the bars tender and soft
- Baking powder: Just a half teaspoon gives these bars the slightest rise so they are not flat or dense
- Salt: A small amount balances the sweetness and brings out all the buttery vanilla flavors
- Unsalted butter for frosting: Room temperature butter whips into the silkiest frosting imaginable
- Powdered sugar: Sifting this first prevents any lumps in your smooth, creamy frosting
- Milk: Start with two tablespoons and add the third only if needed to reach your desired spreading consistency
- Food coloring: Gel colors work best and will not thin out your frosting like liquid colors can
Instructions
- Get everything ready:
- Preheat your oven to 350°F and line a 9x13-inch pan with parchment paper, letting the paper hang over the edges like handles. These will be your best friends when it comes time to lift the bars out later.
- Cream the butter and sugar:
- Beat the softened butter and granulated sugar together for a full 2 to 3 minutes until the mixture turns pale and fluffy. This step is worth every second because it creates the light texture that makes these bars so special.
- Add the egg and vanilla:
- Beat in the egg and vanilla extract until everything is completely combined and the mixture looks smooth and glossy. Scrape down the sides of the bowl to make sure nothing is hiding at the bottom.
- Whisk the dry ingredients:
- In a separate bowl, whisk together the flour, baking powder, and salt until they are evenly distributed. This step prevents you from biting into a bitter pocket of baking powder later.
- Combine everything:
- Gradually add the dry ingredients to the butter mixture, mixing just until you no longer see streaks of flour. Overmixing will make your bars tough, so stop as soon as the dough comes together.
- Press into the pan:
- Transfer the dough to your prepared pan and press it into an even layer using floured hands or the bottom of a measuring cup. Take your time to get it uniform so the bars bake evenly.
- Bake to perfection:
- Bake for 18 to 20 minutes until the edges are barely golden and the center is set. The bars should still look slightly underbaked because they will continue cooking as they cool.
- Make the frosting:
- Beat the softened butter until creamy, then gradually add powdered sugar while alternating splashes of milk. Keep beating until the frosting is smooth and spreadable.
- Finish with flair:
- Mix in vanilla and a pinch of salt, then add food coloring if you want something festive. Spread the frosting over the completely cooled bars and add sprinkles while the frosting is still soft so they stick.
- Slice and serve:
- Use the parchment paper handles to lift the whole slab out of the pan, then cut into 24 squares with a sharp knife. Wipe the knife between cuts for the cleanest edges.
 Save
Save My sister in law asked for the recipe after trying them at a baby shower last month. She told me her family finished the entire pan before dinner was even served. I love how something so simple can become such a requested recipe.
Making Them Your Own
Once you have the basic recipe down, the variations are endless. I have added lemon zest to the dough and frosted them with strawberry frosting for spring. My daughter loves when I tint the frosting pink and add rainbow sprinkles for her school birthday treats. The dough itself is so forgiving that it adapts beautifully to whatever flavor you are craving.
Storage Tips
These bars actually taste better on day two because the frosting has time to meld with the cookie. Store them in an airtight container at room temperature for up to three days. If you need them to last longer, refrigerate for up to a week but bring them to room temperature before serving for the best texture. I have also frozen unfrosted bars for up to three months and frosted them after thawing.
Serving Suggestions
Cut them slightly smaller for parties because these are rich and satisfying. They pair perfectly with a cold glass of milk or a hot cup of coffee. I have served them at everything from casual potlucks to baby showers, and they always disappear first. For birthdays, add candles on top of individual frosted squares instead of a traditional cake.
- Press sprinkles into the frosting gently so they do not roll off when cutting
- Use a warm knife to cut clean slices without dragging the frosting
- Chill the frosted bars for 15 minutes before cutting for the neatest edges
 Save
Save There is something so satisfying about a dessert that looks impressive but comes together with such ease. These bars have earned a permanent spot in my baking rotation, and I bet they will find a special place in yours too.
Common Questions
- → Can I make sugar cookie bars ahead of time?
-
Yes! Bake the cookie base up to 2 days in advance. Store unfrosted bars wrapped tightly at room temperature. Frost the day you plan to serve for the freshest taste and texture. Frosted bars keep well for 3 days at room temperature or up to 1 week refrigerated.
- → Why did my cookie bars turn out hard?
-
Overbaking is the most common cause. Remove from the oven when edges are lightly golden and the center looks set—about 18-20 minutes. The bars continue cooking slightly from residual heat. Also ensure you're measuring flour correctly by spooning it into measuring cups rather than dipping.
- → Can I freeze sugar cookie bars?
-
Absolutely! Freeze unfrosted bars for up to 3 months wrapped tightly in plastic and foil. Thaw at room temperature before frosting. You can also freeze frosted bars—first freeze uncovered until frosting is firm, then wrap individually. Thaw in the refrigerator overnight.
- → What size pan should I use?
-
A standard 9x13-inch baking pan works perfectly for this dough. This size yields bars with ideal thickness—tall enough to be satisfying but not so thick that they undercook in the center. Line with parchment paper leaving an overhang for easy removal and clean slicing.
- → How do I know when the bars are done baking?
-
The edges should be very lightly golden while the center appears set, not jiggly or shiny. A toothpick inserted in the center should come out with moist crumbs but not wet batter. Remember that the bars will firm up as they cool, so slight underbaking is preferable to overbaking.
- → Can I use salted butter instead of unsalted?
-
Yes, simply reduce the added salt in both the cookie dough and frosting by half. Salted butter contains about 1/4 teaspoon salt per stick, so this adjustment prevents the final bars from becoming too salty while maintaining proper flavor balance.
