 Save
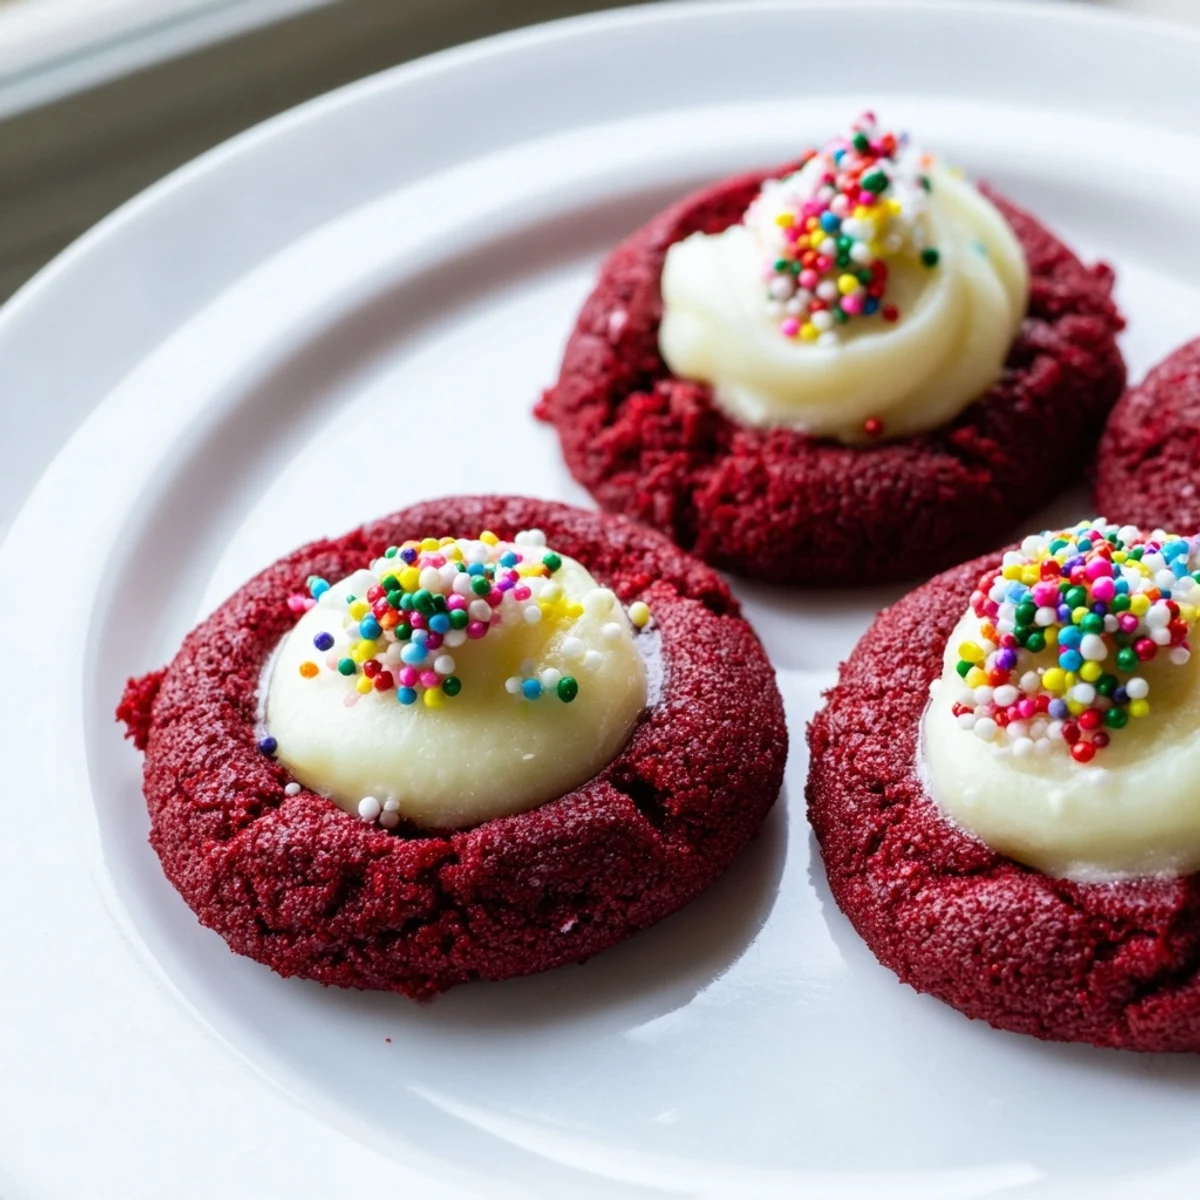
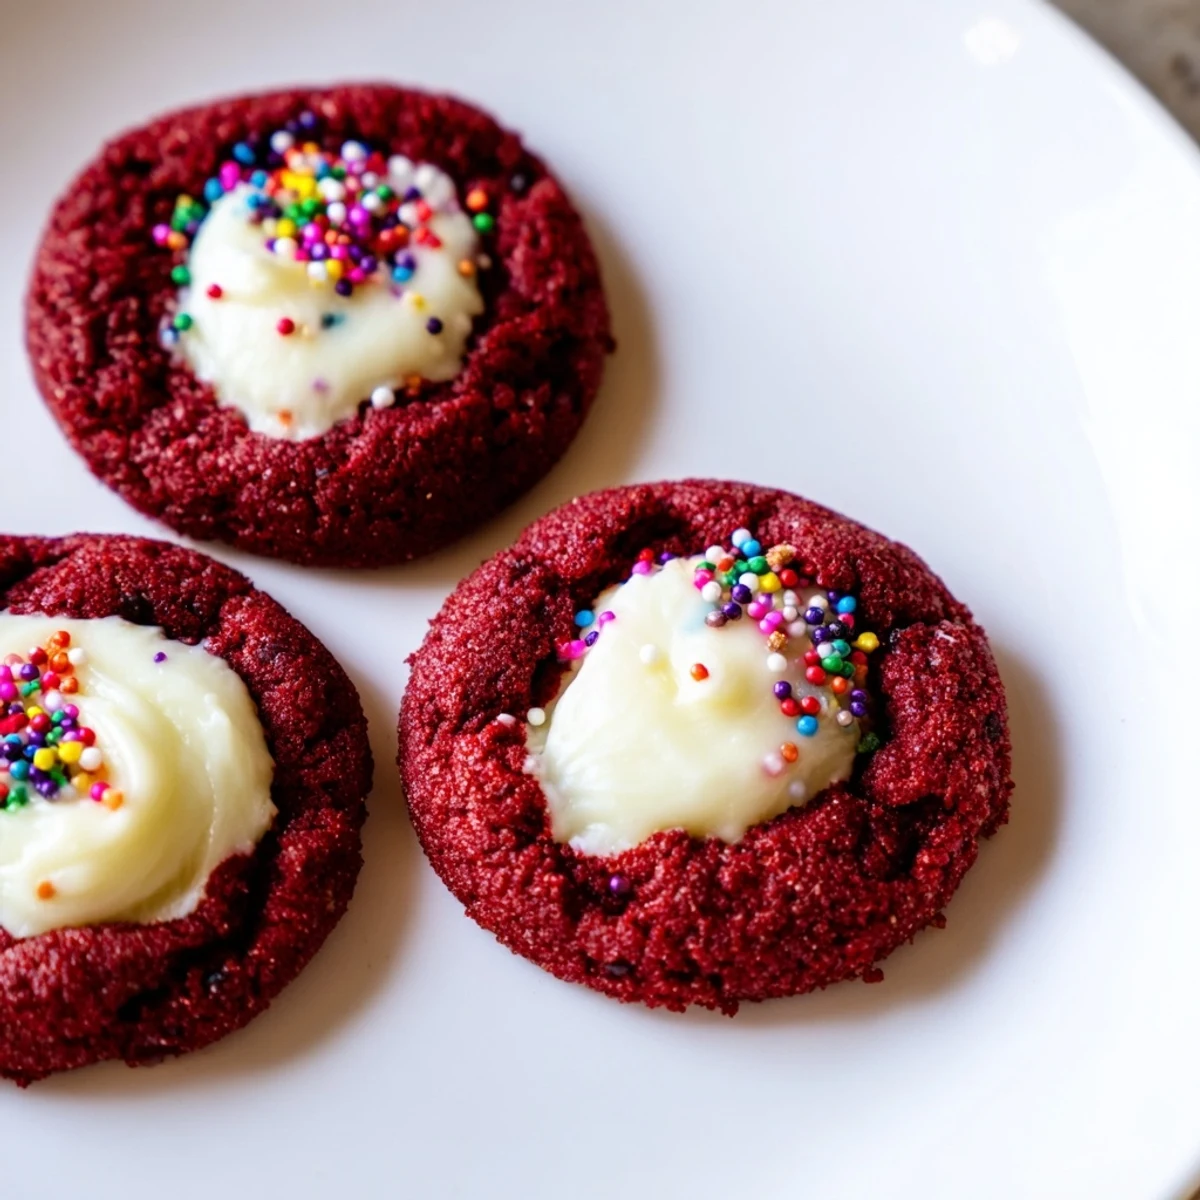
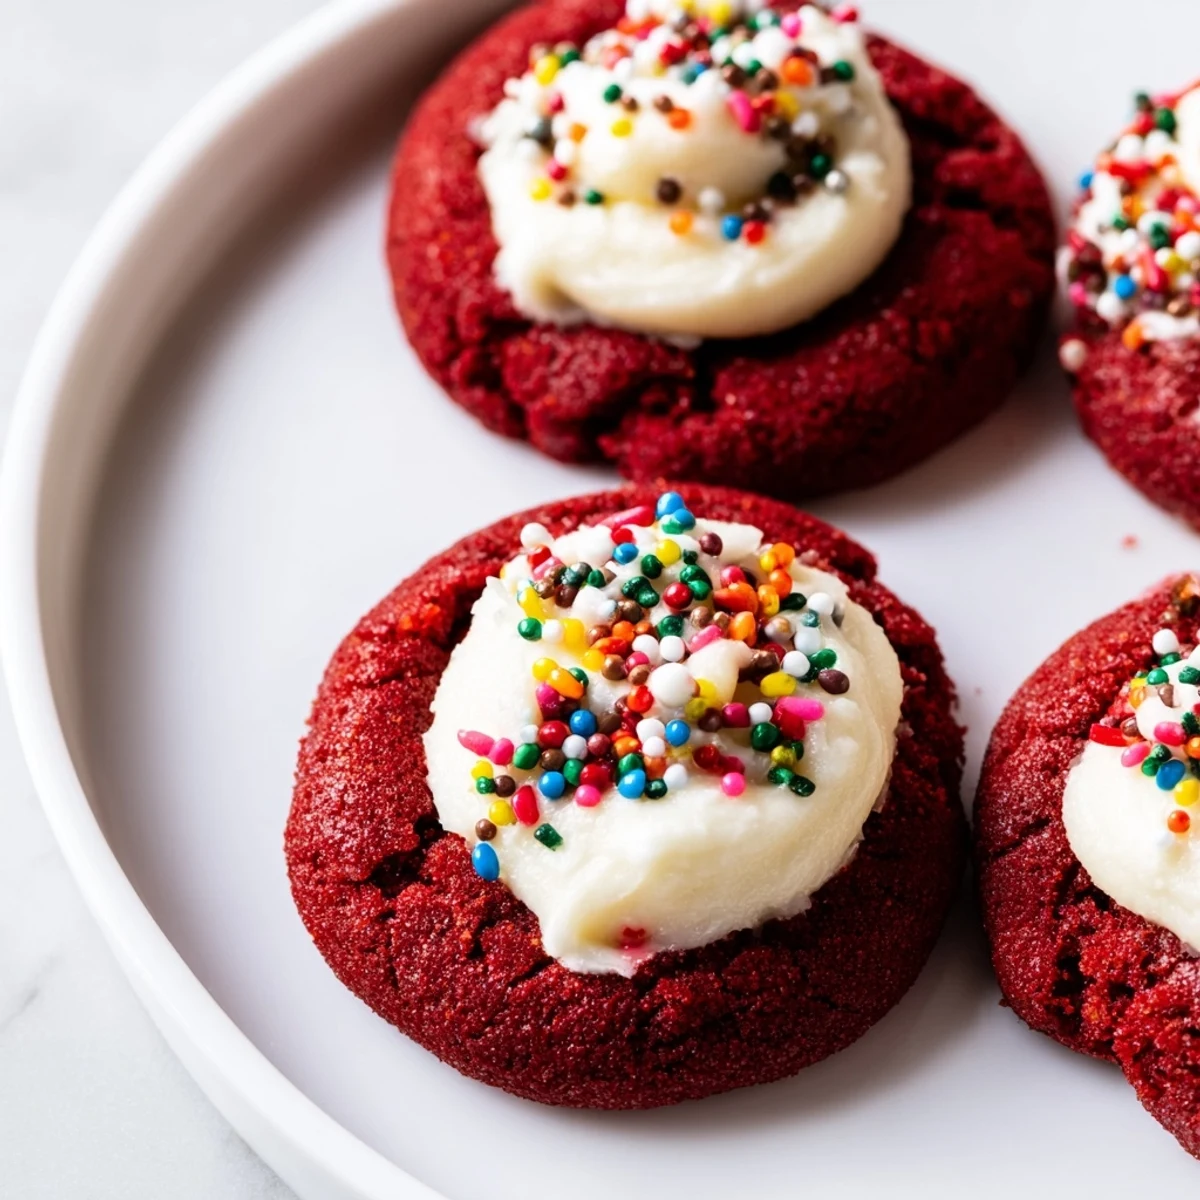
Save These indulgent red velvet thumbprint cookies combine the classic cocoa-flavored cake texture with a irresistible creamy filling. Each tender cookie features a thumbprint center filled with smooth cream cheese frosting or white chocolate ganache, creating a beautiful contrast of flavors and textures.
The dough comes together quickly with basic pantry ingredients, requiring just 20 minutes of prep time. After baking, the cookies set with slightly crisp edges while maintaining their signature soft, velvety interior. The cream cheese filling adds a tangy sweetness that perfectly complements the chocolate notes.
These thumbprint cookies are naturally red, making them stunning for holidays like Valentine's Day, Christmas, or Fourth of July celebrations. They're easily customizable with different fillings and toppings—from festive sprinkles to crushed candy canes—allowing you to adapt them for any occasion throughout the year.
These cookies happened by accident one December afternoon when I had red velvet cake batter leftover and thumbprint cookies on my mind. That rich chocolate-vanilla flavor with the tang of cream cheese just clicked together in ways I hadn't expected. My kitchen smelled like chocolate and holiday spices while they baked, which was honestly reason enough to make them again. They've become my go-to whenever I want something that looks impressive but doesn't require three hours and a culinary degree.
I brought a batch to my sister's holiday party last year and watched them disappear within twenty minutes. Her friend Sarah, who claims she doesn't even like red velvet anything, texted me the next day asking for the recipe. There's something about that combination of chocolate and cream cheese that makes people forget they're supposed to be saving room for dinner.
Ingredients
- All-purpose flour: The foundation that gives these cookies their structure and tender crumb
- Unsweetened cocoa powder: Deep chocolate flavor without competing sweetness, Dutch-processed is ideal
- Baking soda: Just enough to help the cookies spread slightly and get those perfect cracked edges
- Salt: Essential to balance the sugar and enhance the chocolate flavor
- Unsalted butter: Use softened butter for proper creaming, room temperature makes all the difference
- Granulated sugar: Creates the crisp edges and helps the cookies hold their shape
- Egg yolk: Adds richness and helps create that soft, fudgy center texture
- Whole milk: Brings everything together and adds moisture without thinning the dough too much
- Vanilla extract: Classic flavor that bridges the gap between chocolate and cream cheese
- Red food coloring: Gives that signature red velvet hue, gel coloring works best for vibrant color
- Cream cheese: The filling star, use full-fat for the smoothest, creamiest result
- Powdered sugar: Sweetens the cream cheese filling without making it grainy
Instructions
- Preheat and prep your space:
- Get your oven to 350°F and line two baking sheets with parchment paper so you're ready to go
- Whisk the dry ingredients:
- Combine flour, cocoa powder, baking soda, and salt in a medium bowl, breaking up any cocoa clumps
- Cream the butter and sugar:
- Beat softened butter and sugar for about 2 minutes until it's noticeably lighter and fluffier
- Add the wet ingredients:
- Mix in the egg yolk, milk, vanilla, and red food coloring until everything is evenly colored
- Combine everything:
- Gradually stir in the dry ingredients just until you don't see dry flour anymore, don't overmix
- Make the creamy filling:
- Whisk cream cheese, powdered sugar, and vanilla in a small bowl until completely smooth
- Shape the cookies:
- Roll dough into 24 one-inch balls and arrange them on your prepared sheets with plenty of space
- Create the thumbprints:
- Press your thumb or a teaspoon gently into each ball, making a deep well for the filling
- Fill the centers:
- Spoon about half a teaspoon of cream cheese filling into each indentation
- Bake to perfection:
- Bake for 11 to 13 minutes until the edges look set but the centers still seem slightly soft
- Cool completely:
- Let them rest on the baking sheet for 5 minutes, then move to a wire rack to finish cooling
 Save
Save Last Valentine's Day, I made a double batch and packed them into little boxes tied with red twine. My neighbor left a note on my doorstep saying they were the best thing she'd eaten in months, and now I can't show up at her door without being asked if I brought any.
Making Them Your Own
Sometimes I swap the cream cheese filling for white chocolate ganache when I want something even more indulgent. Just melt white chocolate with a splash of heavy cream and let it cool before spooning it into the cookies. The contrast between the slightly tangy red velvet base and the sweet white chocolate is pretty incredible, especially for people who don't love cream cheese.
Festive Touches
During the holidays, I'll sprinkle crushed candy canes over the cream cheese filling right before baking. The peppermint flavor infuses the filling as it bakes, and the little red and white pieces look stunning against the dark red cookies. For summer parties, fresh raspberry compote in the centers instead of cream cheese feels lighter and still keeps that red theme going.
Storage and Serving
These cookies need to stay refrigerated because of that cream cheese filling, which actually works in your favor for make-ahead baking. The texture holds up beautifully for four days, though I've never been able to keep them around that long to confirm. Serve them straight from the fridge if you like the filling firm, or let them sit out for 15 minutes for a softer, creamier center.
- Freeze the dough balls before filling and bake straight from frozen, just add 2 minutes to the baking time
- If the filling starts to look browned before the cookies are done, tent the pan loosely with foil
- Room temperature butter is non-negotiable here, cold butter won't cream properly and you'll end up with dense cookies
 Save
Save There's something deeply satisfying about thumbprint cookies, like you're leaving your mark on each one before they even hit the oven. These have earned their permanent spot in my holiday baking rotation, right between the classic sugar cookies and the gingerbread nobody actually eats.
Common Questions
- → What makes these cookies red velvet?
-
The signature red color comes from red food coloring added to the dough, while unsweetened cocoa powder provides the classic subtle chocolate flavor that distinguishes red velvet from regular vanilla treats.
- → Can I use white chocolate instead of cream cheese filling?
-
Absolutely! White chocolate ganache makes an excellent alternative filling. Simply melt white chocolate with a small amount of heavy cream and fill the indentations before baking.
- → How should I store these thumbprint cookies?
-
Store in an airtight container in the refrigerator for up to 4 days. The cream cheese filling requires refrigeration to maintain freshness and prevent spoilage.
- → Why do my cookies lose their thumbprint indentations while baking?
-
If indentations disappear, gently press them again immediately after removing cookies from the oven while they're still warm. The dough is more pliable at this stage and will hold the shape better once cooled.
- → Can I freeze the dough or baked cookies?
-
Yes! Freeze unbaked dough balls for up to 3 months. Bake from frozen, adding 1-2 minutes to baking time. Baked cookies can also be frozen for 2-3 months, though the filling texture may change slightly upon thawing.
- → What's the best way to get uniform thumbprint indentations?
-
Use the back of a rounded measuring teaspoon (1/2 teaspoon size) to create consistent, even indentations. Dip the spoon in flour first to prevent sticking, and press gently but firmly into each dough ball.
