 Save
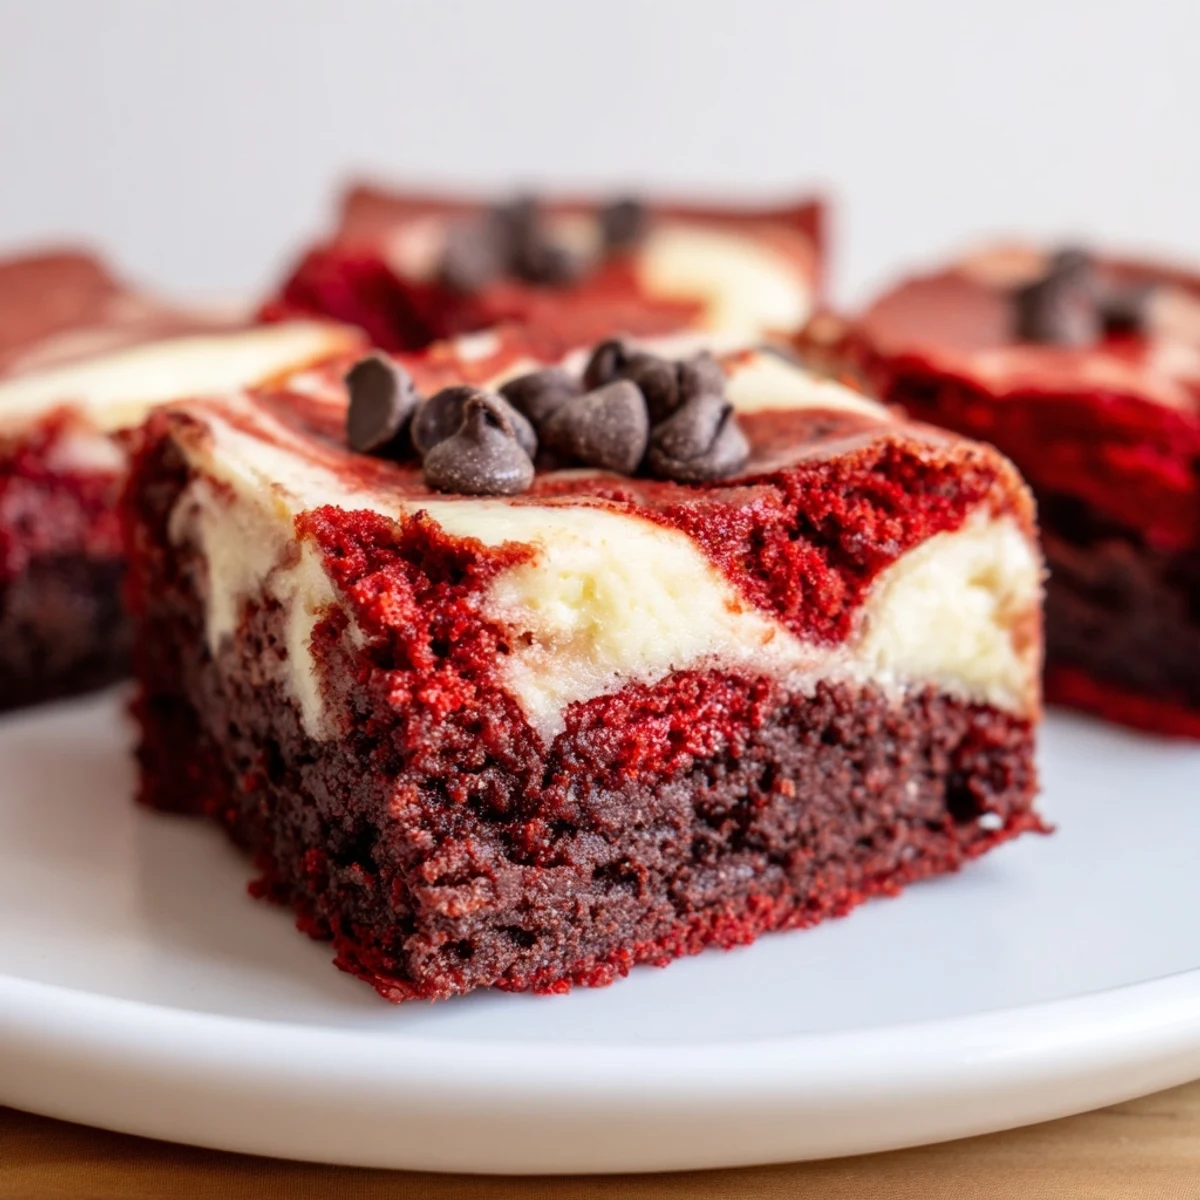
Save These bite-sized delights blend moist red velvet brownie base with a smooth cheesecake swirl, creating a rich and creamy texture. Easy to prepare and bake in a mini muffin tin, they offer a perfect balance of chocolate and tangy cream cheese. Ideal for gatherings or when craving a sweet treat, these bites can be customized with toppings like mini chocolate chips. Store refrigerated to keep freshness, and freeze if needed for longer storage.
Last Valentine's Day, I attempted these tiny red velvet cheesecake brownie bites for my book club. My kitchen looked like a crime scene with red food coloring everywhere, but the moment everyone bit into that swirled creamy center, the mess completely faded from memory.
I brought these to a neighborhood potluck last spring, and my friend Sarah actually hid two in her purse to take home. Later she texted me asking if I'd accept payment for the recipe.
Ingredients
- Unsalted butter: Melting it first creates that dense fudgy brownie texture we want, not cakey
- Red food coloring: One tablespoon gives that dramatic ruby red, but gel coloring works too with less liquid
- All purpose flour: Measuring precisely prevents the centers from sinking during baking
- Cream cheese: Room temperature is nonnegotiable or you'll end up with lumpy swirls
- Egg yolk only: Using just the yolk in the cheesecake layer makes it extra creamy without being loose
Instructions
- Prep your pan:
- Set oven to 350°F and line a 24 cup mini muffin tin with paper liners. The liners make removal foolproof and add a cute factor.
- Make the red velvet batter:
- Whisk melted butter and sugar until blended, then add eggs, vanilla, and red food coloring. Fold in the sifted flour, cocoa, and salt until just combined.
- Fill the cups:
- Divide batter among muffin cups, filling each about two thirds full. An ice cream scoop with a trigger makes this quick and mess free.
- Prepare the cheesecake swirl:
- Beat softened cream cheese until completely smooth, then add sugar, egg yolk, and vanilla. Mix until no lumps remain and the mixture looks glossy.
- Add the swirl:
- Drop a small spoonful of cheesecake mixture onto each brownie cup. Use a toothpick to gently swirl it into the batter just enough to create a marbled look.
- Bake to perfection:
- Bake 22 to 25 minutes until centers are set and a toothpick comes out with moist crumbs. Cool in pan 10 minutes before moving to a wire rack.
 Save
Save My daughter now requests these for every school bake sale. Her friends actually cheer when they see the red streaked container on the dessert table.
Make Ahead Magic
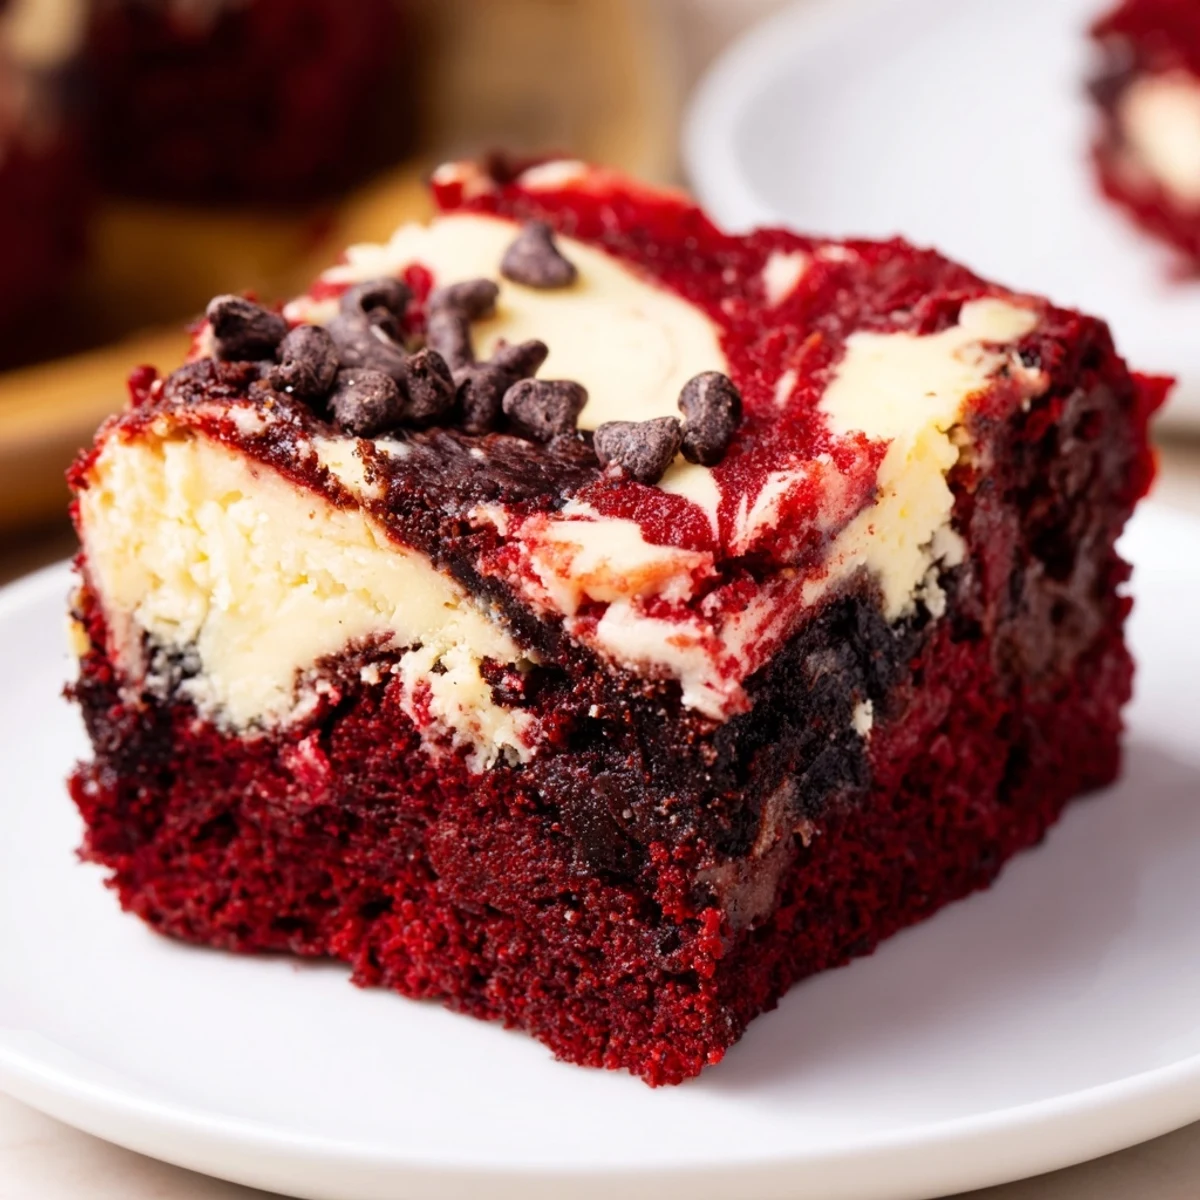
I've learned these taste even better after chilling overnight in the refrigerator. The flavors deepen and the texture becomes impossibly fudgy. They freeze beautifully for up to two months if you need to stockpile for unexpected guests.
Swirl Like a Pro
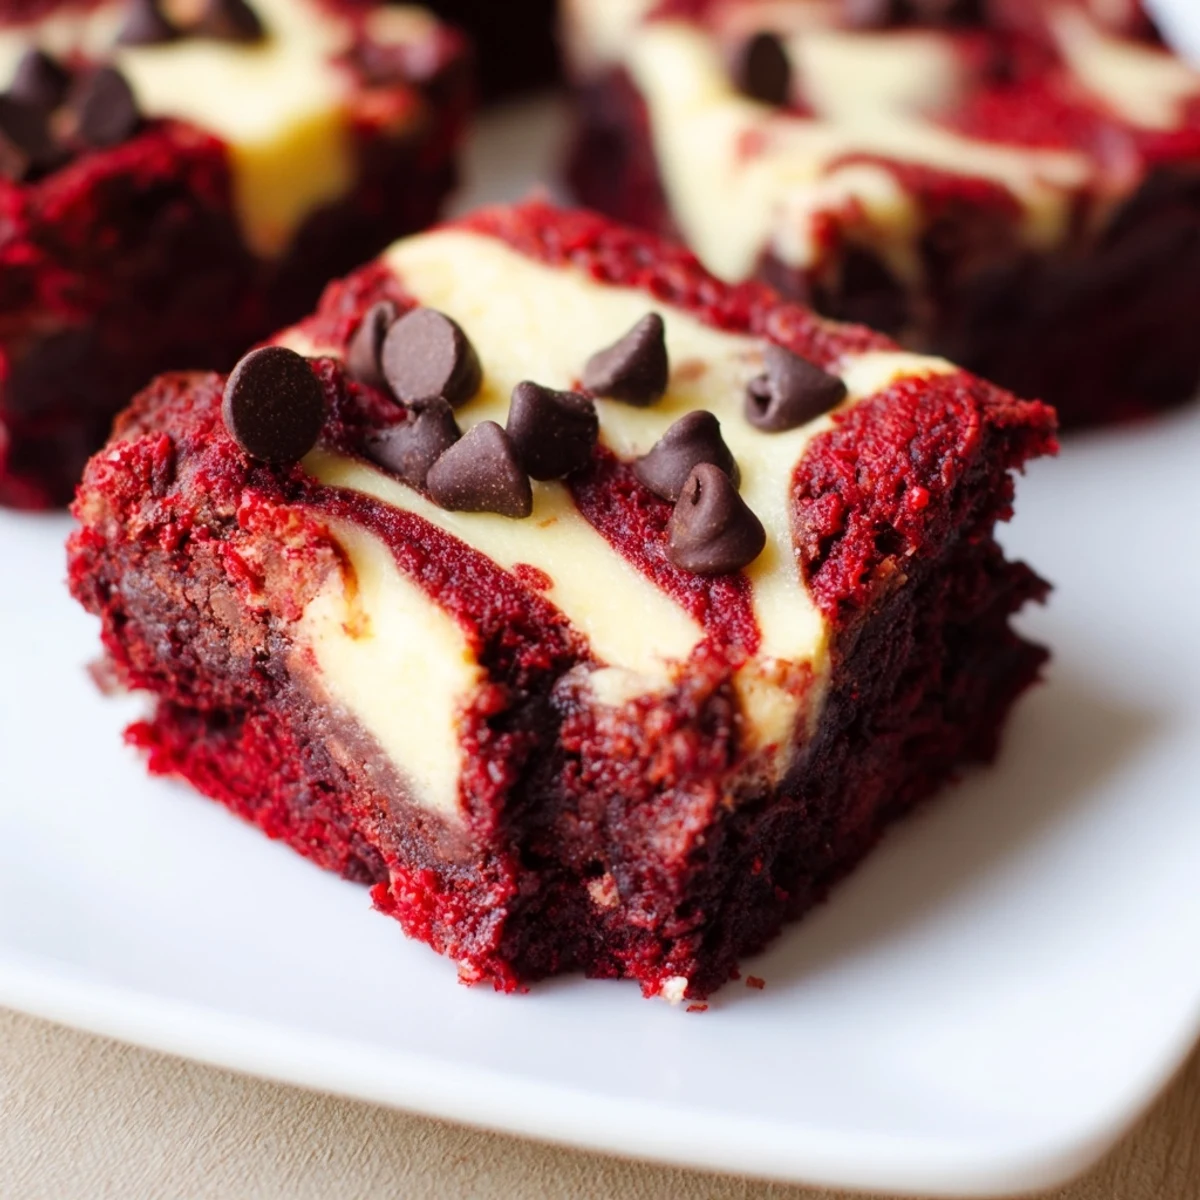
The swirling technique intimidated me at first, but here's what changed everything: don't overthink it. One gentle circular motion with your toothpick is enough. Over swirling muddies the distinct red and white layers that make these so gorgeous.
Serving Ideas
These tiny treats disappear faster than full sized desserts at parties. The individual portions feel special without requiring forks or plates. Set them on a tiered stand with some fresh berries nearby.
- Sprinkle mini chocolate chips on the cheesecake swirl before baking
- A dusting of powdered sugar right before serving makes them look bakery finished
- Try red sanding sugar for extra sparkle on holidays
 Save
Save Watch people's faces when they bite into that first swirl. It's the best part of making these little gems.
Common Questions
- → What ingredients give the red velvet flavor?
-
The combination of cocoa powder, red food coloring, and vanilla extract creates the classic red velvet taste in the brownie base.
- → How is the cheesecake swirl made?
-
The swirl is a mixture of softened cream cheese, sugar, egg yolk, and vanilla extract that is gently blended into the brownie batter before baking.
- → Can these bites be made ahead and stored?
-
Yes, they can be refrigerated in an airtight container for up to 5 days or frozen for up to 2 months without losing texture.
- → What baking tools are recommended?
-
A 24-cup mini muffin tin, mixing bowls, and a whisk or electric mixer help in preparing and shaping these bite-sized treats.
- → Are there any common allergens in these bites?
-
They contain dairy from butter and cream cheese, eggs, and gluten from all-purpose flour, so caution is advised for those with allergies.
