 Save
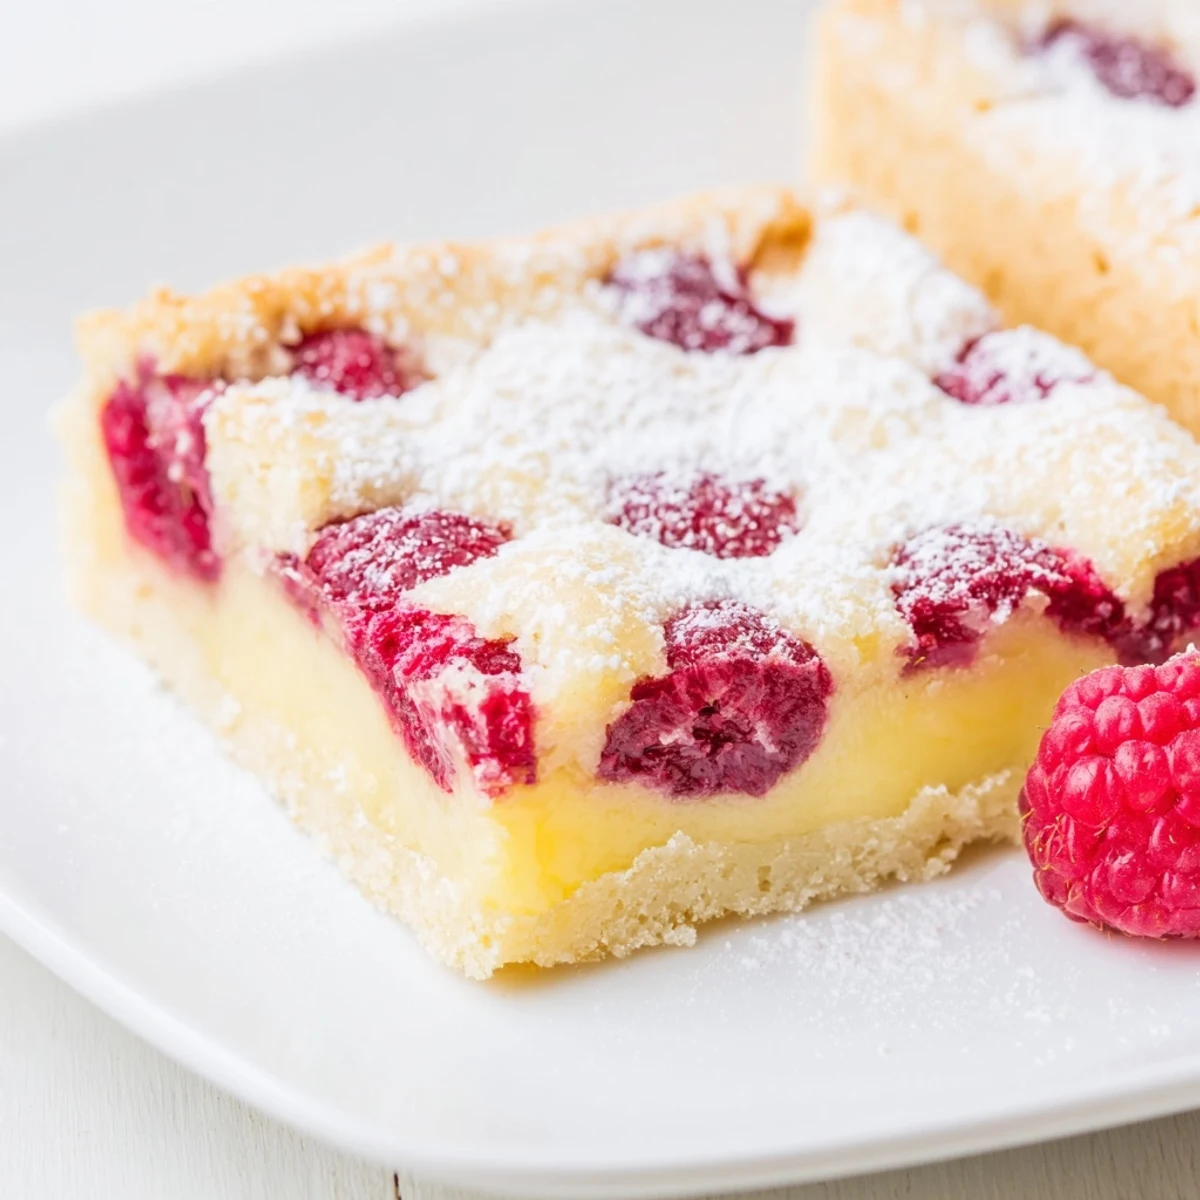
Save These refreshing bars feature a tender, buttery shortbread crust that provides the perfect foundation for a vibrant layer of fresh raspberries and bright lemon. The combination creates a beautiful balance of tart and sweet flavors, with the buttery crust adding richness that complements the fruit-forward topping.
Simple to prepare in about an hour total, these treats require just basic pantry ingredients and fresh raspberries. The crust comes together quickly with cold butter, while the tangy lemon-raspberry filling sets into a smooth, luscious layer. Chilling before cutting ensures clean, neat squares that showcase the gorgeous pink hue from the berries.
My kitchen smelled like sunshine the first time I made these bars. The lemon zest hit the air before anything else, bright and cheering, and I remember thinking how something so simple could make a Tuesday afternoon feel special. The raspberries I'd grabbed from the farmers market were impossibly red, the kind that stain your fingers just looking at them.
I brought these to a friends garden party last June, and someone asked for the recipe before they'd even finished their first square. There's something about the combination of butter and berries that feels comforting but not heavy, like dessert should taste when the windows are open.
Ingredients
- All-purpose flour: The foundation for both crust and filling, providing structure without overwhelming the delicate flavors
- Granulated sugar: Sweetens the tartness while letting the raspberry brightness shine through
- Salt: Just enough to enhance the butter flavor in the crust
- Unsalted butter: Cold and cubed is nonnegotiable here, creating that tender, shortbread texture that holds together
- Baking powder: A tiny amount that gives the lemon layer its gentle lift
- Eggs: Room temperature eggs will incorporate more smoothly into the lemon mixture
- Fresh lemon juice: About two lemons worth, freshly squeezed brings the brightness that bottled juice never quite captures
- Lemon zest: The oils in the zest carry the real fragrance, so zest before juicing
- Fresh raspberries: Look for berries that give slightly when touched, they'll release more natural juices into the filling
Instructions
- Get your oven ready:
- Preheat to 350°F and line an 8x8 inch pan with parchment, letting the paper overhang on opposite sides. These overhangs become your handles later when lifting the whole batch out at once.
- Make the crust:
- Whisk the flour, sugar, and salt in a medium bowl, then work in the cold butter until the mixture looks like coarse crumbs. Press it firmly into the pan bottom and bake 15 to 18 minutes until just turning golden.
- Prepare the filling:
- Whisk sugar, flour, and baking powder in a bowl. Add eggs, lemon juice, and zest, whisking until completely smooth. Gently fold in raspberries last so they stay mostly whole.
- Bake until set:
- Pour the lemon raspberry mixture over the warm crust and return to oven for 22 to 25 minutes. The center should no longer jiggle when you gently shake the pan.
- Let them cool completely:
- This is the hard part. Cool in the pan, then refrigerate 1 to 2 hours before cutting. The bars need this time to set properly or they'll be soft and messy when sliced.
 Save
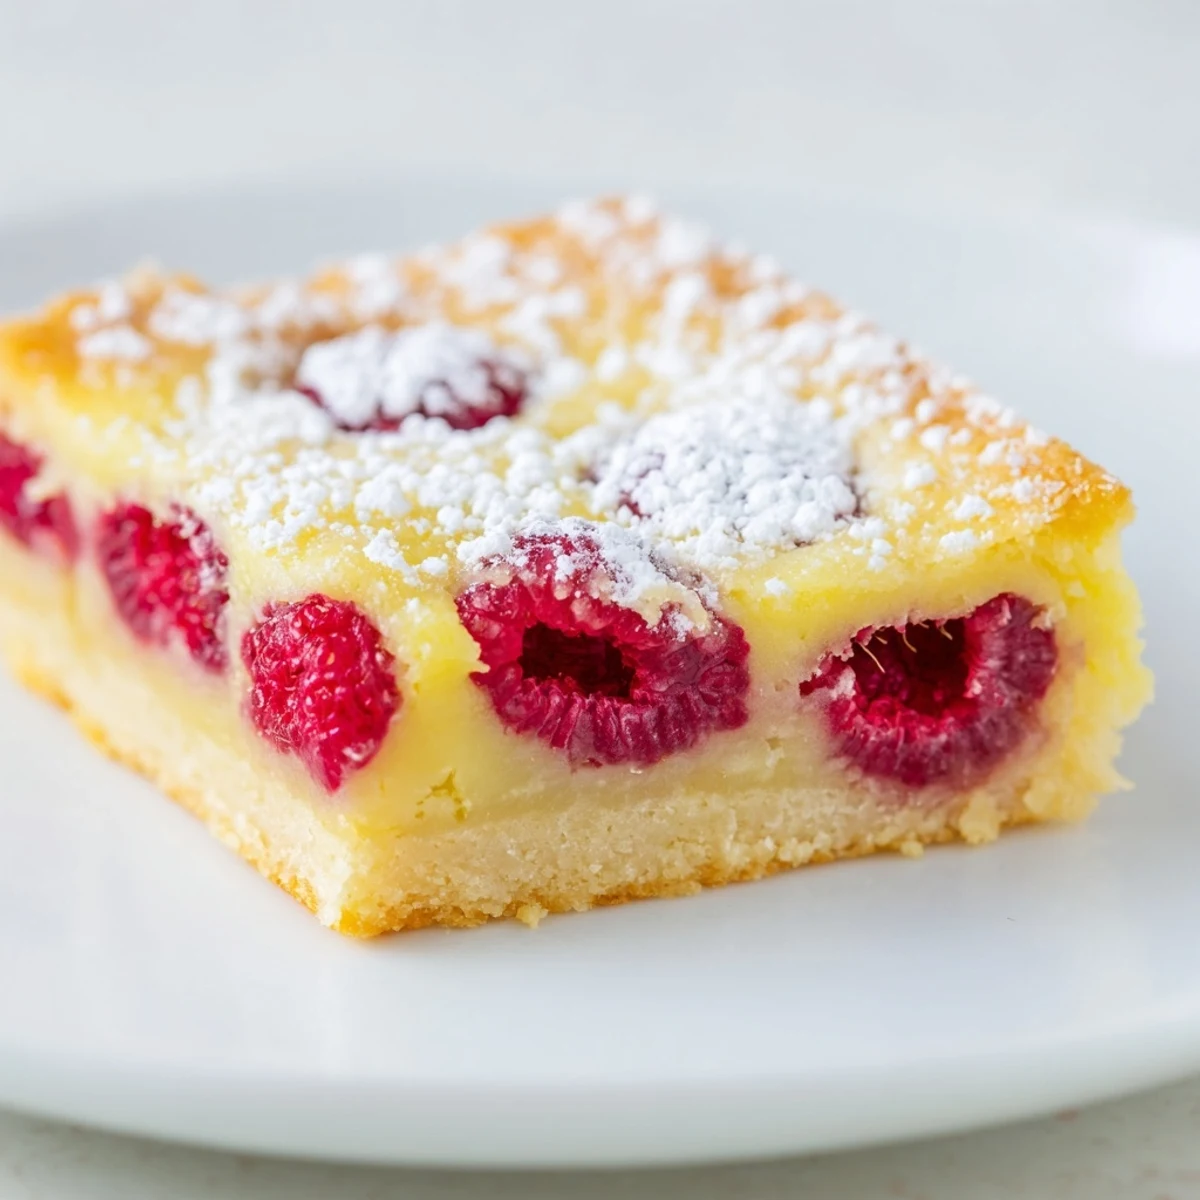
Save My grandmother would have called these company worthy, the kind of dessert you bring out when you want people to feel celebrated. Something about the contrast of that ruby raspberry layer against the pale lemon curd makes them look harder than they actually are.
Making Them Your Own
I've tried swapping blackberries when raspberries felt too precious, and the result was just as lovely though less jewel toned. Blueberries work too but change the character entirely, making something milder and more breakfast like.
Timing Your Bake
The crust needs to be slightly golden before you add the filling, not pale or raw. If the crust bubbles up while baking alone, press it down gently with the back of a spoon before pouring in the lemon mixture.
Serving and Storage
These bars keep beautifully in the refrigerator, the flavors deepening and the texture becoming even more cohesive. I actually prefer them on day two, when everything has had time to settle into each other.
- Dust with powdered sugar right before serving, or the humidity will make it disappear
- Serve them slightly chilled for the cleanest cuts
- They freeze well for up to a month if you layer them between parchment
 Save
Save There's something deeply satisfying about a dessert that looks this impressive coming from such humble ingredients. Maybe that's why these bars have become my go to for moments that matter.
Common Questions
- → Can I use frozen raspberries instead of fresh?
-
Yes, frozen raspberries work well in this preparation. Thaw them completely and drain any excess liquid before gently folding into the lemon mixture. This prevents the filling from becoming too watery during baking.
- → How long do these bars need to chill before serving?
-
For clean, neat squares, allow the bars to cool completely in the pan, then refrigerate for 1-2 hours before cutting. This chilling time helps the filling set properly, making it easier to cut and serve.
- → Can I make these ahead of time?
-
Absolutely. These bars actually improve after a day in the refrigerator as the flavors meld together. Store in an airtight container for up to 4 days. Add powdered sugar dusting just before serving for the freshest appearance.
- → Why is my crust not holding together?
-
Ensure your butter is cold when cutting it into the flour mixture, and press the crust firmly into the pan using the bottom of a measuring cup or glass. Baking until lightly golden before adding the filling also helps create a stable base.
- → Can I substitute the all-purpose flour?
-
A 1:1 gluten-free flour blend can replace regular flour for both crust and filling. For the crust, this substitution works well. In the filling, the flour helps thicken, so a gluten-free blend containing xanthan gum will yield the best results.
