 Save
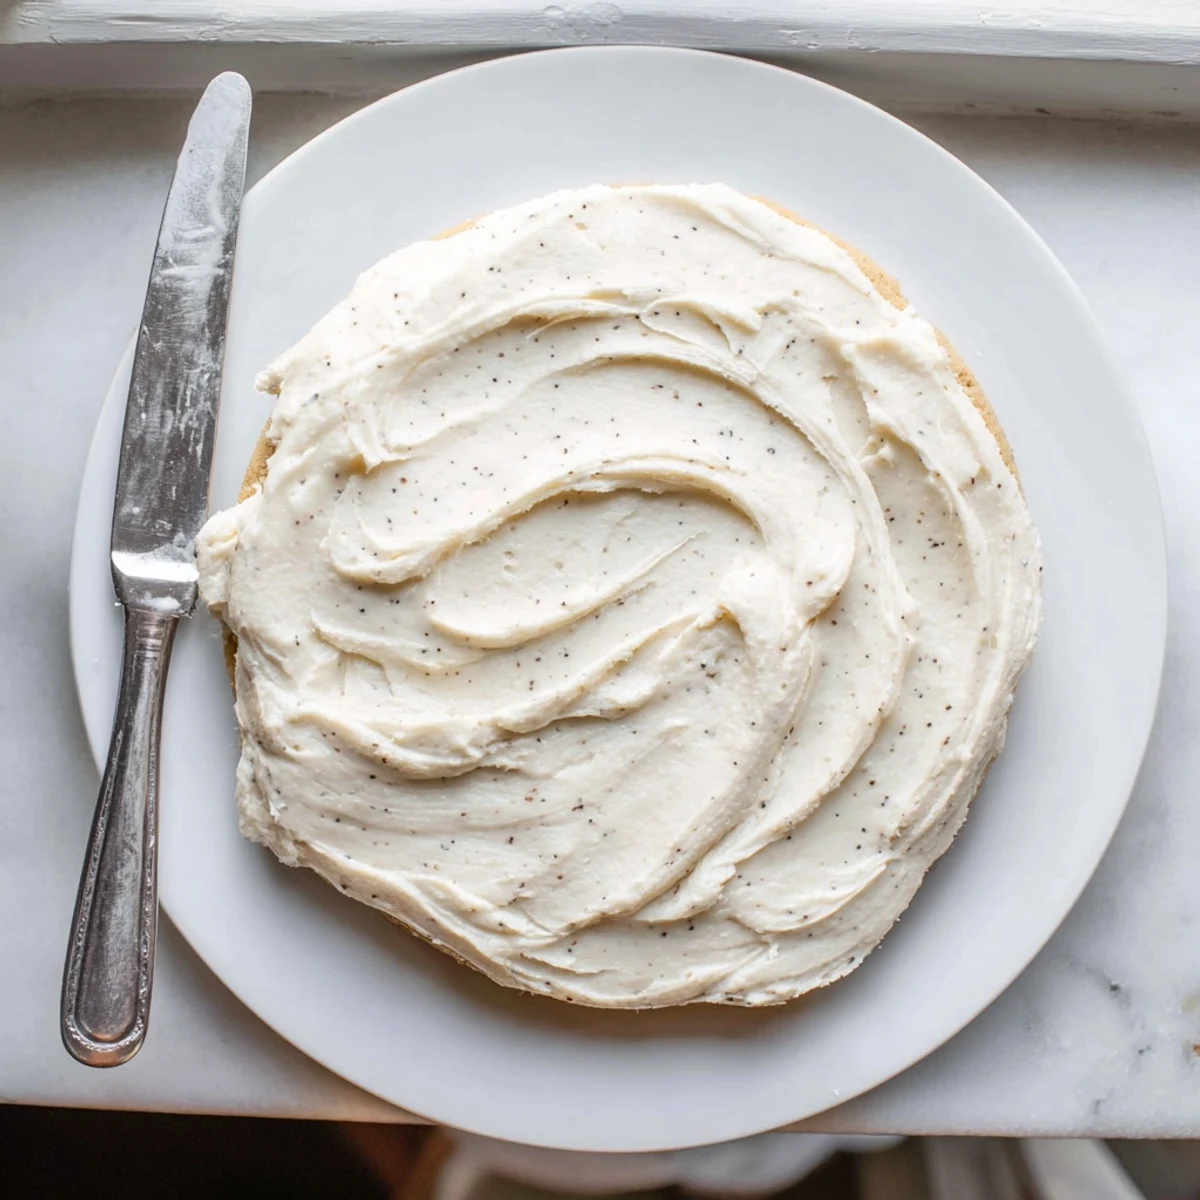
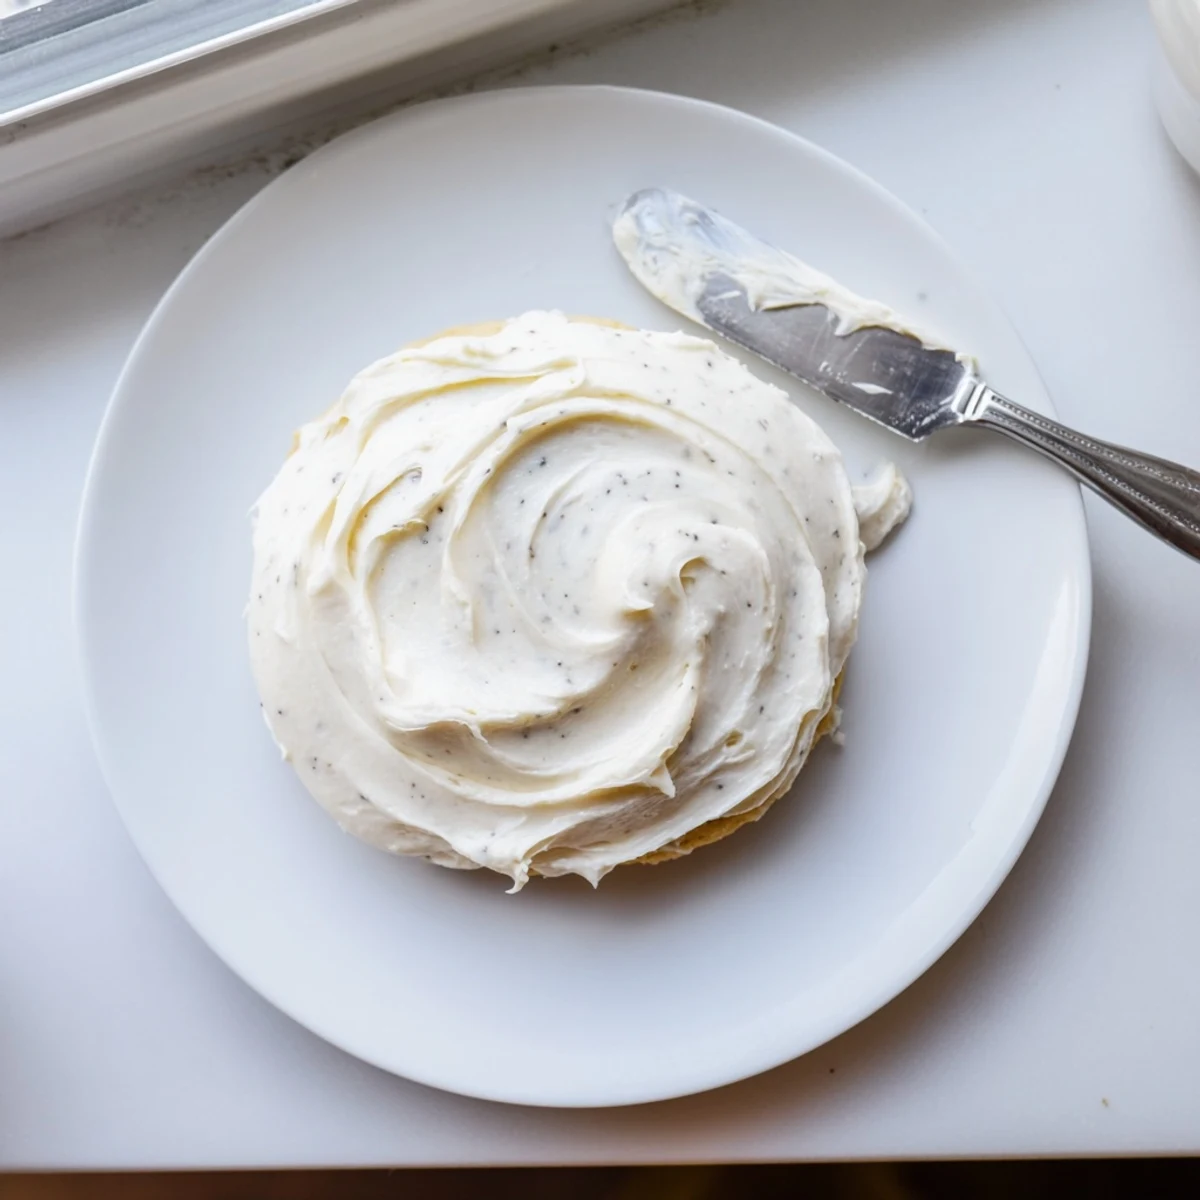
Save This creamy vanilla buttercream delivers the perfect balance of sweetness and smooth texture for adorning sugar cookies. The softened whips into a fluffy consistency that spreads effortlessly while maintaining structure for detailed decorating work. After setting for a couple hours at room temperature, the surface develops a delicate crust that protects the silky interior beneath.
Adjust the thickness easily by adding more milk for flowing designs or extra powdered sugar for intricate piping work. The vanilla-forward flavor complements the buttery sweetness without overwhelming, while the pinch of salt enhances depth. Any leftover portion keeps refrigerated for up to a week—simply bring to room temperature and re-whip for renewed fluffiness.
The day I discovered this frosting recipe was entirely by accident while frantically trying to finish a batch of sugar cookies for my daughter's school bake sale. I'd been struggling with overly stiff, gritty frostings that tore apart delicate cookies for years, but this version spread like silk and actually held its beautiful swirls.
Last Christmas, I made triple batches while my kitchen was already chaotic with wrapping paper everywhere. My mom walked in, dipped a finger in the bowl, and immediately asked for the recipe instead of helping me decorate.
Ingredients
- Unsalted butter: Using truly softened butter makes all the difference between creamy frosting and one that tastes greasy or separated
- Powdered sugar: Sifting first prevents those tiny lumps that can ruin an otherwise perfectly smooth finish
- Whole milk: Start with less than you think you need and add gradually for perfect control over consistency
- Pure vanilla extract: Dont skimp here because this simple frosting relies entirely on quality vanilla for its flavor depth
- Pinch of salt: This small addition cuts through the sweetness and makes the vanilla pop beautifully
Instructions
- Whip the butter until its silky smooth:
- Beat that softened butter for a full minute until it looks glossy and pale, almost like soft serve ice cream, which creates the perfect base for everything else
- Gradually incorporate the powdered sugar:
- Start on low speed to prevent a sugar snowstorm in your kitchen, then pause to scrape down the bowl so every bit gets incorporated evenly
- Add liquids and whip until fluffy:
- Pour in the milk, vanilla, and salt then beat on medium high for several minutes until the frosting transforms into light clouds that hold soft peaks
- Adjust consistency as needed:
- Add more milk for spreading or more sugar for piping, but make these tiny adjustments one teaspoon at a time
- Frost your cooled cookies:
- Work quickly but gently, then let them sit undisturbed for a couple hours until they develop that perfect slight crust that protects your beautiful designs
 Save
Save This recipe saved my reputation at the neighborhood cookie exchange when everyone else struggled with frosting that never set properly. Now its the one recipe my friends request most for birthdays and holidays.
Getting the Right Consistency
After dozens of batches, I learned that weather affects frosting more than you expect. On humid days, you might need slightly more powdered sugar to achieve that perfect spreadable texture that holds its shape.
Color Without Compromise
Gel food coloring is absolutely worth the extra effort compared to liquid drops, which can throw off your entire carefully balanced consistency. Add just a tiny amount at a time because these concentrated colors develop beautifully as they sit.
Making It Ahead
This frosting actually improves after resting in the refrigerator for a day, giving the vanilla time to deepen and develop. Just bring it to room temperature and re whip before using for the fluffiest results.
- Store in an airtight container with a piece of plastic wrap pressed directly onto the surface
- Leftovers keep beautifully for up to a week if properly sealed
- Re whip chilled frosting for about 30 seconds to restore that perfect creamy texture
 Save
Save Theres something magical about watching plain cookies transform into little works of art with just a few swoops of frosting. This recipe turns simple moments into memories worth sharing.
Common Questions
- → Can I make this frosting ahead of time?
-
Yes, prepare up to 3 days in advance and store refrigerated in an airtight container. Bring to room temperature and re-whip with an electric mixer until fluffy before spreading on cookies.
- → How do I achieve different colors for decorating?
-
Add gel food coloring drop by drop after step 3, mixing thoroughly between additions. Gel coloring works best as it won't thin the consistency like liquid food coloring can.
- → What if my frosting is too thick or too thin?
-
For thicker consistency ideal for piping details, incorporate additional powdered sugar one tablespoon at a time. To thin for spreading, add milk one teaspoon at a time until reaching desired texture.
- → Can I use salted butter instead of unsalted?
-
Yes, though omit the added pinch of salt if using salted butter to prevent the final topping from becoming overly salty. The flavor will remain balanced and delicious.
- → Will this frosting work on cupcakes and cakes too?
-
Absolutely—this versatile buttercream creates a beautiful finish on cupcakes, cakes, and brownies. The slight crust helps it hold its shape on taller treats while staying creamy underneath.
- → How long does the frosting take to set completely?
-
Allow decorated cookies to sit at room temperature for 1-2 hours until the surface develops a light crust. For faster setting, place in the refrigerator for 15-20 minutes, though the texture may become slightly firmer.
