 Save
Save Brine chicken breasts in dill pickle juice with garlic and onion powders to infuse tang and tenderize. Pound thin, layer with Swiss or provolone and smoked ham if desired, then roll and secure. Dredge in flour, egg wash, and seasoned panko with paprika and dill for a crispy coating. Bake at 400°F until golden and 165°F internal, rest 5 minutes, slice and serve with creamy mustard or extra pickles.
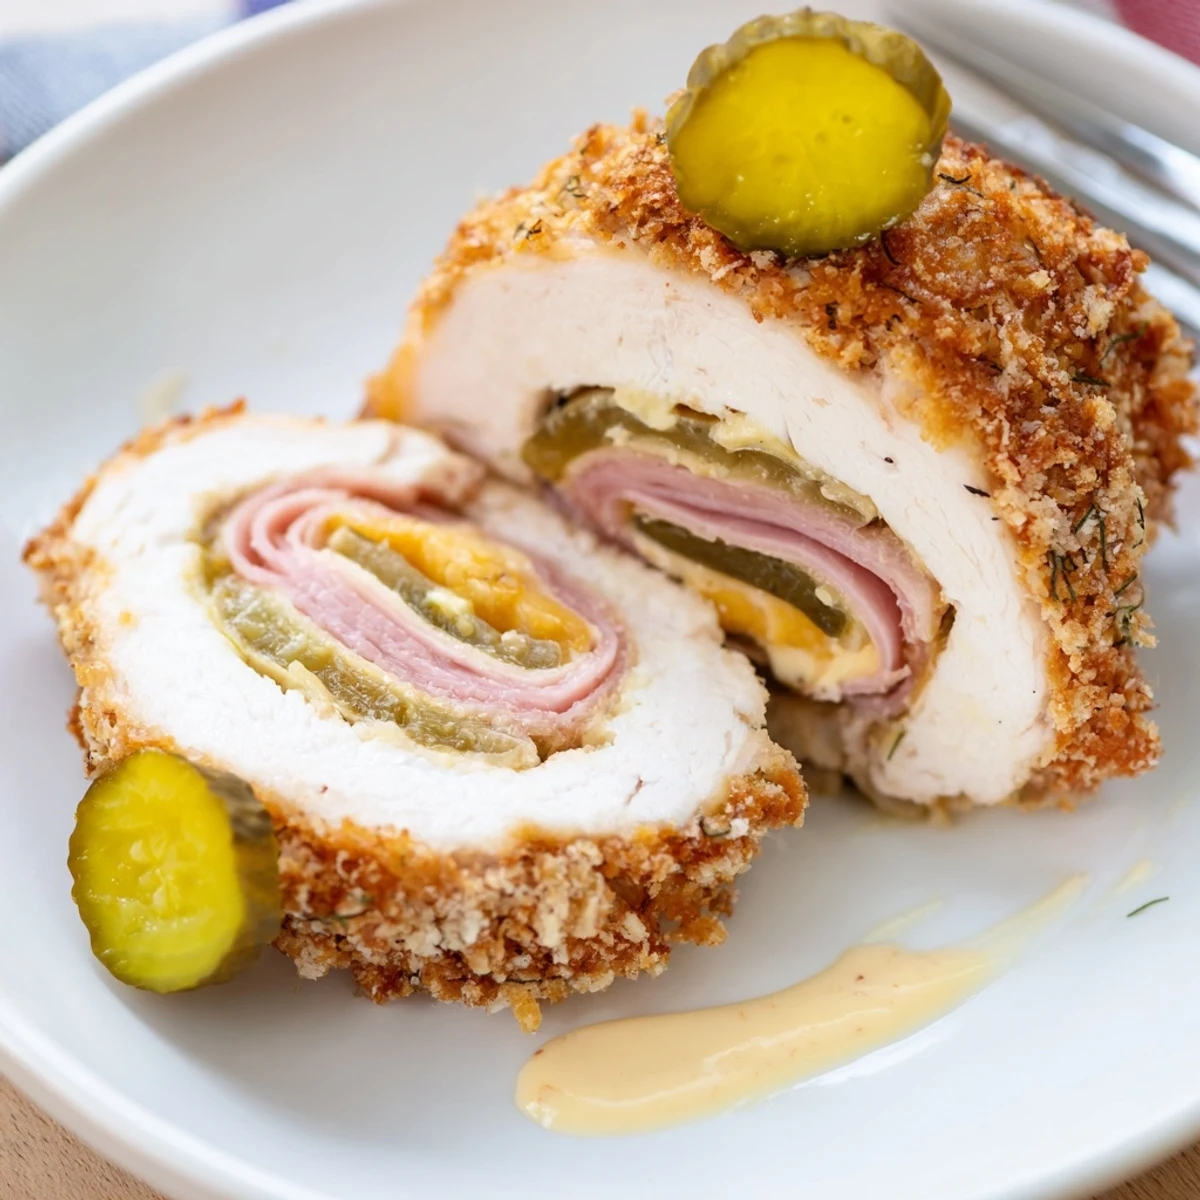
The sound of a pickle jar being opened at eleven at night is surprisingly loud, and my roommate once walked into the kitchen convinced something had shattered. I was standing there in slippers, pouring brine into a bag of chicken breasts with the focus of someone who had read one too many internet arguments about pickle brining. It felt ridiculous, but the next evening those golden, crispy rolls came out of the oven and we both sat on the kitchen floor eating them straight off the pan because plates felt unnecessary.
I brought these to a potluck where someone assumed I had ordered them from a restaurant, which remains one of my proudest kitchen moments. The crunch when you cut into them is genuinely dramatic, and watching peoples faces when they taste that subtle pickle flavor is half the fun.
Ingredients
- Dill pickle juice: Use the juice straight from a jar of dill pickles, not the sweet kind, because the vinegar and dill combination is what tenderizes the chicken and gives it character.
- Garlic powder and onion powder: These go into the brine to layer in savory depth that permeates the meat rather than just sitting on the surface.
- Boneless skinless chicken breasts: Pounding them to an even quarter inch thickness is essential so they roll without cracking and cook evenly throughout.
- Swiss or provolone cheese slices: Provolone melts beautifully and has a mild creaminess, while Swiss adds a slightly nutty note that pairs surprisingly well with the tangy brine.
- Smoked ham slices: Optional but recommended because the smoky saltiness tucked inside the roll adds another dimension that makes these feel like a complete meal.
- All purpose flour: This is the first coating layer that helps the egg wash adhere properly to the chicken.
- Eggs and milk: The egg wash is the glue that holds the panko in place, and a splash of milk keeps it from being too thick.
- Panko breadcrumbs: Regular breadcrumbs will work but panko gives you that light, shatteringly crisp texture that makes these rolls so satisfying.
- Paprika and dried dill: Mixed into the panko, these seasonings ensure the crunch itself is flavorful, not just the chicken inside.
Instructions
- Pound and brine the chicken:
- Place each breast between sheets of plastic wrap and use a mallet or rolling pin to gently pound them to a uniform quarter inch thickness. Submerge them in the pickle juice mixture in a sealed bag or dish and let them soak in the refrigerator for at least one hour, though overnight will reward your patience.
- Set up your baking station:
- Preheat the oven to 400 degrees Fahrenheit and line a baking sheet with parchment paper that has been lightly sprayed with cooking spray. Getting this ready now means your hands will be free when they are covered in breading later.
- Roll them up tight:
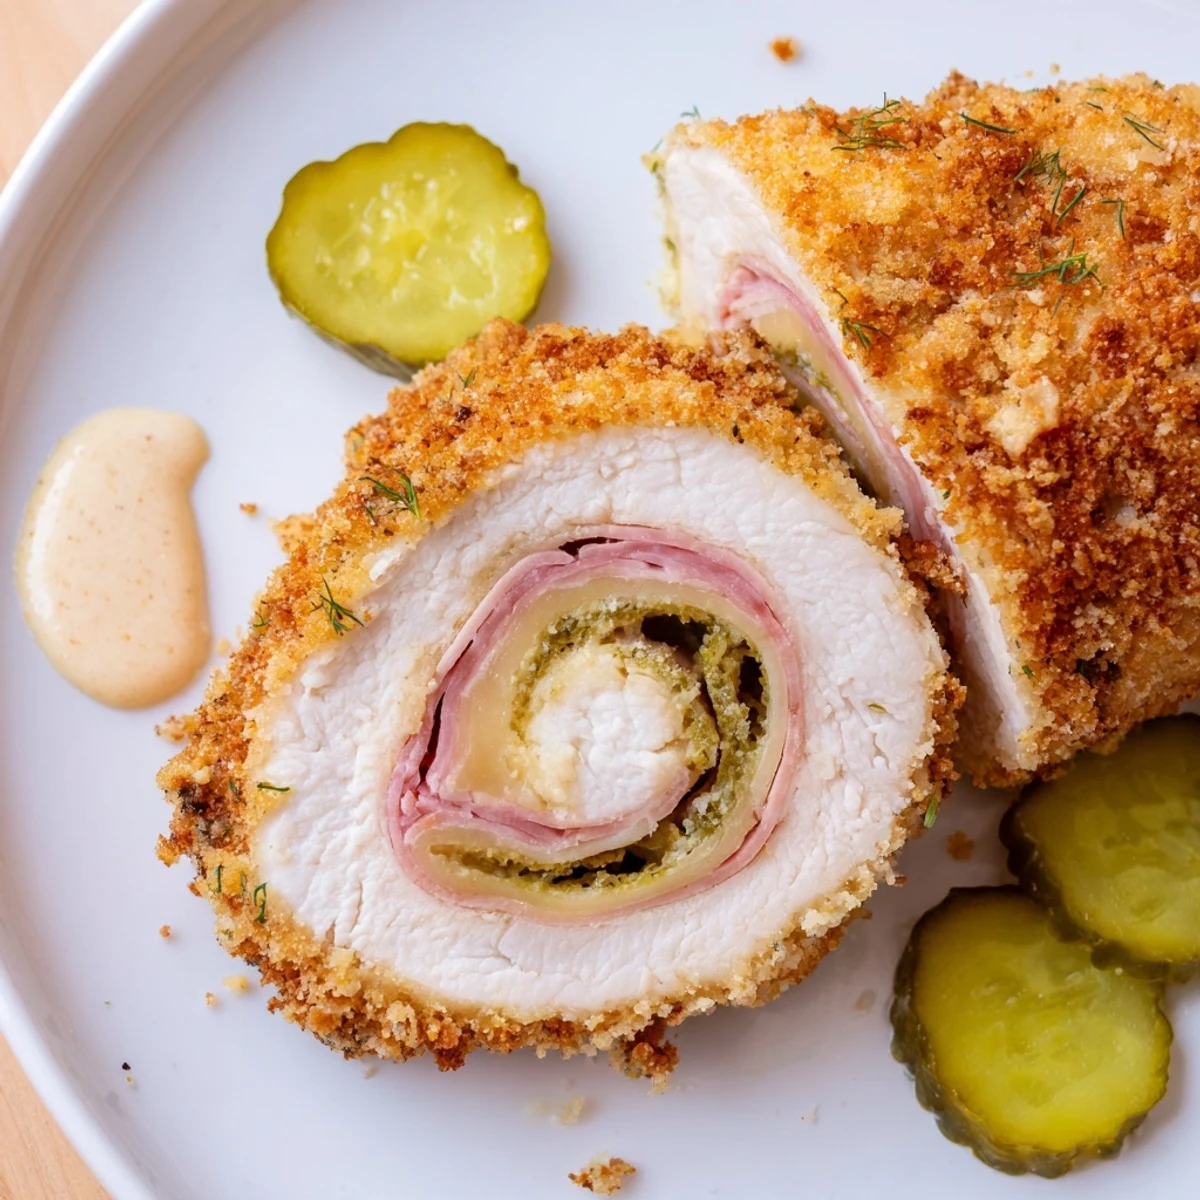
- Pat the brined chicken dry, season lightly with salt and pepper, then lay a slice of cheese and ham on each piece before rolling tightly and securing with toothpicks. Tuck the edges in as you go so the cheese does not escape during baking.
- Build the crispy coating:
- Arrange three shallow bowls in a row with flour, the egg and milk mixture, and panko seasoned with paprika and dill. Dredge each roll through flour first, then egg, then press firmly into the panko until every surface is coated and golden ready.
- Bake until golden:
- Place the rolls seam side down on the prepared sheet and spray or drizzle the tops with a little oil to help the panko crisp and brown. Bake for 25 to 30 minutes until deeply golden and the internal temperature reaches 165 degrees Fahrenheit.
- Rest and serve:
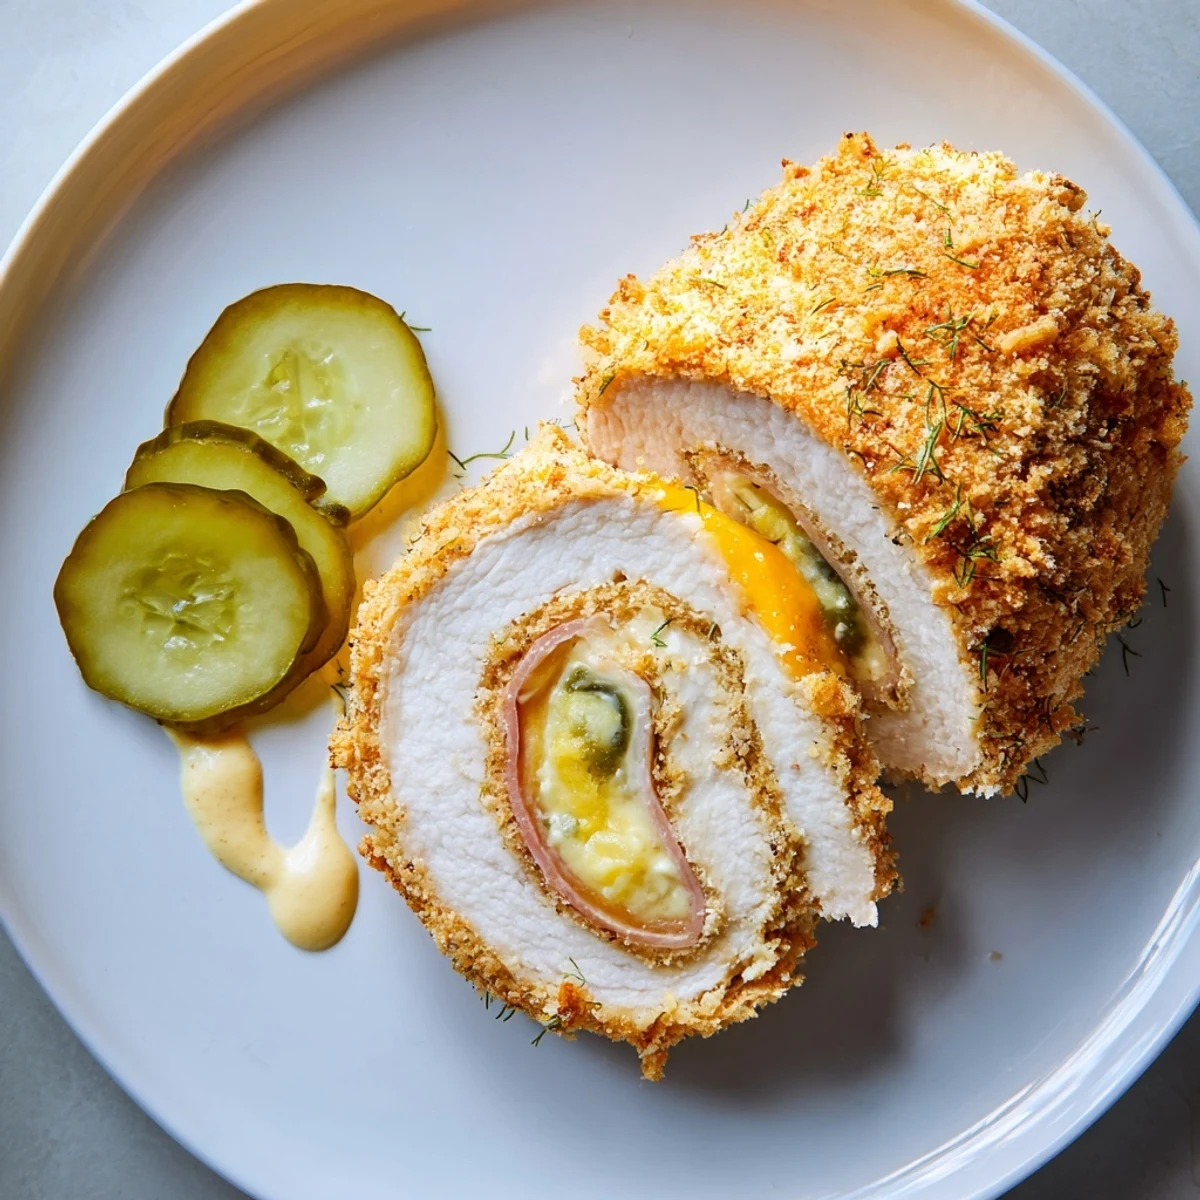
- Let the rolls rest for about five minutes so the cheese settles and the juices redistribute before removing the toothpicks and slicing. Serve them hot with mustard sauce or extra pickles on the side for dipping.
 Save
Save There is something deeply satisfying about slicing into one of these rolls and watching the melted cheese spill out onto the plate while steam rises from the tender chicken inside.
Getting the Roll Right
The hardest part of this recipe is simply getting a tight roll without the chicken tearing, which is why pounding to an even thickness matters more than almost anything else. Start rolling from the narrower end and keep gentle, even pressure as you go, and remember that a slightly imperfect roll still tastes incredible once it is breaded and baked.
Choosing Your Pickle Juice
Not all pickle juices are created equal, and the kind you use will quietly shape the entire flavor of the dish. A classic dill pickle brine with visible dill seeds and garlic cloves in the jar will give you the best results, while sweet pickle juice will make the chicken taste oddly dessert adjacent in a way that does not work here.
Serving and Storing
These rolls are best eaten fresh from the oven when the contrast between the crunchy exterior and the melty interior is at its peak. Leftovers reheat surprisingly well in an air fryer or a hot oven, though the microwave will soften the crust and leave you missing that essential crunch.
- Slice on a slight diagonal for a presentation that looks restaurant worthy with minimal extra effort.
- A simple sauce of mayonnaise, Dijon mustard, and a splash of pickle juice ties everything together beautifully.
- Always double check that toothpicks are removed before serving, especially to children.
 Save
Save Some recipes become favorites because they are impressive, and others earn that spot simply because they make people happy around the table with minimal stress. These crispy pickle brined chicken rolls manage to do both, and that is a rare and wonderful thing.
Common Questions
- → How long should I brine the chicken?
-
Brine for at least 1 hour and up to overnight. Longer brining adds more tang and tenderizes the meat, but avoid over-brining to prevent an overly salty texture.
- → Which cheeses work best for the filling?
-
Swiss and provolone are excellent for mild meltiness; mild cheddar or Monterey Jack can also work. Avoid very high-moisture cheeses that may leak during baking.
- → How do I get the crispiest crust?
-
Use panko for a light, airy crunch, press it firmly to adhere, give the tops a light spray of oil, and finish under the broiler 2–3 minutes if extra browning is desired.
- → What internal temperature indicates doneness?
-
Bake until the thickest part reaches 165°F (74°C). Let the rolls rest 5 minutes before slicing to allow juices to redistribute.
- → Can these be fried instead of baked?
-
Yes. Shallow- or deep-fry in vegetable oil until golden and cooked through, then drain on a rack or paper towels. Frying gives a quicker, deeper crunch.
- → Any good substitutions or variations?
-
Swap turkey for chicken, omit the ham for a simpler roll, or add herbs and lemon zest to the panko for extra brightness. Smoked cheese adds a savory twist.
