 Save
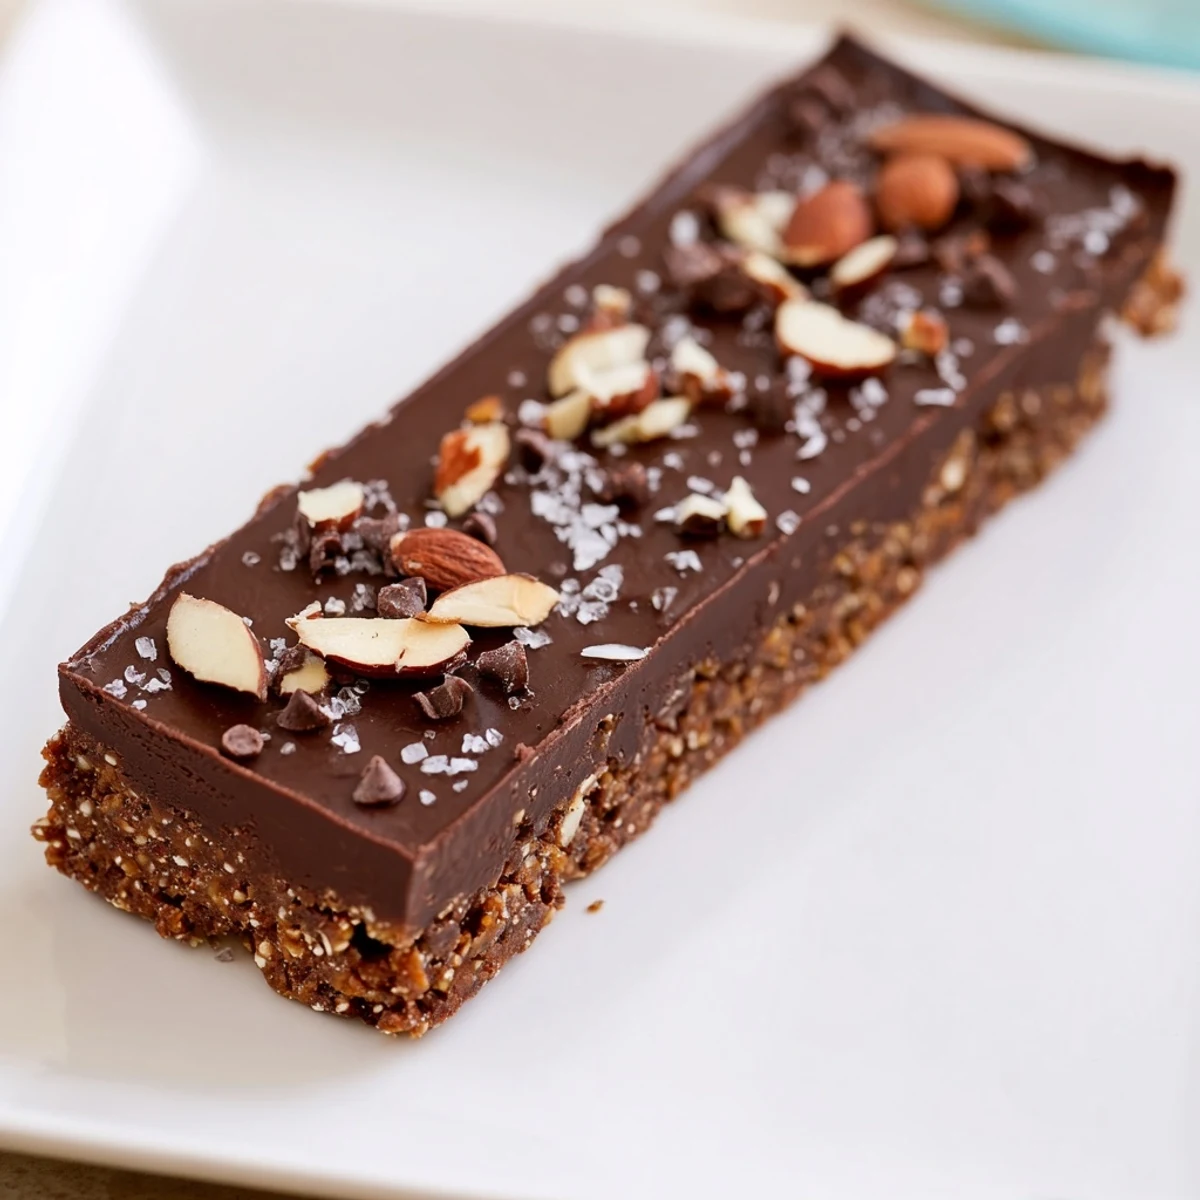
Save This no-bake delicacy combines a buttery biscuit base with a smooth, melted chocolate layer. The base uses crushed digestive biscuits blended with melted butter and sugar, pressed firmly and chilled for texture. Melted semisweet chocolate and cream mixed with vanilla create a luscious topping poured over the crisp base. Optional chopped nuts and chocolate chips add crunch and garnish. After chilling for at least one hour, it’s sliced into bars for a delightful, easy-to-serve sweet indulgence.
There's something magical about the moment you crack into a chocolate treat bar that's been waiting patiently in the fridge. I discovered this recipe on a lazy Saturday afternoon when I was supposed to be meal prepping but instead found myself craving something decadent without the fuss of turning on the oven. The combination of that buttery, crumbly base with the silky chocolate layer on top felt like I'd uncovered a secret—something so simple it almost seemed like cheating.
I made these for a friend's dinner party and watched her eyes light up when she bit into one—she said it tasted like those fancy chocolate bars you'd find in a posh London chocolate shop but homemade. That moment reminded me that sometimes the most impressive desserts are the ones that look effortless, even when a little patience goes into the chilling time.
Ingredients
- Digestive biscuits or graham crackers (200 g): The foundation matters more than you'd think—they provide that satisfying crunch that contrasts beautifully with the chocolate layer, and crushing them by hand gives you control over texture.
- Unsalted butter (100 g melted): This acts as the glue that holds everything together, so don't skip it or try to substitute with oil, which changes the binding entirely.
- Granulated sugar (2 tbsp): Just enough to add subtle sweetness to the base without overwhelming the chocolate that comes next.
- Semisweet or milk chocolate (250 g): The star of the show—choose quality chocolate because there's nowhere to hide here, and the difference between good and mediocre is immediately noticeable.
- Heavy cream (100 ml): This creates that glossy, melt-on-your-tongue texture that separates homemade chocolate bars from the waxy commercial versions.
- Vanilla extract (1 tsp): A quiet player that deepens the chocolate flavor without announcing itself.
- Nuts, chocolate chips, and sea salt (optional toppings): These are your chance to customize—I've learned that even a tiny pinch of sea salt wakes up the chocolate in unexpected ways.
Instructions
- Prep Your Pan:
- Line your baking pan with parchment paper, letting it overhang slightly so you can lift the whole thing out later without wrestling with a spatula.
- Build the Base:
- Combine the crushed biscuits, melted butter, and sugar in a bowl, then press firmly and evenly into the pan. It should feel like damp sand that holds its shape when squeezed—that's how you know the texture is right.
- Chill Briefly:
- Ten minutes in the fridge gives the base time to firm up so the chocolate layer doesn't sink unevenly when you pour it on.
- Create the Chocolate Layer:
- Heat the chocolate and cream together gently over a double boiler or in 30-second microwave bursts, stirring between each interval until it's perfectly smooth and glossy. Add the vanilla once everything is melted and silky.
- Combine Layers:
- Pour the chocolate mixture over the chilled base and spread it evenly with a spatula, working quickly but gently so you don't disturb the crumbs below.
- Personalize with Toppings:
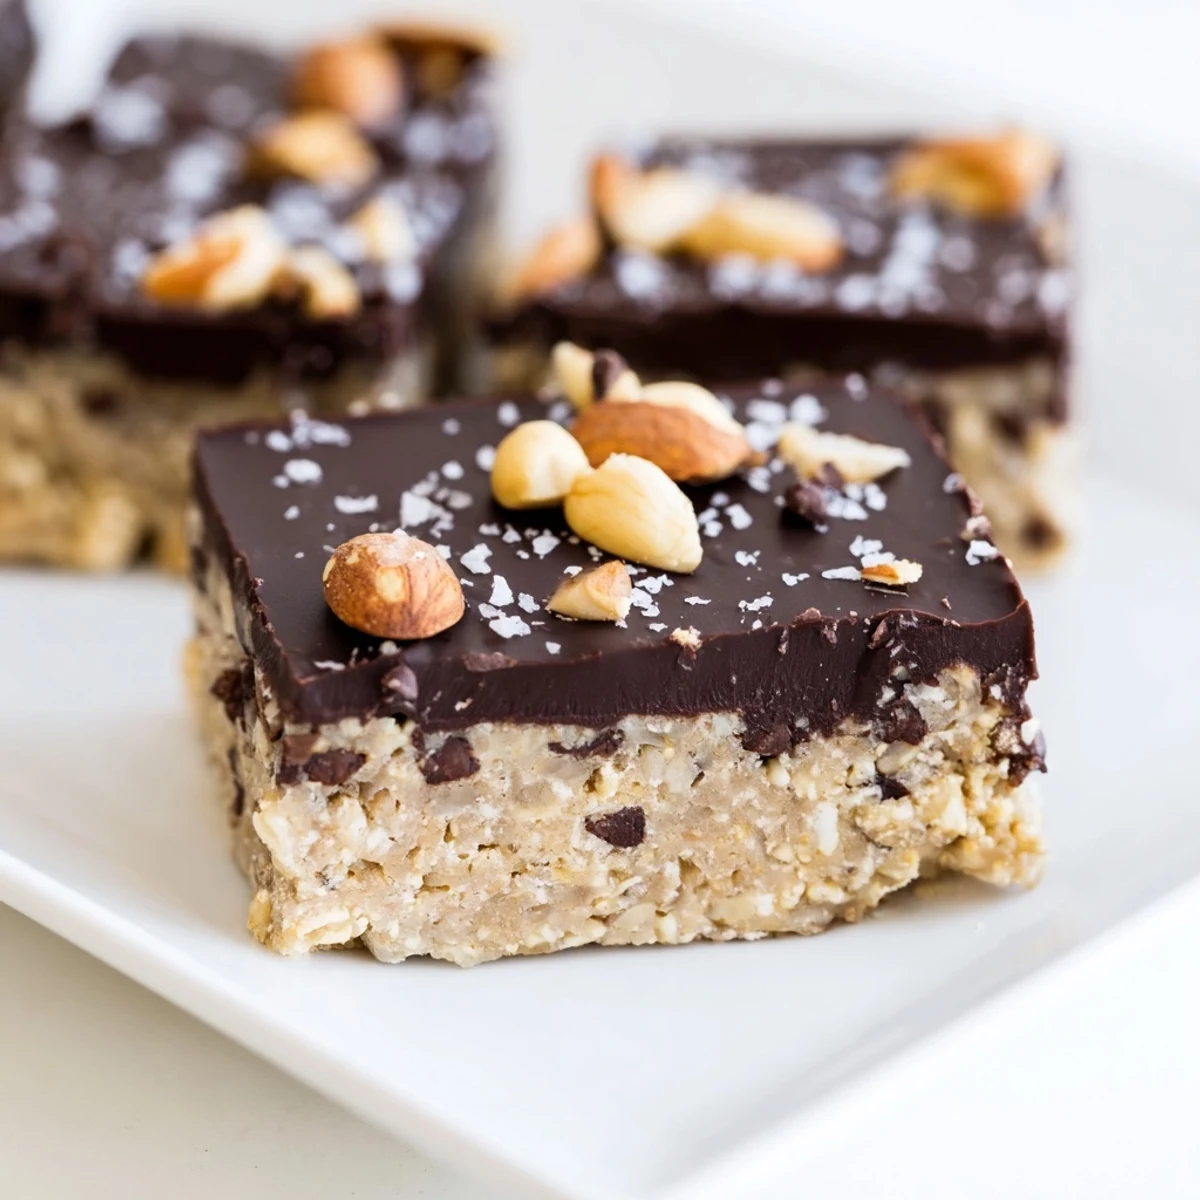
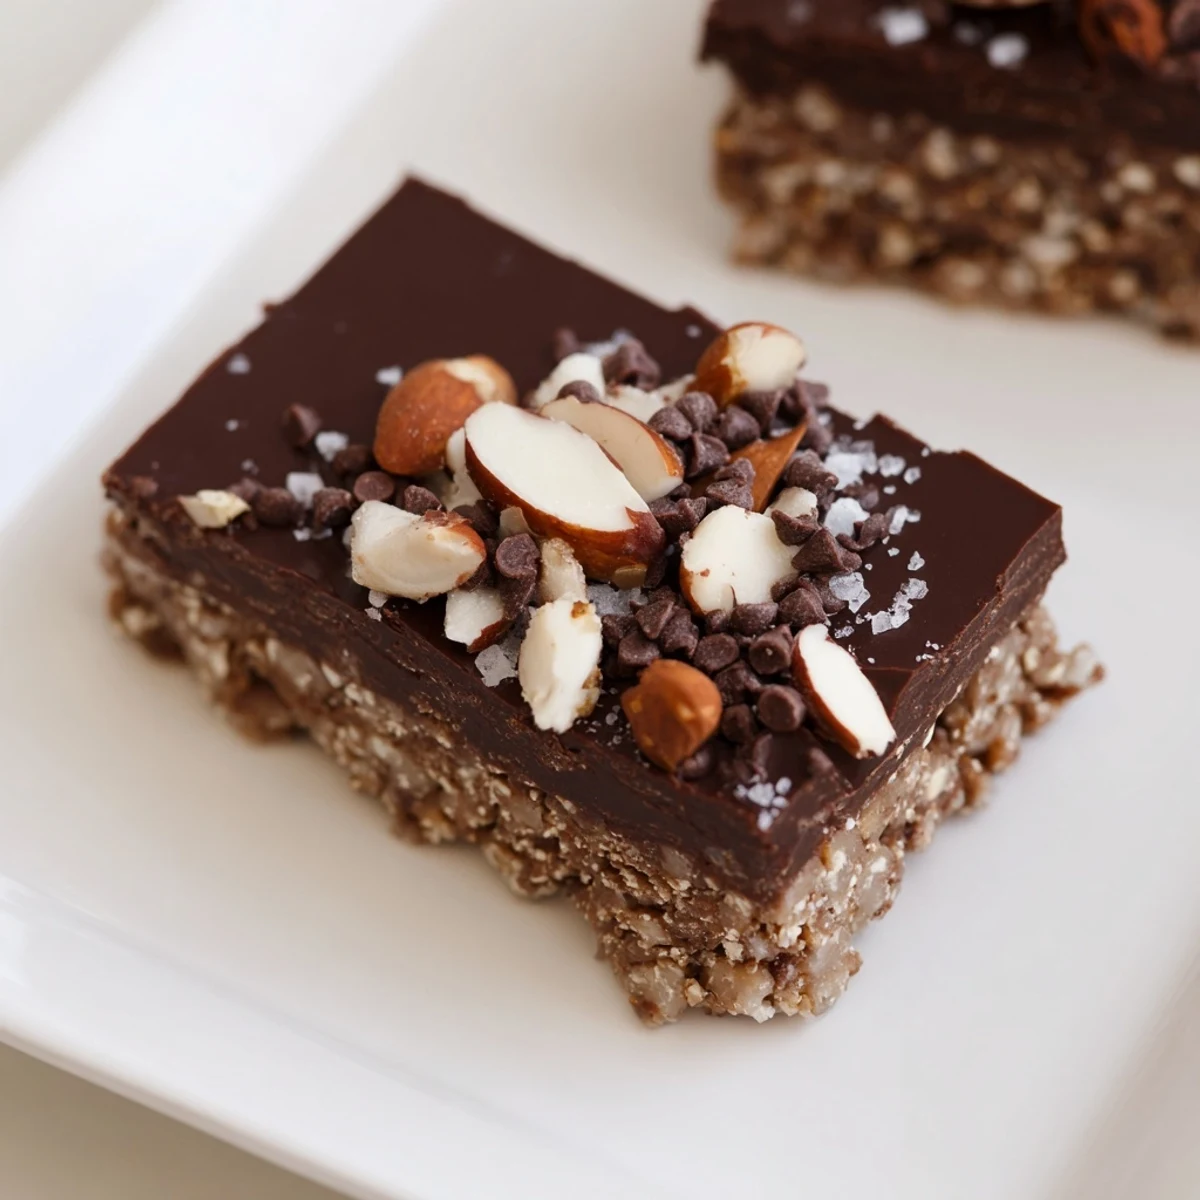
- Sprinkle with nuts, chocolate chips, and sea salt if you're using them—this is your moment to make them uniquely yours.
- Set and Serve:
- Refrigerate for at least an hour until the chocolate is completely firm. Lift out using the parchment overhang, cut into twelve neat squares with a sharp knife, and serve cold or at room temperature depending on your mood.
 Save
Save These bars sit in my fridge now whenever I'm expecting guests, and they've become my go-to gift when I want to give something homemade but don't want to spend hours in the kitchen. There's comfort in knowing that something this elegant requires so little effort.
Playing with Flavors
The beauty of this recipe is how easily it adapts to whatever mood strikes you. Dark chocolate makes everything richer and almost bitter in the best way, while white chocolate leans into sweetness—I've even tried milk chocolate mixed with a touch of espresso powder for an unexpected depth. Once you've made the basic version, you'll start seeing infinite variations instead of just one recipe.
Storage and Timing
These bars actually improve after a day in the fridge when the flavors settle and the texture becomes almost fudgy. They keep beautifully for about five days in an airtight container, though I've never had them last that long because someone always finds them first. Room temperature softens them slightly, which some people prefer, but chilled is when they're most impressive and easiest to cut cleanly.
Variations and Swaps
I've learned that the base can handle a surprising amount of customization depending on what's in your pantry. Swap in different biscuits, add a peanut butter layer between the base and chocolate, or drizzle caramel over the top before the chocolate sets. Each iteration teaches you something new about textures and flavors.
- For a nut-free version, substitute chopped nuts with toasted seeds like sunflower or pumpkin—they add the same textural contrast without the allergen worry.
- Try pressing crushed biscuits and butter into mini muffin tins to create individual chocolate cups instead of one large pan.
- A thin layer of jam between the base and chocolate layer adds fruity brightness that cuts through the richness beautifully.
 Save
Save This recipe has become my answer to 'bring something to share' because it looks intentional without demanding my full attention. There's real joy in handing someone a handmade chocolate treat that tastes like you spent far more time than you actually did.
Common Questions
- → What chocolate works best for this treat?
-
Semisweet or milk chocolate provide a balanced flavor. Dark chocolate offers a richer taste, while white chocolate adds extra sweetness.
- → Can this bar be made nut-free?
-
Yes, simply omit the nuts or replace them with toasted seeds to keep the crunch without allergens.
- → How should the bars be stored after preparation?
-
Store them chilled in the refrigerator, covered, to maintain their texture and freshness for several days.
- → Is it necessary to chill the base before adding the chocolate layer?
-
Chilling the biscuit base helps it set firmly, preventing mixing with the chocolate layer and ensuring a clean edge when sliced.
- → Can I add extra flavors to the chocolate layer?
-
Yes, adding a teaspoon of vanilla extract is suggested. You can also experiment with a hint of coffee or caramel for more complexity.
