 Save
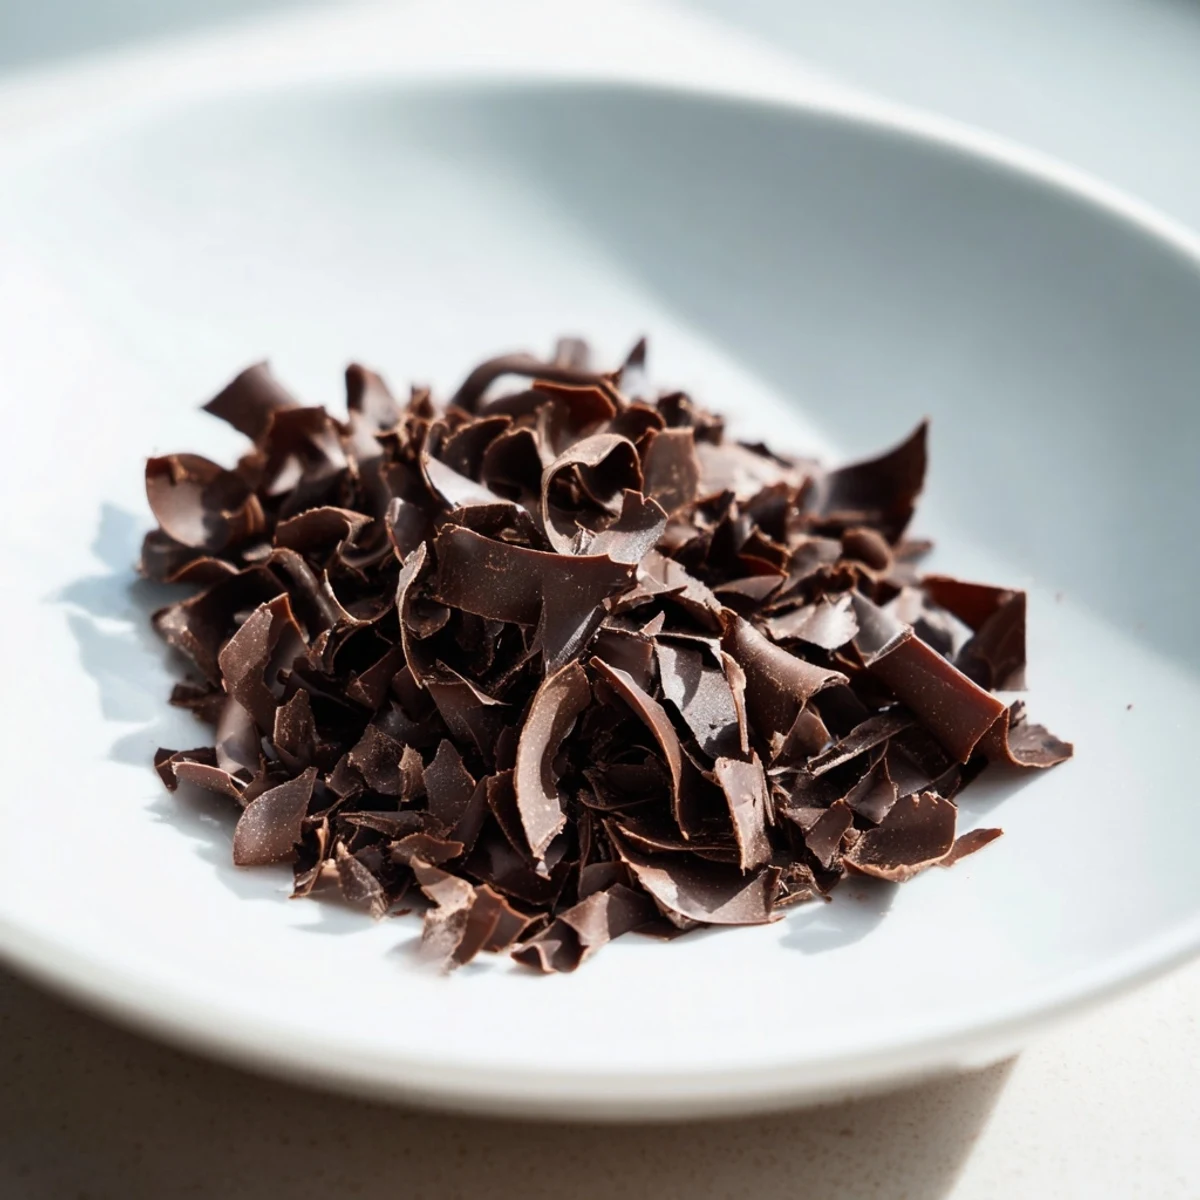
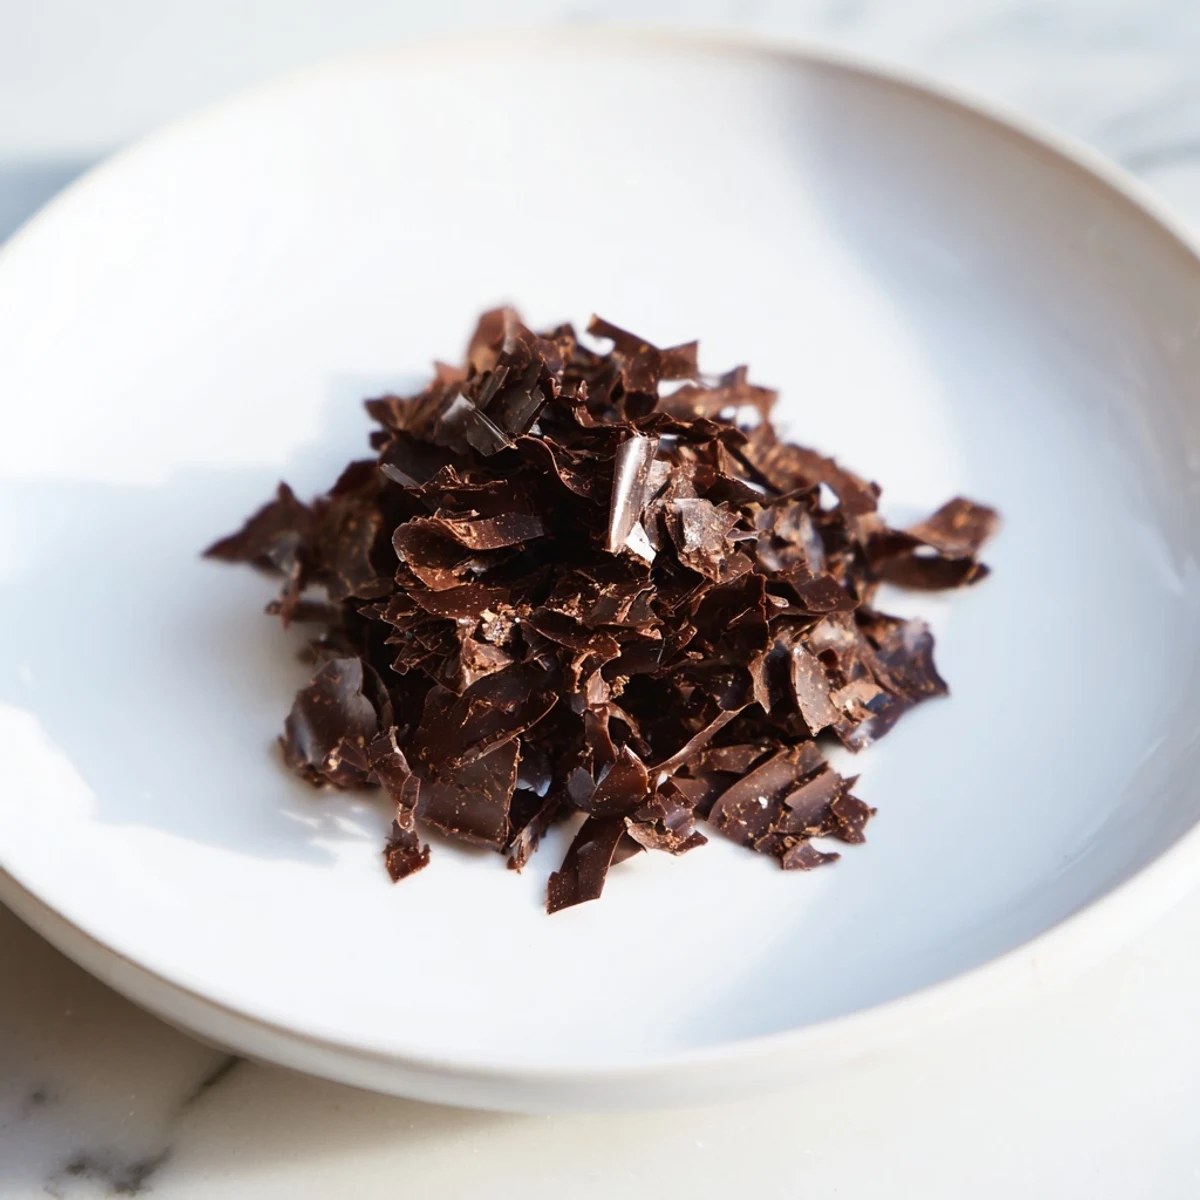
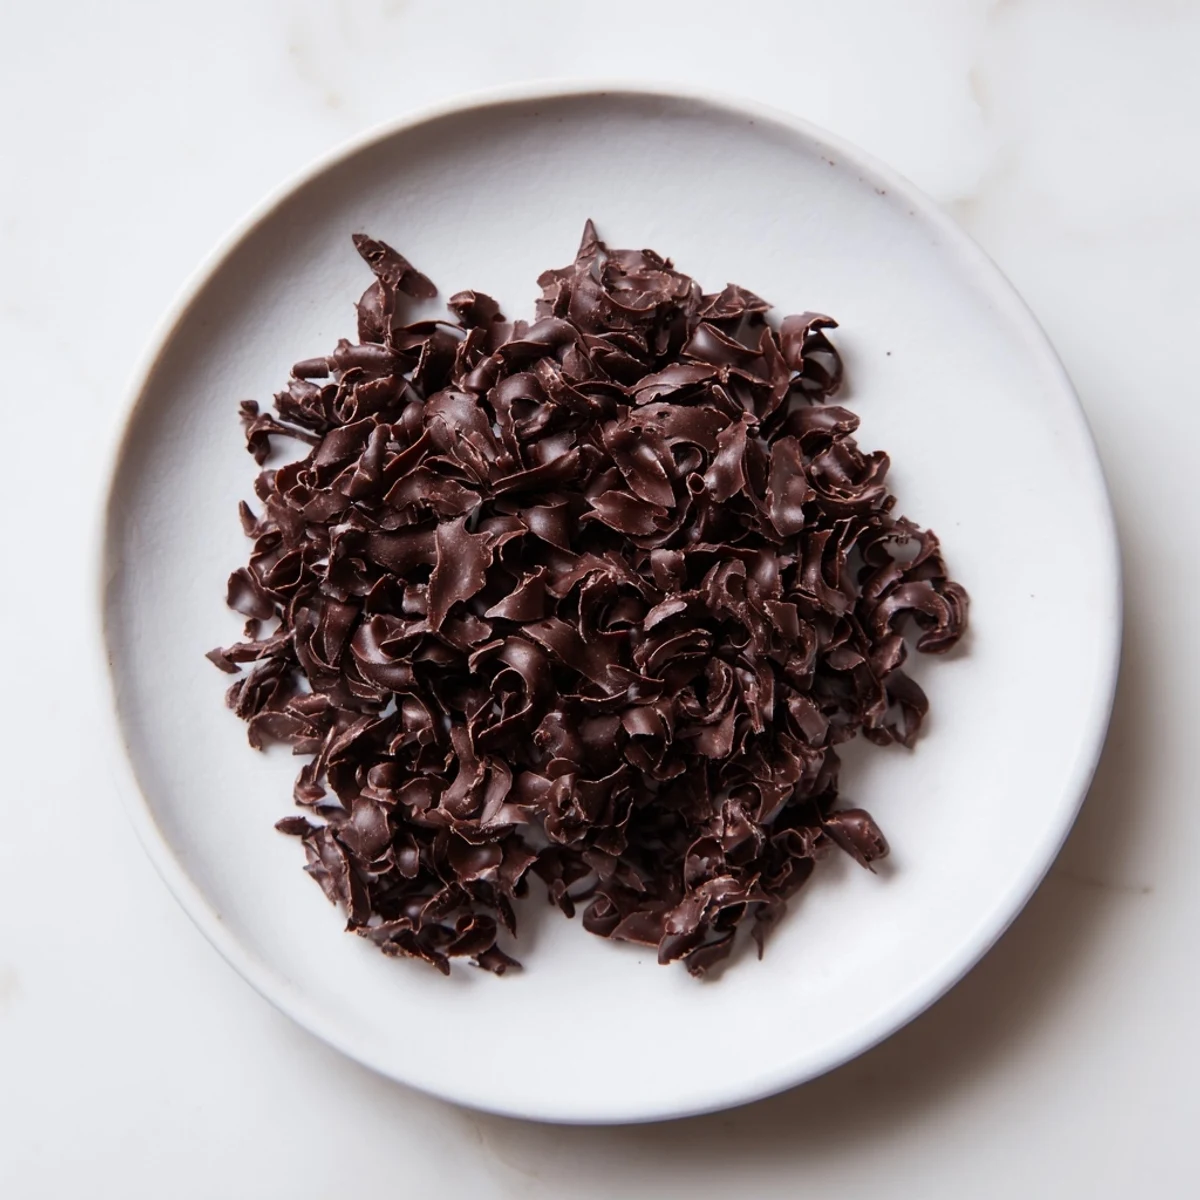
Save Create delicate chocolate flakes by melting high-quality chocolate and spreading it thinly on a cool surface. Let it set until pliable, then scrape into elegant curls or flakes. These decorative pieces add a glossy, rich touch ideal for topping cakes, cupcakes, or ice cream with ease. Optional coconut oil or butter enhances shine and softness, while storage in an airtight container keeps flakes fresh up to a week.
I'll never forget the first time I made chocolate flakes from scratch—it was for my sister's birthday cake, and I was convinced I'd ruin it. But there's something almost magical about watching melted chocolate transform into delicate, shimmering curls under just the right amount of pressure from a bench scraper. That moment when you realize you've created something restaurant-worthy with your own two hands? That's when I fell in love with this simple technique.
I remember standing in my kitchen on a rainy afternoon, scraping chocolate flakes onto homemade cupcakes while my partner watched in amazement. 'You made these?' they asked, pointing at the elegant ribbons of chocolate. I nodded, trying not to grin too wide, knowing that this tiny detail—this one simple garnish—had just elevated everything about the dessert.
Ingredients
- High-quality dark chocolate (100 g): This is where the magic starts. Use chocolate you actually enjoy eating, because that flavor will shine through in every flake. Dark chocolate tends to give you the most dramatic, beautiful curls, but milk chocolate works beautifully too if that's your preference. I learned early on that cheap chocolate just won't cooperate the same way—it's worth spending a bit more here.
- Coconut oil or unsalted butter (1 tsp, optional): This is my secret weapon. A tiny amount makes the chocolate more pliable as it sets, which means your flakes will be delicate and graceful instead of brittle and prone to shattering. It also adds a subtle shine that catches the light.
Instructions
- Chop and gather:
- Break your chocolate into small, roughly even pieces and place them in a heatproof bowl. Taking the time to chop them smaller helps them melt more evenly and gently.
- Optional enrichment:
- If you're using coconut oil or butter, add it to the bowl now. It'll melt right along with the chocolate and make everything smoother.
- Gentle melting:
- This is the moment that matters most. Set your bowl over a saucepan of barely simmering water—you want it warm, not hot. Stir gently and patiently until everything is silky smooth. If you prefer the microwave, do short 20-second bursts, stirring between each one. I've learned that patience here prevents seized chocolate every single time.
- Spread thin:
- Pour the melted chocolate onto a marble slab or parchment-lined baking sheet. Using an offset spatula, spread it into the thinnest, most even layer you can manage. This is where those gorgeous flakes come from—thinner chocolate creates more delicate curls.
- The waiting game:
- Let it sit at room temperature for 3 to 5 minutes. You're looking for that sweet spot where it's just set but still has a bit of give when you touch it. This is crucial—too soft and you'll smear it, too hard and it'll shatter.
- Scrape with intention:
- Using a bench scraper, metal spatula, or even a knife edge, hold it at about a 45-degree angle and gently scrape toward you. The chocolate will curl and fold into those beautiful flakes you've been waiting for. Let your hand move with a light, confident touch.
- Final set:
- Let the flakes sit at room temperature to fully harden, or pop them in the refrigerator for a few minutes if you're eager. Store in an airtight container in a cool spot until you're ready to crown your dessert.
 Save
Save There was a moment during a dinner party when a guest took a bite of the chocolate-topped dessert and their eyes lit up. 'The chocolate on top just melts,' they said, almost to themselves. That's when I realized this little garnish wasn't just about looking beautiful—it was about adding texture and a moment of pure chocolate joy to every spoonful.
Playing with Variations
Once you've mastered the basic dark chocolate flakes, the world opens up. I've experimented with milk chocolate for a sweeter, softer flake, and I've done gorgeous marbled versions by drizzling white chocolate onto dark before scraping. The technique stays exactly the same—only your chocolate choice changes. Each variation brings a different personality to the dessert it tops.
Where These Flakes Shine
I think about all the desserts these flakes have crowned. They're stunning on frosted cakes, where they add an elegant contrast against the soft frosting. On whipped cream, they create this lovely interplay of textures. And on ice cream? Pure bliss—they start to melt slightly into the cold cream, adding little pockets of chocolate flavor throughout. Every placement is an opportunity to make something ordinary feel special.
Storage and Make-Ahead Magic
One of my favorite things about this recipe is how forgiving it is with timing. Make the flakes up to a week ahead and store them in an airtight container in a cool place. They'll stay crisp and ready to beautify your desserts whenever you need them. On warm days, keep them in the refrigerator to maintain their structure, and pull them out just before serving for maximum impact.
- If your flakes break during scraping, don't stress—the smaller pieces are just as delicious sprinkled over desserts, and nobody will know it wasn't intentional
- For thicker, more dramatic flakes, simply spread your chocolate a bit thicker and let it set a minute or two longer before scraping
- Always store in a cool spot away from direct sunlight, which can cause the chocolate to bloom or lose its shine
 Save
Save This simple technique has become my secret weapon for turning everyday desserts into something that feels celebratory. There's real joy in that moment when you place a perfectly curled chocolate flake on top of something you've made and step back to admire it.
Common Questions
- → What type of chocolate works best for flakes?
-
High-quality dark or milk chocolate can be used; dark chocolate offers a richer flavor, while milk chocolate provides a creamier texture.
- → How can I make the flakes shinier?
-
Adding a small amount of coconut oil or unsalted butter before melting chocolate enhances the shine and softness of the flakes.
- → What’s the best method to melt the chocolate?
-
Use a double boiler with gently simmering water for smooth melting, or melt in short bursts in the microwave, stirring frequently.
- → How do I create the flakes after melting?
-
Spread melted chocolate thinly on a cool marble slab or baking sheet, let it partially set until pliable, then scrape gently using a bench scraper or spatula.
- → How should I store leftover chocolate flakes?
-
Keep flakes in an airtight container at room temperature or refrigerated to maintain their shape and prevent melting for up to a week.
- → Can I use white chocolate for the flakes?
-
Yes, white chocolate or a mix of chocolates create marbled flakes, adding variety and visual appeal.
