 Save
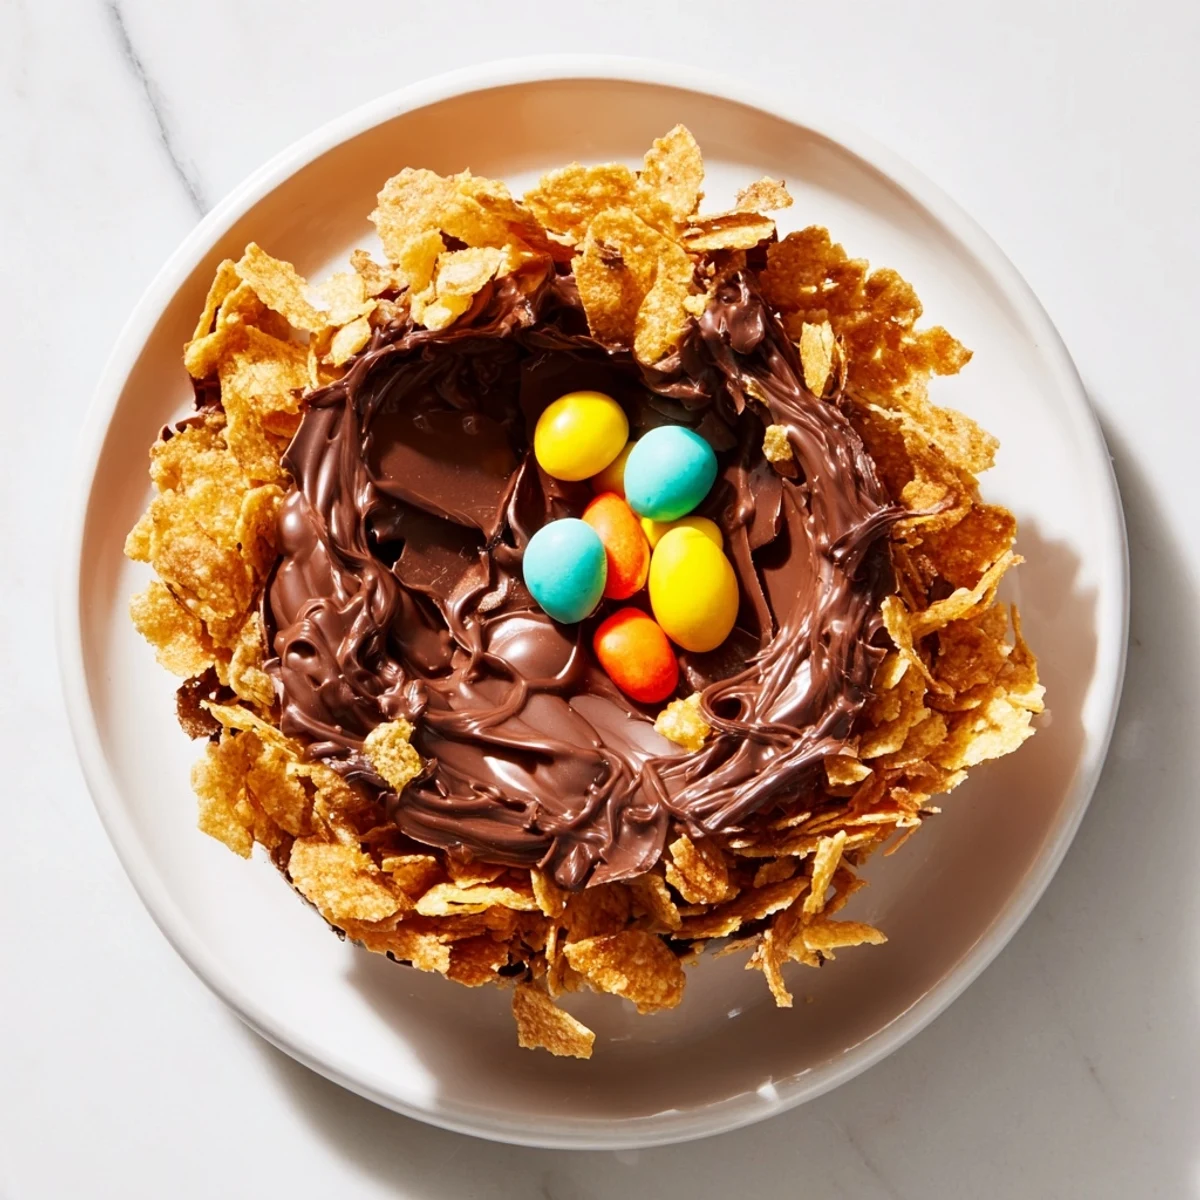
Save This no-bake delight combines melted milk and dark chocolate with golden syrup to coat crunchy cornflakes, molded into nest shapes. Each nest is topped with mini candy-coated chocolate eggs and chilled until set, creating a colorful and crispy sweet perfect for festive celebrations. Variations include shredded wheat for texture or added nuts for a richer flavor. Easy to prepare and ideal for sharing with family and friends.
My kitchen became a sticky fingerprint wonderland every Easter when my youngest was three. We made these nests after she asked why birds got all the nice houses. The chocolate got everywhere, on her nose, in her hair, somehow on the cat. That tiny chaotic afternoon started a tradition that now feels incomplete without slightly burnt fingertips and crumbled cornflakes scattered across the counter.
Last year my neighbor's daughter brought over a batch she made entirely by herself. She was so proud explaining how she figured out the perfect nest depth by trial and error. Her version had way more eggs than mine, piled high like tiny edible mountains. That's when I realized there's no wrong way to make these, just personal choices about how much chocolate is too much chocolate.
Ingredients
- 200 g milk chocolate, chopped: The milk chocolate provides the creamy sweetness that makes these nests instantly nostalgic and kid-friendly
- 100 g dark chocolate, chopped: Dark chocolate cuts through the sweetness and adds a sophisticated depth that adults secretly appreciate
- 100 g unsalted butter, cubed: Butter helps the chocolate set with a gorgeous sheen and adds that melt-in-your-mouth quality
- 3 tbsp golden syrup: This ingredient is the secret that keeps your chocolate glossy and prevents it from seizing or becoming grainy
- 100 g cornflakes: The cereal creates those perfectly twiggy nests while staying light enough not to overwhelm the chocolate
- 100 g mini candy-coated chocolate eggs: These little treasures are what transform chocolate clusters into something that looks like a proper Easter centerpiece
Instructions
- Prep your nest foundations:
- Line a 12-hole muffin tin with paper cupcake cases, pressing them gently into place so they are ready to receive the chocolate mixture without any fuss
- Melt into chocolate heaven:
- In a heatproof bowl set over a saucepan of barely simmering water, melt the milk chocolate, dark chocolate, butter, and golden syrup together, stirring gently until everything is smooth and glossy
- Create the nest texture:
- Fold in the cornflakes with a light hand, being careful not to crush them too much, until every piece is coated in chocolate and the mixture looks like edible twigs
- Shape your little nests:
- Divide the mixture evenly among the paper cases, using the back of a spoon to press lightly and create that characteristic hollow center where the eggs will nestle
- Add the finishing touch:
- Place 2 or 3 mini chocolate eggs in the center of each nest while the chocolate is still slightly soft so they settle in naturally
- Let them set:
- Chill in the refrigerator for at least 30 minutes, or until the chocolate has completely set and the nests hold their shape perfectly
- Release the nests:
- Carefully remove from the tin and peel away the paper cases just before serving, revealing those beautiful chocolate twig patterns
 Save
Save My mum still talks about the year I made these for the family Easter gathering and accidentally used grape-nuts instead of cornflakes. Everyone pretended to love them anyway, chewing through these incredibly dense bird houses with polite smiles. We laugh about it now, but that mistake taught me that texture matters just as much as taste in something this simple.
Making Them Your Own
Shredded wheat creates an incredibly realistic nest texture that looks amazing but requires slightly more chocolate to bind everything together properly. The extra effort shows in the final presentation though.
Working With Kids
The absolute best part about this recipe is how forgiving it is of small hands and enthusiastic stirring. Some of my favorite versions have been the ones where the distribution was wildly uneven or the nests were more like chocolate mountains.
Storage And Timing
These nests actually taste better after sitting for a day, giving the chocolate time to fully set and the flavors to meld together beautifully. Plan to make them the day before your Easter celebration.
- They will keep perfectly in an airtight container for up to a week
- Remove from the refrigerator 15 minutes before serving for the best texture
- Freeze them between layers of parchment paper if you want to make them weeks in advance
 Save
Save These little nests have become the one thing my family actually requests year after year, and I am perfectly fine with that tradition.
Common Questions
- → Can I substitute cornflakes with other cereals?
-
Yes, shredded wheat works well to create a more nest-like texture. Just crumble it finely before folding it into the chocolate mix.
- → How should I store the chocolate nests?
-
Store them in an airtight container in the refrigerator to keep them fresh for up to a week.
- → Is it possible to add nuts to the nests?
-
Absolutely. Adding chopped roasted hazelnuts or almonds adds a pleasant crunch and nutty flavor.
- → What is the best way to melt chocolate mixtures?
-
Use a heatproof bowl over simmering water (double boiler) to gently melt chocolate, butter, and syrup without burning.
- → Can candy eggs be replaced or omitted?
-
Yes, you can use other colorful candies or skip decorations to suit taste preferences or dietary needs.
