 Save
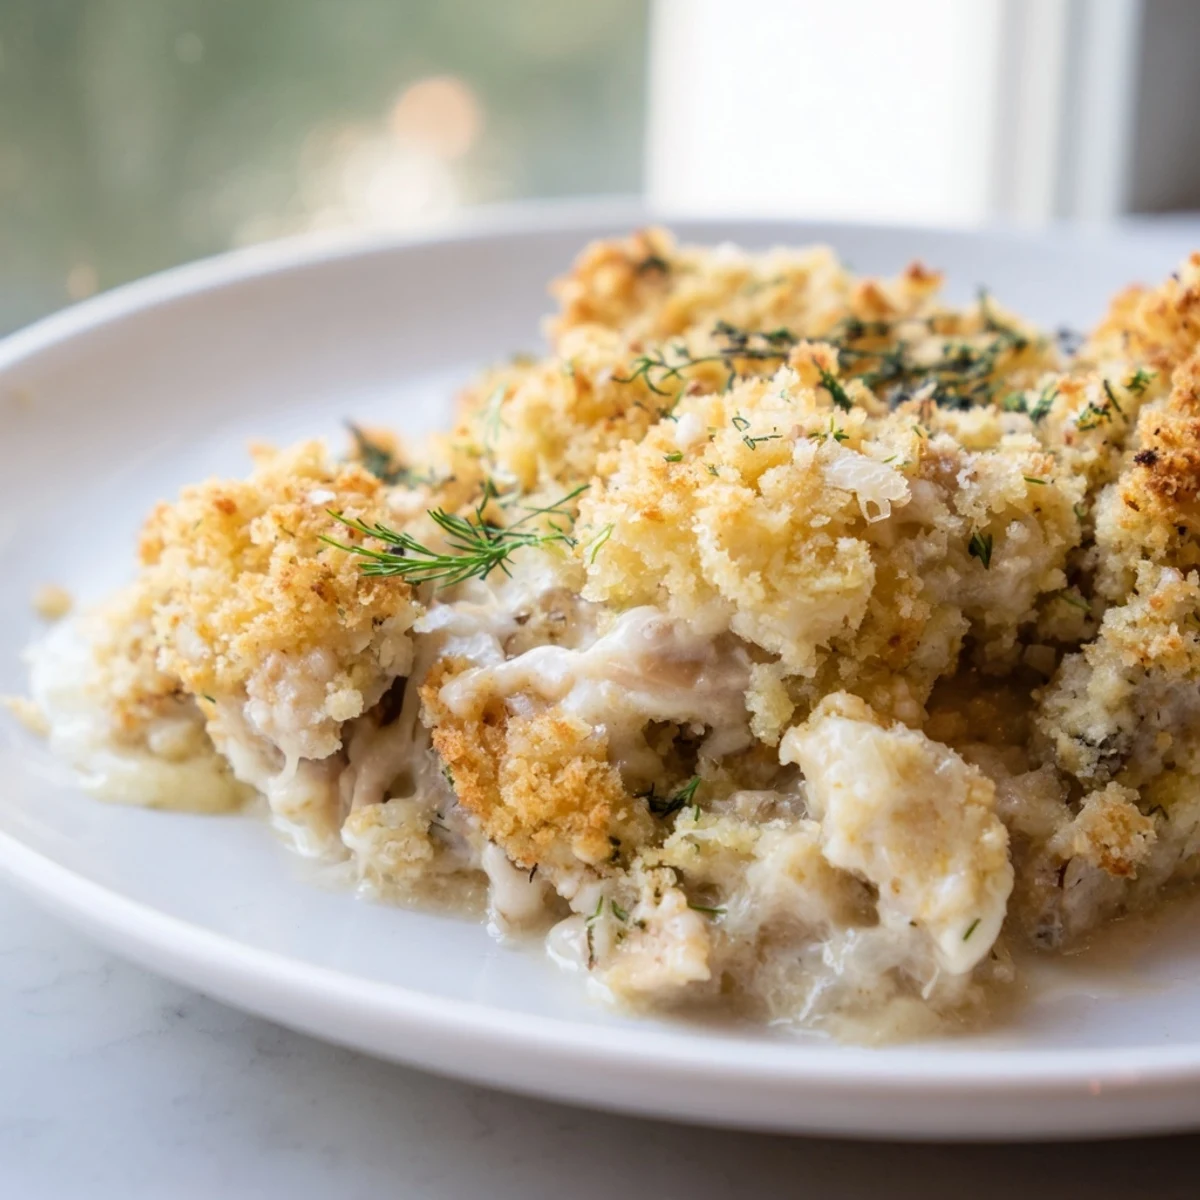
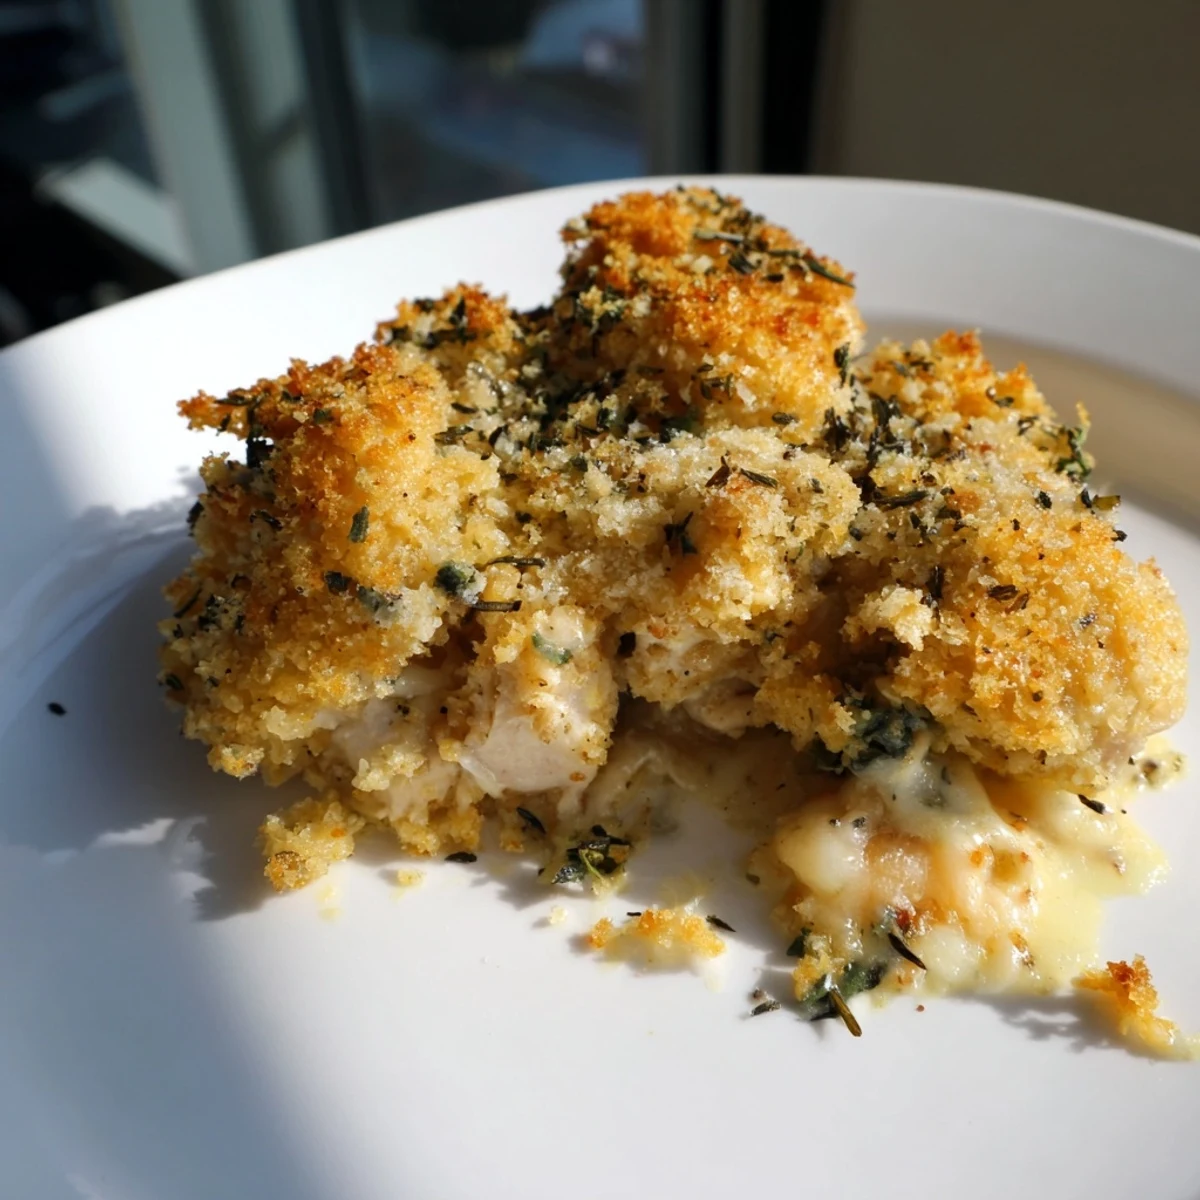
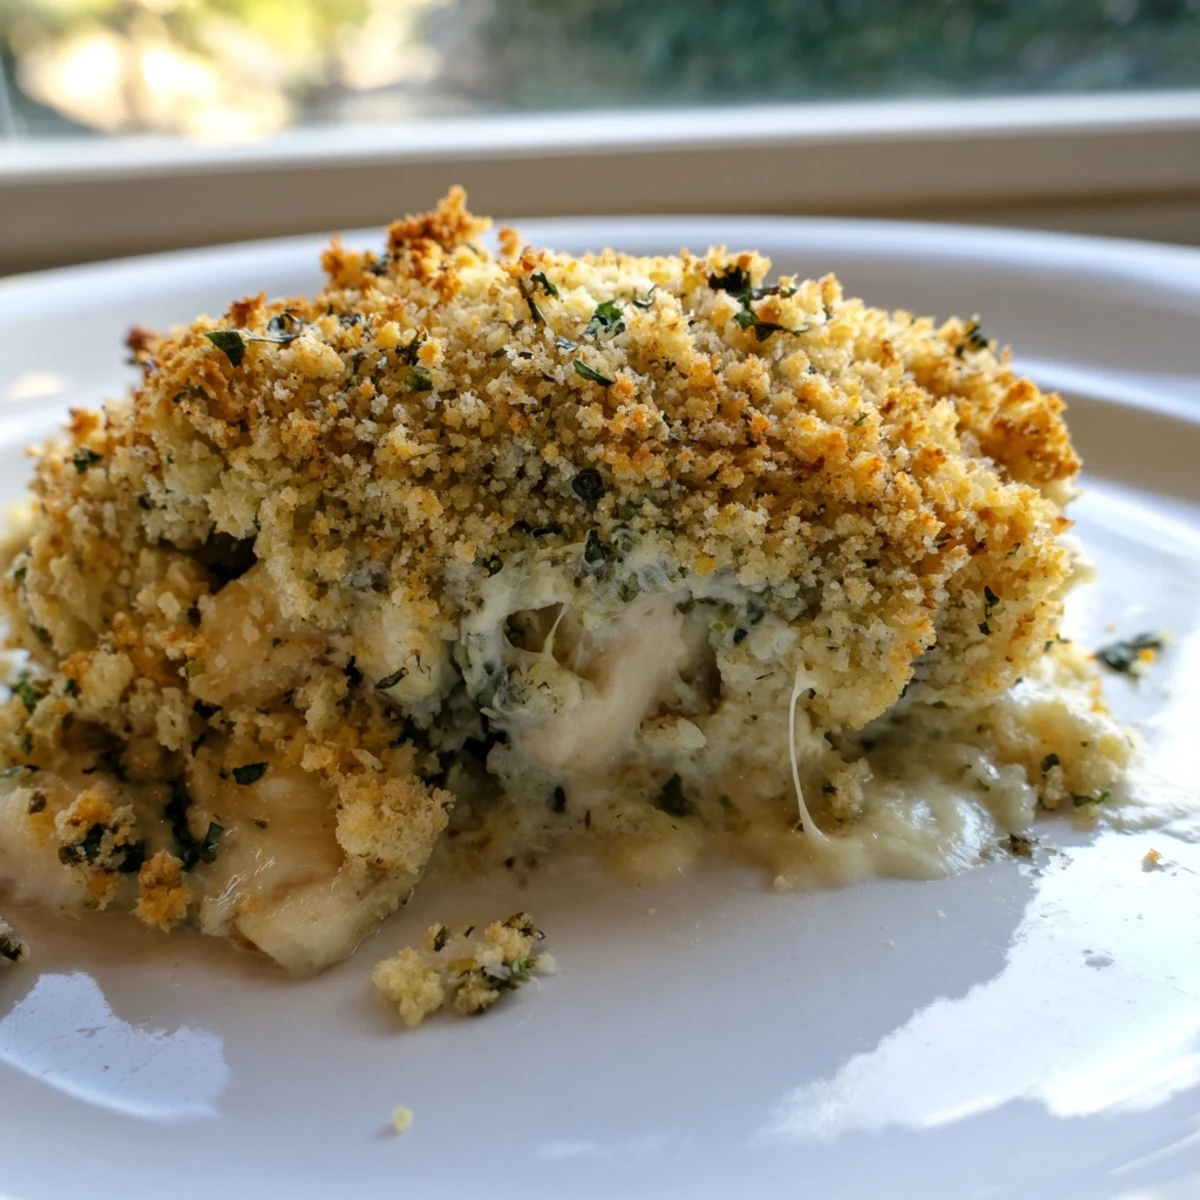
Save This Chicken Kiev Casserole transforms the beloved Eastern European classic into a cozy, effortless bake. Tender bite-sized chicken pieces are nestled in a creamy garlic-herb butter sauce, then crowned with a golden, crispy panko breadcrumb topping.
Ready in just 55 minutes with only 20 minutes of prep, it's an ideal weeknight dinner for the whole family. The combination of fresh parsley, dill, and minced garlic infuses every bite with rich, savory flavor.
The smell of garlic butter hitting a hot pan is one of those things that stops me in my tracks every single time. I was standing in my kitchen on a rainy Tuesday, craving the crispy garlicky goodness of Chicken Kiev but honestly too tired to pound and roll individual cutlets. That lazy evening turned into one of the best dinners I have ever thrown together, and my family still asks for it by name.
I brought this to a neighborhood potluck last winter and watched three people go back for seconds before I even got a plate. My neighbor Elena pulled me aside and asked for the recipe, which is honestly the highest compliment I know.
Ingredients
- 1.5 lbs (700 g) boneless, skinless chicken breasts, cut into bite-sized pieces: Cutting the chicken small ensures every piece gets coated in that gorgeous sauce and cooks evenly.
- 6 tbsp (85 g) unsalted butter, softened: The backbone of the garlic herb butter, so use good quality butter if you can find it.
- 3 cloves garlic, minced: Fresh garlic only here, the jarred stuff will not give you the same punch.
- 2 tbsp fresh parsley, finely chopped: Flat leaf or curly both work, but flat leaf has a cleaner flavor.
- 1 tbsp fresh dill, finely chopped (optional): This gives a subtle Eastern European twist that pairs beautifully with the cream.
- 1 tsp lemon juice: Just a splash to brighten everything and cut through the richness.
- 1/2 tsp salt: Kosher salt dissolves more evenly in the butter mixture.
- 1/4 tsp ground black pepper: Freshly cracked always tastes better.
- 1 cup (240 ml) heavy cream or half-and-half: Heavy cream gives a richer sauce, while half-and-half keeps it slightly lighter.
- 1/2 cup (120 ml) low-sodium chicken broth: Thins the sauce just enough so it does not become too thick while baking.
- 1/4 cup (30 g) grated Parmesan cheese: Adds a salty, nutty depth that melts right into the sauce.
- 1 cup (60 g) panko breadcrumbs: Panko stays crunchier than regular breadcrumbs, which is what you want on top.
- 2 tbsp butter, melted: Tossed with the panko to help it brown and crisp in the oven.
- 1/2 tsp dried thyme or parsley: A dried herb works perfectly here since it bakes into the topping.
- 1/2 cup (60 g) shredded mozzarella (optional): Adds a gooey, stretchy layer that kids especially love.
- Nonstick cooking spray or oil (for greasing): Keeps everything from sticking and makes serving cleaner.
Instructions
- Preheat and prepare the dish:
- Set your oven to 375 degrees F (190 degrees C) and lightly grease a 9x13 inch baking dish with spray or oil.
- Make the garlic herb butter:
- In a bowl, blend the softened butter with minced garlic, parsley, dill if you are using it, lemon juice, salt, and pepper until everything is well combined. Give it a taste because that little spoonful should already make you excited.
- Layer the chicken:
- Spread the chicken pieces in an even layer across the bottom of your prepared baking dish.
- Dot with the butter:
- Spoon generous dollops of the garlic herb butter all over the chicken, spacing them out so every bite gets some of that flavor.
- Pour the sauce:
- Whisk the cream and broth together briefly, then pour it evenly over the chicken. Scatter the Parmesan on top.
- Add mozzarella if desired:
- Sprinkle shredded mozzarella over everything for an extra cheesy, stretchy layer.
- Make the crispy topping:
- Toss the panko with melted butter and dried herbs in a small bowl until the crumbs are evenly coated. Sprinkle this mixture across the entire casserole.
- Bake until golden:
- Slide it into the oven for 30 to 35 minutes until the top is deeply golden and the chicken is cooked through. You will know it is ready when the edges are bubbling.
- Rest before serving:
- Let it sit for about 5 minutes so the sauce can settle and thicken slightly before you scoop it out.
 Save
Save Sitting around the table with this casserole in the center, everyone reaching for seconds, I realized this dish had become part of our family story.
What to Serve Alongside
A simple green salad with a vinaigrette cuts through the richness beautifully. Steamed green beans or roasted asparagus also work wonders. I once served it over buttered egg noodles and that was a revelation I keep repeating.
Making It Ahead
You can assemble the entire casserole up to a day in advance and keep it covered in the refrigerator. Just add about ten extra minutes to the baking time if you are pulling it straight from the cold. The breadcrumb topping stays crispiest if you add it right before baking.
Storage and Reheating
Leftovers keep well in an airtight container in the refrigerator for up to three days. Reheat individual portions in the oven at 350 degrees F to bring back some of that crunch. The microwave works in a pinch but the topping will soften.
- Freeze portions wrapped tightly in foil for up to two months.
- Thaw overnight in the refrigerator before reheating.
- A fresh sprinkle of panko on top before reheating helps restore the crispness.
 Save
Save This casserole is proof that comfort food does not have to be complicated to be unforgettable. Make it once and it will quietly become a regular in your kitchen too.
Common Questions
- → Can I use chicken thighs instead of chicken breasts?
-
Yes, boneless skinless chicken thighs work beautifully in this casserole. They remain juicy and tender during baking. Just cut them into similar bite-sized pieces and adjust the cooking time slightly if needed.
- → How do I store and reheat leftovers?
-
Store leftovers in an airtight container in the refrigerator for up to 3 days. Reheat in a 350°F oven for 15–20 minutes until warmed through. The topping may soften, so a brief broil can help restore its crispiness.
- → Can I make this casserole ahead of time?
-
Absolutely. Assemble the entire casserole, cover tightly, and refrigerate for up to 24 hours before baking. Add the panko topping just before placing it in the oven to keep it crunchy. You may need to add 5–10 extra minutes to the baking time.
- → What side dishes pair well with this?
-
This rich, creamy casserole pairs well with lighter sides like steamed green beans, a fresh garden salad, or roasted asparagus. Mashed potatoes or buttered egg noodles also make comforting accompaniments.
- → Can I freeze this casserole?
-
Yes, you can freeze it either before or after baking. For best results, assemble without the breadcrumb topping, wrap tightly, and freeze for up to 2 months. Thaw overnight in the refrigerator, add the topping, and bake as directed.
- → How can I make this gluten-free?
-
Simply swap the panko breadcrumbs for your favorite gluten-free breadcrumb alternative. Also ensure your chicken broth and other packaged ingredients are certified gluten-free. The rest of the ingredients are naturally gluten-free.
