 Save
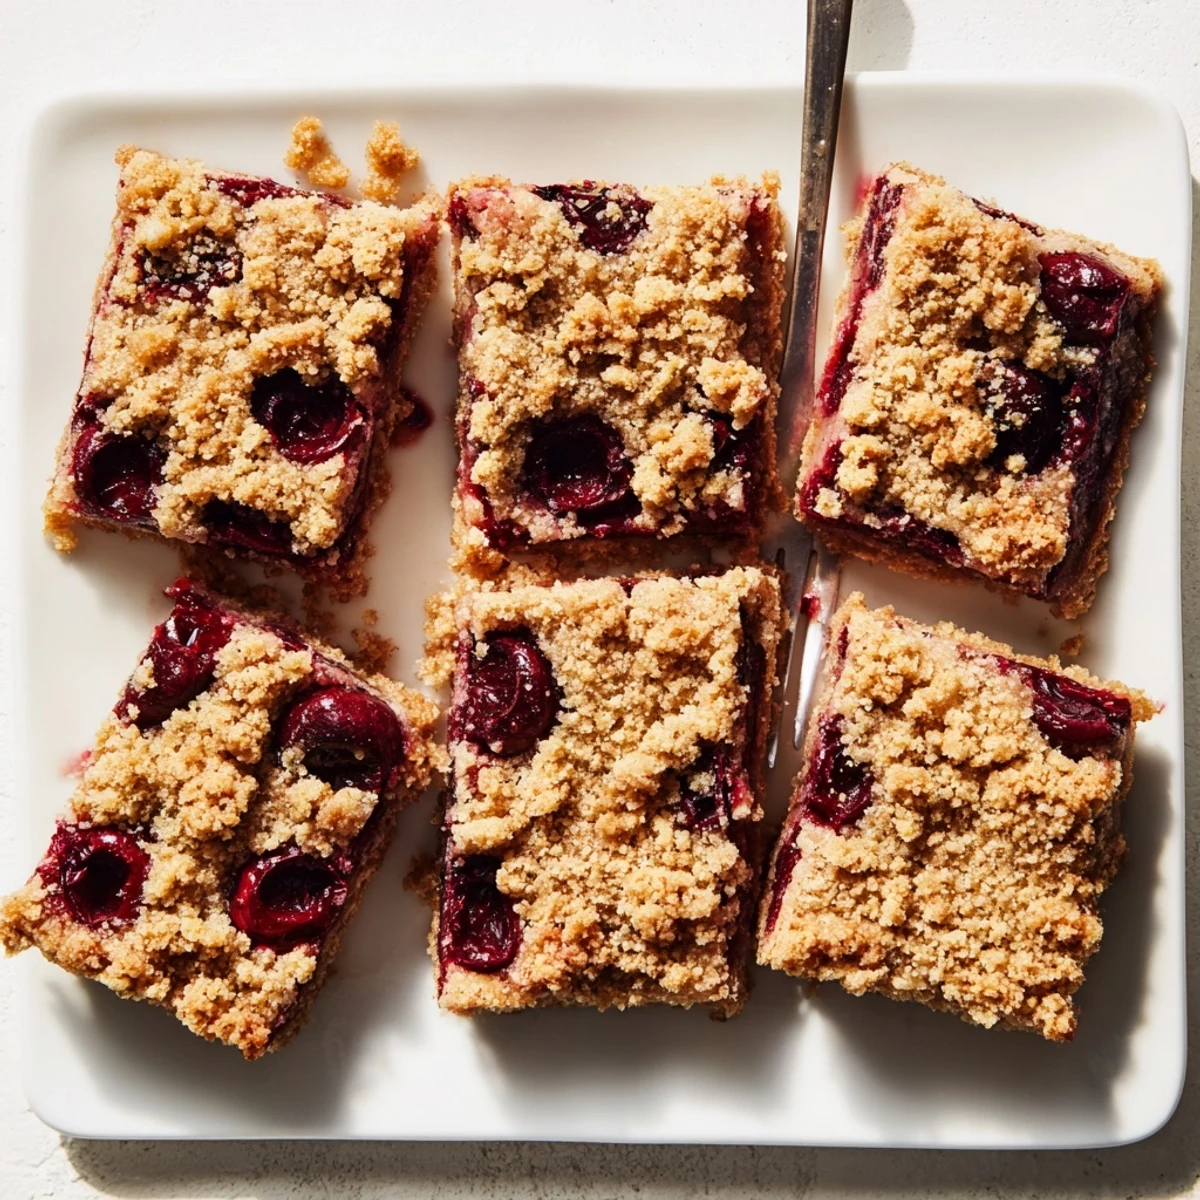
Save These cherry crumble bars feature a tender, buttery base topped with sweet-tart cherry filling and finished with a golden crumble topping. The crust uses cold butter blended with flour, sugar, and warm cinnamon, creating that perfect sandy texture that bakes up beautifully crisp. Fresh or frozen cherries work equally well—simply toss with sugar, cornstarch, lemon juice, and vanilla for a thick, bubbling fruit layer.
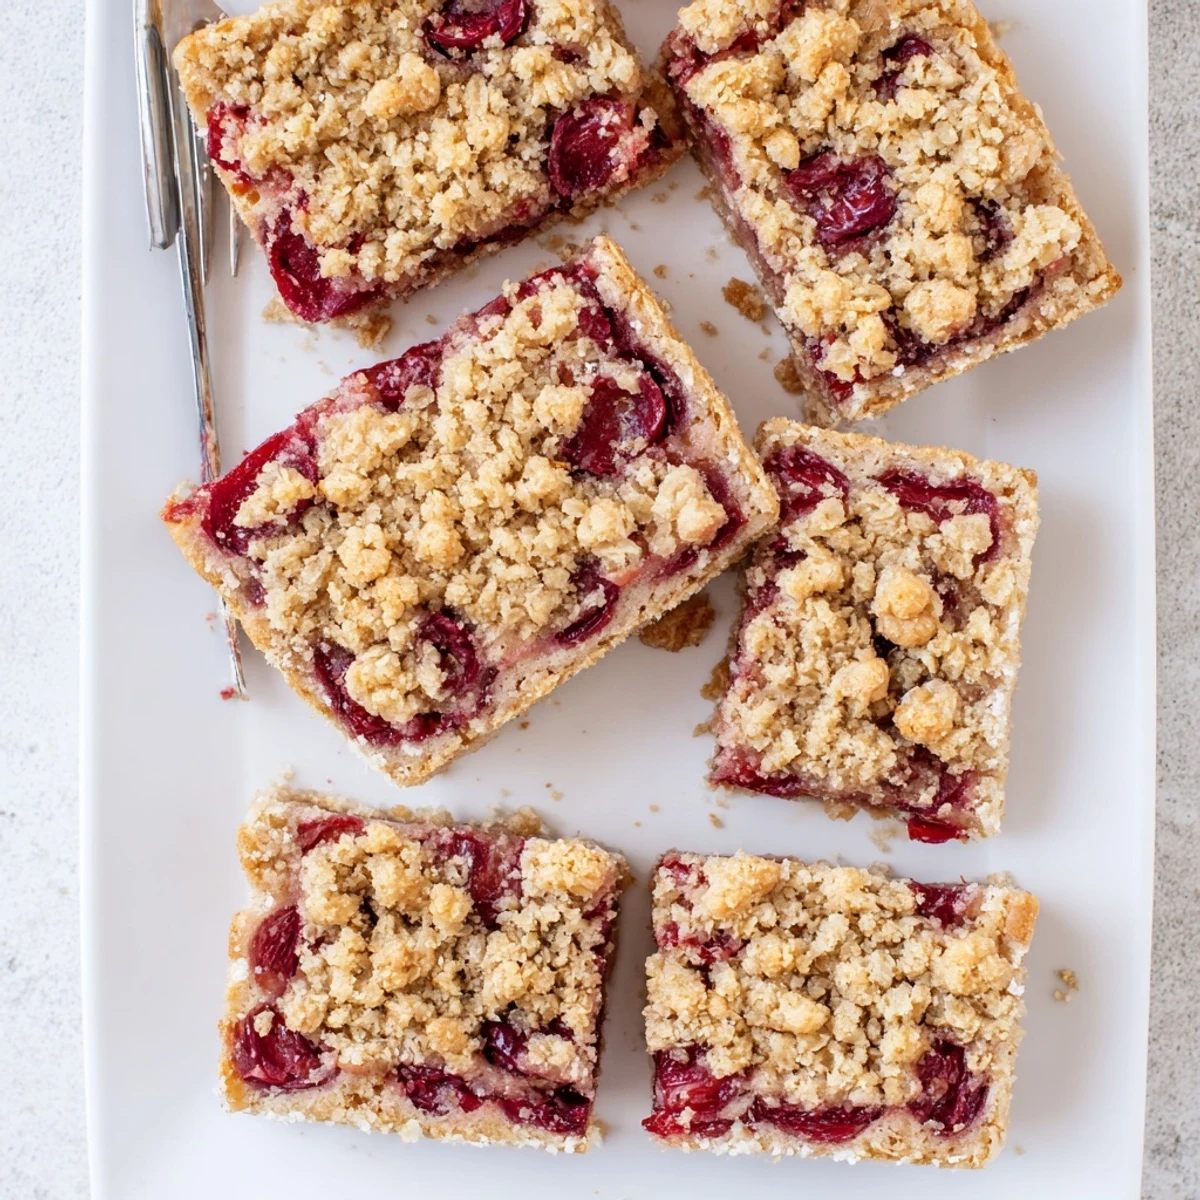
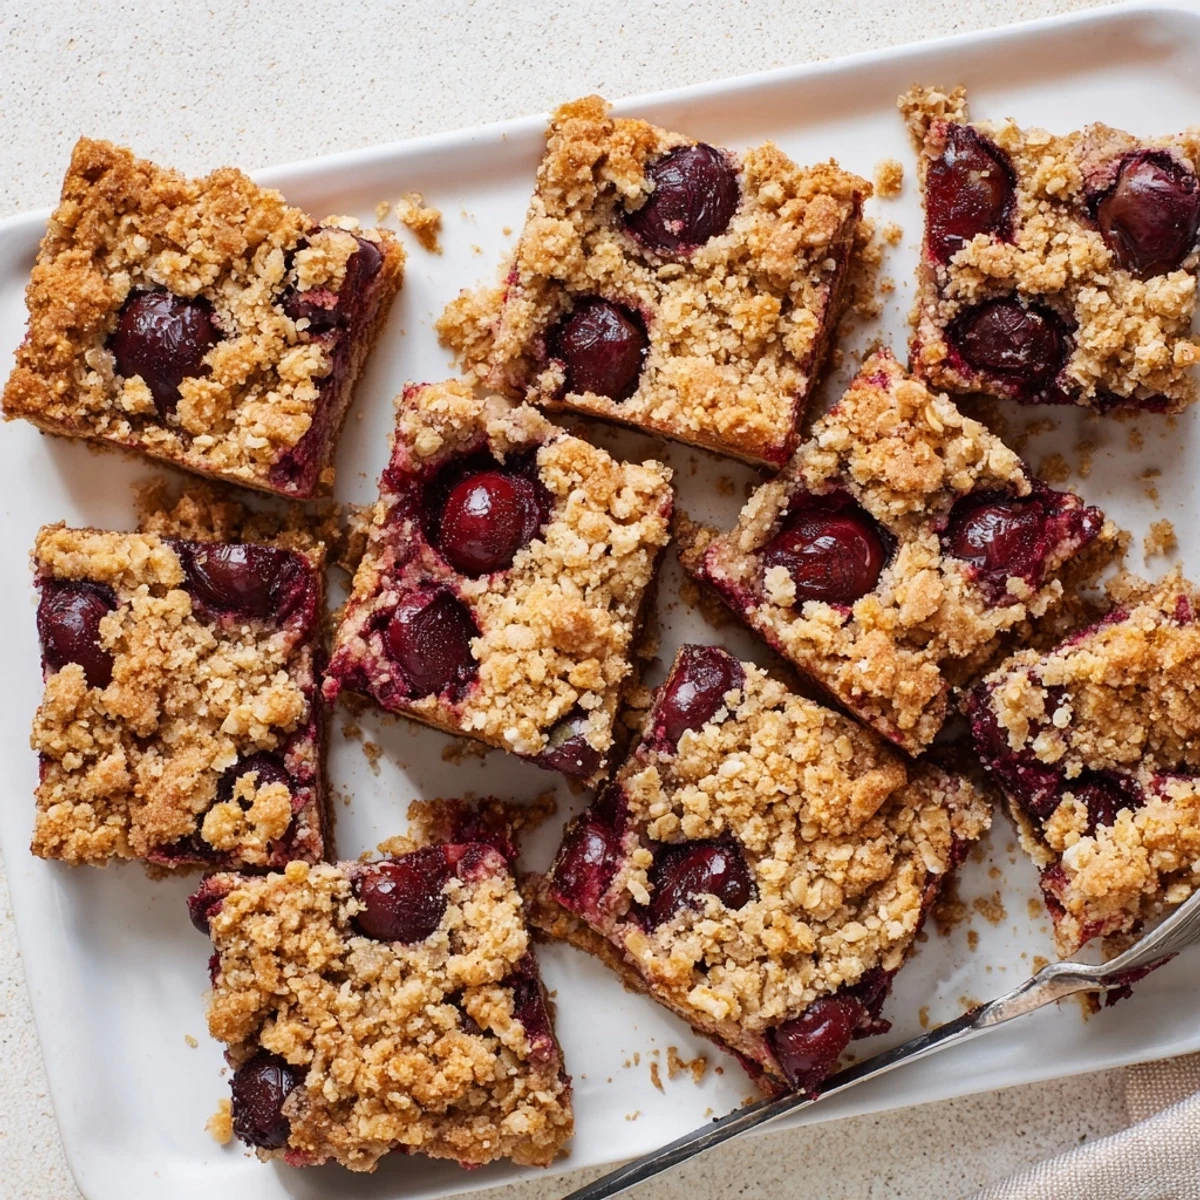
Press two-thirds of the crumble mixture into your pan to form the base, spread the cherries over top, then sprinkle with remaining crumbs. Bake until golden and bubbling, cool completely, then slice into 16 bars. The texture contrasts are outstanding: crisp buttery bottom, soft juicy fruit layer, and crunchy crumbly topping.
These bars keep well for days, travel easily for potlucks, and pair wonderfully with whipped cream or vanilla ice cream. Swap in mixed berries or blueberries if desired.
The first time I made cherry crumble bars, I was looking for something that felt like a cross between a pie and a cookie—something you could eat with your hands but still felt special. My kitchen smelled incredible while they baked, that perfect summer scent of warm cherries and buttery sugar. My roommate kept wandering in, asking if they were done yet, which is always a good sign.
I brought these to a Fourth of July gathering once, and honestly, they disappeared faster than anything else on the dessert table. Someone actually asked if I'd bought them from a bakery, which I took as a huge compliment. Now they're my go-to when I need something that feels impressive but doesn't require endless hours in the kitchen.
Ingredients
- 2 cups all-purpose flour: The foundation of that tender, cookie-like crumb that holds everything together
- 1 cup granulated sugar: Sweetens the crust just enough to let the cherries shine without overwhelming them
- 1/2 teaspoon baking powder: Gives the base a subtle lift so it's not too dense
- 1/4 teaspoon salt: Balances all that sweetness and enhances the cherry flavor
- 1/2 teaspoon ground cinnamon: Warm spice that pairs beautifully with fruit and makes the kitchen smell amazing
- 1 cup unsalted butter, cold and diced: Cold butter creates those irresistible pockets of flakiness in the crumble topping
- 1 large egg: Binds the crust mixture together so you can press it firmly into the pan
- 3 cups pitted cherries: Fresh or frozen both work—frozen is perfect when cherry season isn't happening
- 1/2 cup granulated sugar: Sweetens the filling just enough to balance the cherries natural tartness
- 2 tablespoons cornstarch: Thickens those cherry juices into a perfect, jammy consistency
- 1 tablespoon lemon juice: Brightens the cherry flavor and prevents the filling from becoming too cloying
- 1/2 teaspoon vanilla extract: Rounds out all the flavors and adds that classic dessert warmth
Instructions
- Get your oven ready:
- Preheat to 350°F and line your 9x9 pan with parchment, letting the edges overhang like little handles for later
- Whisk the dry ingredients:
- Combine flour, sugar, baking powder, salt, and cinnamon in a large bowl until everything's evenly distributed
- Work in the butter:
- Add cold diced butter and the egg, using a pastry cutter or your fingers until mixture looks like coarse crumbs with some pea-sized pieces remaining
- Build the base:
- Press about two-thirds of the crumble mixture firmly into your prepared pan—really press it down so it holds together when baked
- Make the filling:
- Toss halved cherries with sugar, cornstarch, lemon juice, and vanilla until every piece is coated
- Layer it up:
- Spread that gorgeous cherry mixture evenly over the crust, then sprinkle the remaining crumble on top
- Bake until golden:
- Slide into the oven for 38 to 42 minutes until the top is golden brown and you see the filling bubbling up through the crumble
- Patience pays off:
- Let these cool completely in the pan—otherwise they'll crumble apart when you try to cut them
 Save
Save My grandmother used to say that patience is the secret ingredient in any fruit dessert, and she was absolutely right. These bars taste even better the next day, after the flavors have had time to meld and the filling has set completely. I've learned to make them the night before I need them, which somehow makes them even more special.
Making Them Your Own
Once you master the basic formula, these bars are incredibly forgiving. I've used frozen mixed berries when fresh cherries weren't available, and honestly, they might be even better. The key is keeping the fruit amount roughly the same so the filling sets properly.
The Gluten-Free Option
My sister in law can't do gluten, so I've made these with a 1 to 1 gluten-free flour blend several times. The texture is slightly different—more tender, less sandy—but still completely delicious. Nobody at our family gatherings could tell the difference, which is the ultimate test.
Serving Ideas
Straight from the pan is perfect, but sometimes you want to dress them up a bit. A dollop of lightly sweetened whipped cream makes them feel fancy, and vanilla ice cream melting into the warm fruit is pretty much heaven. For brunch, I've served them alongside coffee and they feel sophisticated enough for company.
- Warm them slightly before serving—10 seconds in the microwave brings back that fresh-baked texture
- Dust with powdered sugar right before serving for a bakery style finish
- Store them in the fridge for up to 4 days, though they rarely last that long
 Save
Save There's something deeply satisfying about a dessert that looks like you spent hours on it but comes together with such simple steps. Hope these bring as much joy to your kitchen as they have to mine.
Common Questions
- → Can I use frozen cherries instead of fresh?
-
Absolutely. Frozen cherries work beautifully and don't need thawing first—just toss them directly with the sugar and cornstarch mixture. They may need an extra 2-3 minutes baking time.
- → How should I store these cherry bars?
-
Store in an airtight container at room temperature for up to 3 days. For longer storage, refrigerate for up to a week. The bars also freeze well—wrap individual portions in plastic and freeze for up to 3 months.
- → Why must I cool the bars completely before cutting?
-
The cherry filling needs time to set as it cools. Cutting warm bars will cause the filling to ooze out and create messy slices. Patience pays off with clean, neat squares.
- → Can I make these gluten-free?
-
Yes. Substitute the all-purpose flour with a quality 1:1 gluten-free flour blend. The texture and flavor remain excellent, making these accessible for gluten-free guests.
- → What other fruits can I use?
-
Blueberries, raspberries, blackberries, sliced peaches, or a mixed berry blend all work wonderfully. Adjust sugar slightly based on fruit sweetness—tart fruits may need an extra tablespoon.
