 Save
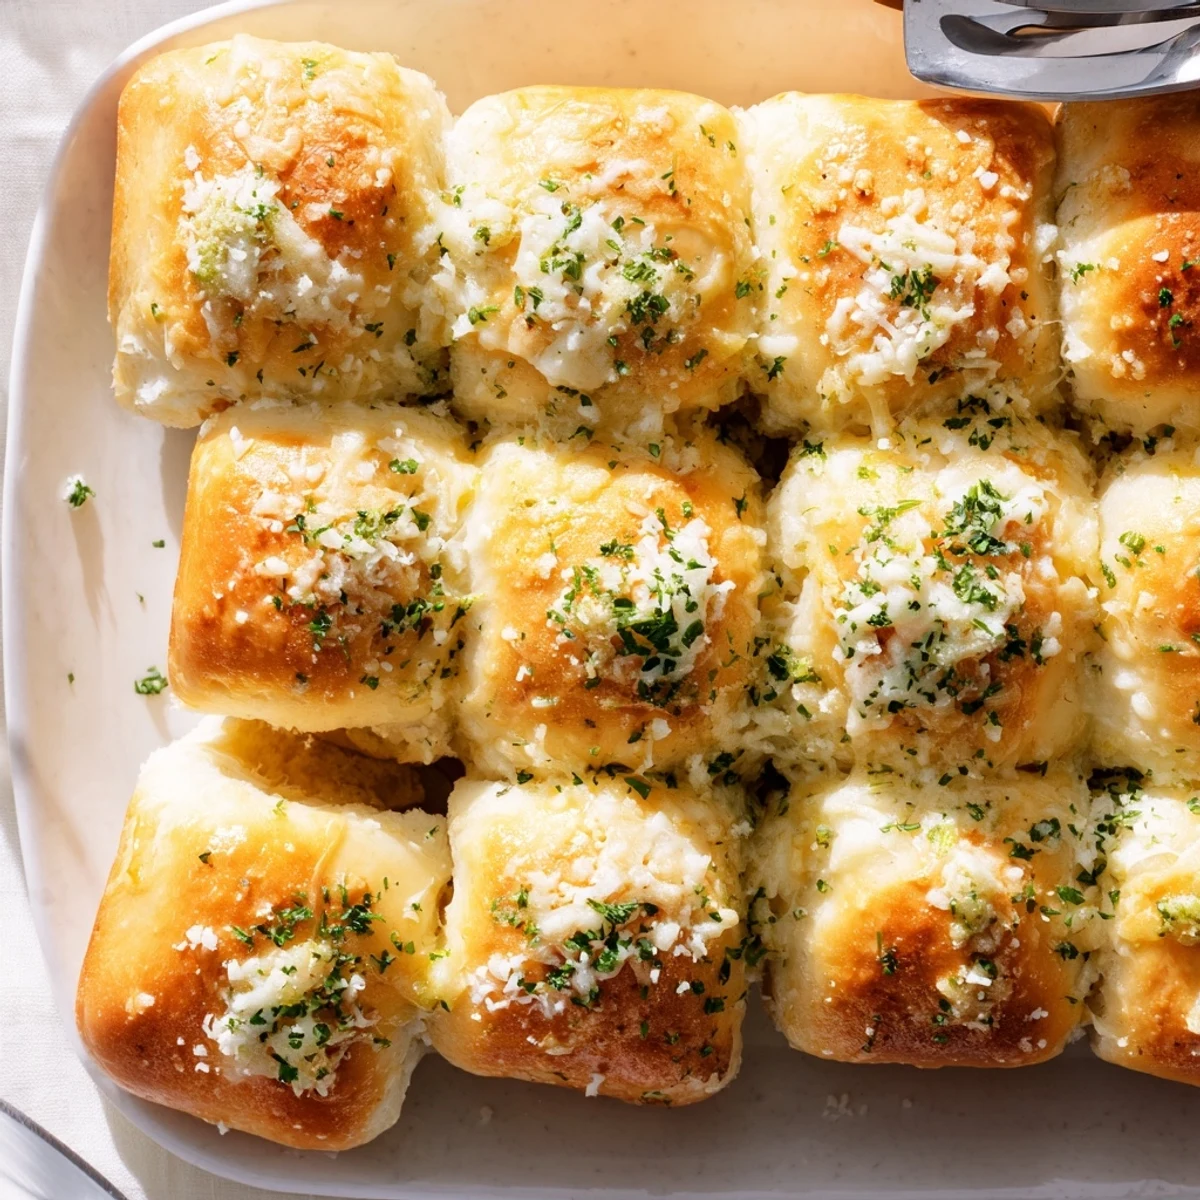
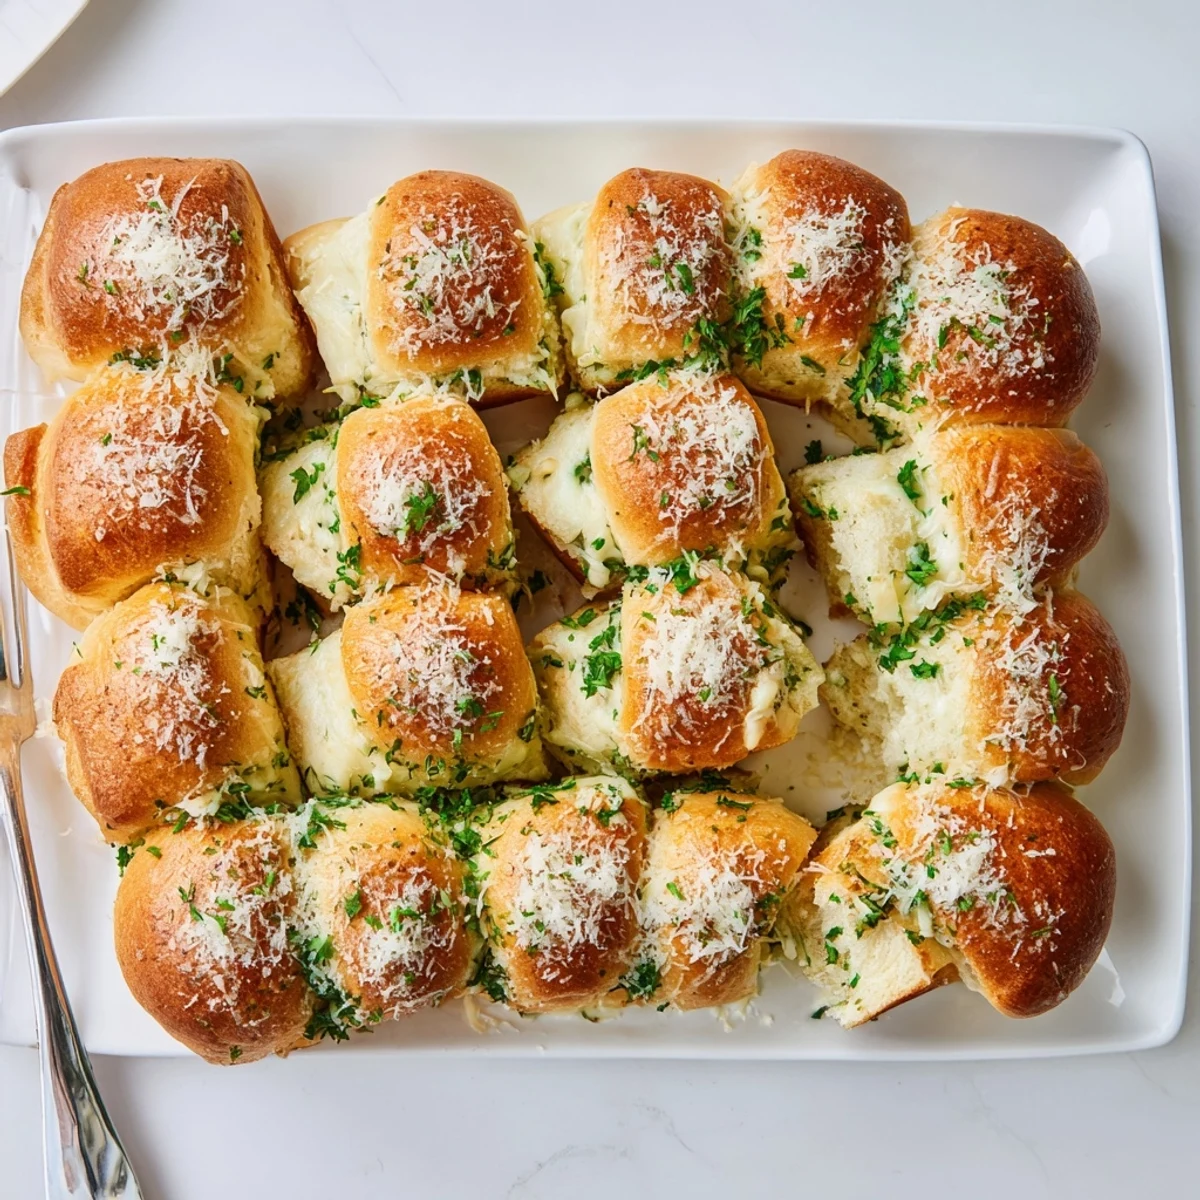
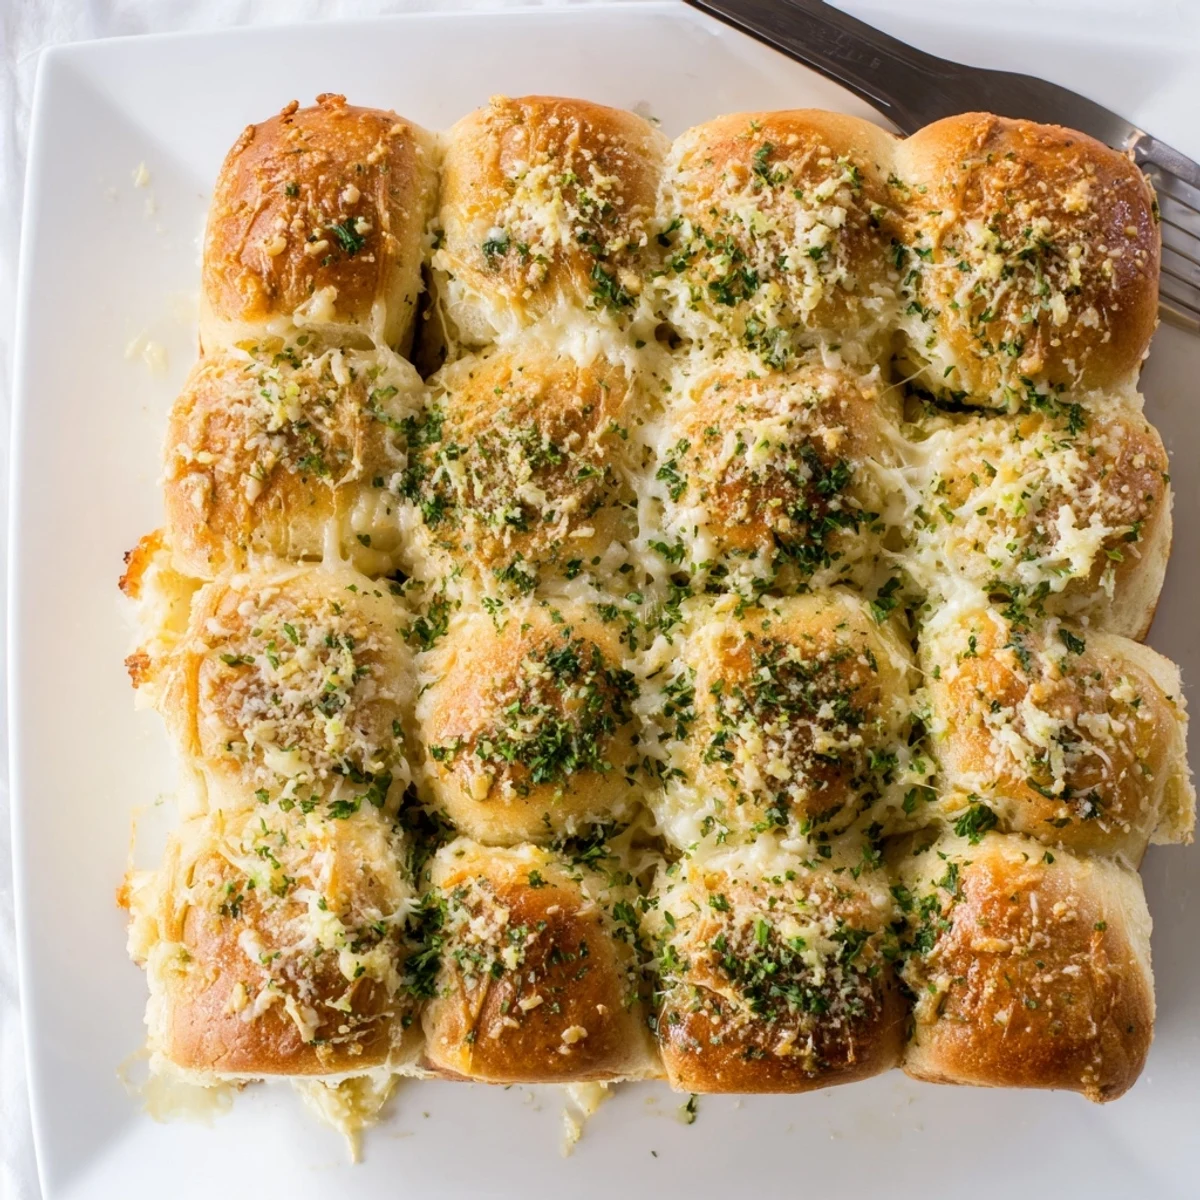
Save Create irresistibly soft, pillowy rolls filled with a savory mixture of garlic butter and melted mozzarella and parmesan. These golden beauties start with a simple yeast dough that rises until doubled, then gets rolled out and generously layered with herb-infused butter and shredded cheese before being shaped into individual spirals. After a second rise, they bake until golden and fragrant, emerging from the oven with bubbling cheese centers and perfectly crisp tops. A final brush of butter and sprinkle of fresh herbs makes them utterly irresistible.
The first time I made these garlic cheese rolls, my kitchen smelled so incredible that my neighbor actually knocked on the door to ask what I was baking. I had to laugh as I explained I was just experimenting with a dinner roll recipe, but that warm, garlicky, buttery aroma had filled the entire hallway. Those rolls disappeared in minutes at dinner that night, and I've been making them for every gathering since.
I remember bringing these to a potluck last winter and watching them vanish from the serving plate while people were still lining up for food. My friend Sarah texted me the next day begging for the recipe, saying her husband kept talking about them. Something about homemade bread stuffed with garlic butter and cheese just makes people feel special and cared for.
Ingredients
- All-purpose flour: The backbone of soft, pillowy dough that bakes up tender
- Active dry yeast: Use warm milk around 110°F to wake it up properly
- Unsalted butter: You will need some melted for the dough and softened for the filling
- Warm milk: Not hot or it will kill the yeast, not cold or it will not activate
- Large egg: Adds richness and helps the dough hold its structure
- Garlic cloves: Fresh minced garlic gives the best flavor here
- Mozzarella cheese: Creates those gorgeous melted pockets inside each roll
- Grated Parmesan: Brings a salty, umami depth that balances the mild mozzarella
- Fresh parsley: Adds bright color and a fresh finish to cut through all that richness
Instructions
- Wake up the yeast:
- Combine the warm milk, sugar, and yeast in a large bowl, then step away for 5 to 10 minutes until you see a foamy layer form on top.
- Build the dough:
- Whisk in the melted butter, egg, and salt, then gradually add the flour until a soft, slightly sticky dough comes together.
- Knead until smooth:
- Turn the dough onto a floured surface and knead for about 7 to 8 minutes until it feels smooth and elastic, bouncing back when you press it.
- Let it rise:
- Place the dough in a greased bowl, cover it, and find a warm corner for about 1 hour until it has doubled in size.
- Make the filling:
- Mix the softened butter, minced garlic, mozzarella, Parmesan, parsley, and salt until you have a spreadable, fragrant mixture.
- Roll and fill:
- Punch down the risen dough, roll it into a 12x16-inch rectangle, and spread the garlic cheese filling all the way to the edges.
- Shape the rolls:
- Starting from a long edge, roll the dough tightly into a log, then cut it into 12 equal pieces and place them cut-side up in a greased baking dish.
- Second rise:
- Cover the rolls and let them puff up for 25 to 30 minutes while you preheat the oven to 350°F.
- Bake until golden:
- Bake for 22 to 25 minutes until the tops are golden brown and the cheese is bubbling around the edges.
- Finish with butter:
- Brush the hot rolls immediately with melted butter, then sprinkle with fresh parsley and Parmesan while they are still warm.
 Save
Save These rolls have become my go-to contribution for family dinners and holiday meals. There is something so satisfying about pulling apart warm, cheesy bread with people you love, watching everyone reach for seconds. Food just tastes better when it is shared.
Making Ahead
You can prepare the rolls through the shaping step, then cover and refrigerate them overnight. Let them come to room temperature and rise for about 30 minutes before baking.
Cheese Variations
While mozzarella and Parmesan create that classic pull-apart effect, I have experimented with sharp cheddar for extra bite or gouda for a smoky depth. Just keep the total cheese amount the same for the best texture.
Serving Suggestions
These rolls pair beautifully with soups, pasta dishes, or roasted meats. They also make an unexpected but welcome addition to breakfast alongside scrambled eggs.
- Try adding red pepper flakes to the filling if you like a little heat
- These freeze beautifully after baking and reheat well in the oven
- Leftovers make amazing breakfast sandwiches the next morning
 Save
Save There is nothing quite like pulling a pan of these from the oven and hearing that collective appreciative sigh from everyone in the room. Happy baking, friend.
Common Questions
- → Can I prepare these rolls ahead of time?
-
Yes! Assemble the rolls completely, cover the dish tightly with plastic wrap, and refrigerate overnight. Let them sit at room temperature for 30-45 minutes before baking as directed.
- → What cheese works best for the filling?
-
Mozzarella provides excellent melt and stretch, while parmesan adds savory depth. You can substitute cheddar, gruyère, or gouda for different flavor profiles that still deliver delicious results.
- → How do I know when the dough has risen enough?
-
The dough should double in size during the first rise. You can test by gently pressing two fingers into the dough—if the indentation remains, it's ready. The second rise takes 25-30 minutes until the rolls look puffy.
- → Can I freeze these baked rolls?
-
Absolutely! Cool completely, wrap tightly in plastic wrap and foil, then freeze for up to 3 months. Reheat in a 350°F oven for 10-15 minutes until warm and the cheese melts again.
- → Why did my rolls turn out dense?
-
Dense rolls usually result from under-kneading, which prevents proper gluten development, or from not letting the dough rise sufficiently. Ensure you knead for 7-8 minutes and allow both rises to complete fully in a warm, draft-free spot.
